Page is loading ...

Inner Fender
Install Instrucons
Est. install me - Approx. less than 1 hour — Diculty level: EASY
Patent Pending
HARDWARE KIT:
A- Front liner arms w/ (long) screws x 2ea.
B– Front liner screws (medium length) x 4
C– Light Controller Receiver Module
Tools Needed:
1 - 7/64th Allen Key for screws
2– 3/8” wrench or socket & ratchet
3-drill with 7/32nds drill bit (rears only)
4-Punch or scribe to mark for drilling (rears only)
*Special Note: You will need to save and re-use the 8 factory 10mm bolts that held the factory liners in the front.

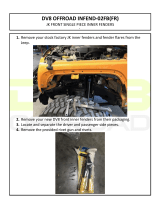
2) Start by running the wiring
up into the engine bay avoiding
any moving components install
the solid inner half rst. (part
without the DV8 logo on it) Se-
cure is with the factory bolt on
top.
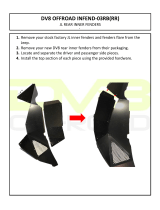
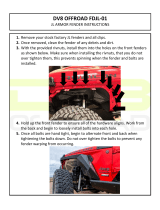
1) Remove the factory fend-
er/liner assembly by un-
screwing all 10mm bolts from
the liner area. Remove the
push-in rivets on the lower
poron of liner to release it
from the frame. Li up on
the fenders to separate from
the snap-in clips on the body
4) The arm will go behind the bulk
head that the liner is up against.
This picture is illustrang the ap-
proximate locaon the arm need to
be resng at.
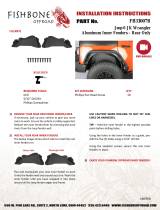
3) Next take the arm that comes
with the parts kit and place it behind
the panel. Needs to be in the orien-
taon in the picture. Threaded part
of the nutsert facing the motor. You
should have a right and le arm.

6) Now you can install the front half.
(part that has the DV8 cut out of it) Place
the liner in boom rst just behind the
spring perch. Secure it loosely with the
factory bolts. Up top two bolts and front
fender spot. (Wire the second light up
through the engine bay at this me. )
5) You will secure the arm with the sup-
plied longer stainless screw thru the
hole in the liner. Tighten the arm while
holding it in place. The arm will be at
an angle. You can let go of the arm
when it is ght enough for it not to
drop down. Tighten enough to hold lin-
er secure.
7) Next step is aligning the two halves.
To do so push back on the two halves un-
l the holes line up to screw in the two
stainless short screws. Once those two
screws are in and ght, you can fully se-
cure the front secon.
8) Repeat these steps on the opposite
side. Once you have the inner fenders
secure proceed to step 9.
9) Connect all of the cables to the wa-
terproof receivers and screw them in
unl they are secure. (The order of the
wires does not maer)

10) Connect the posive and negave
cables directly to the baery. (Note:
You may need to strip some of the out-
er sleeve of the wire in order for the
cables to reach
11) Find a secure place to mount the
control module. One of our favorite
places to mount it is on the subframe
next to the baery. Zip e and tuck
away excess wire.
12) Use a QR Scanner to scan the QR
label on the module that matches your
phone model. Or go to the App store
for your phone and download the app
tled BLEDIM.
13) Be sure that your Bluetooth is turned on and
connect to the device tled A9081BF7 (You can
edit the name of the device within the app) Once
connected open the app and select the device.
To turn on the lights push the “On Symbol” in the
app. To change colors select a color from the
menu or create your own by selecng a blank
space.
14) Be sure to turn o the LED lights if the vehi-
cle will be sing for an extended period of me
so that you don’t drain your baery.

*Before installing the front liners you can use super glue to x the “DV8” logo to the mesh
screen to avoid rales.
*You can add a mounng point on front corner near turn signal if using full armor fenders.
*You can trim the liners with n snips so you can clear most aermarket suspension set-ups.
( go slowly and in secons with the correct le center right set.
You’re all done! Tip: Be creative, you can easily customize these to match your color scheme.
HELPFUL TIPS:
/
