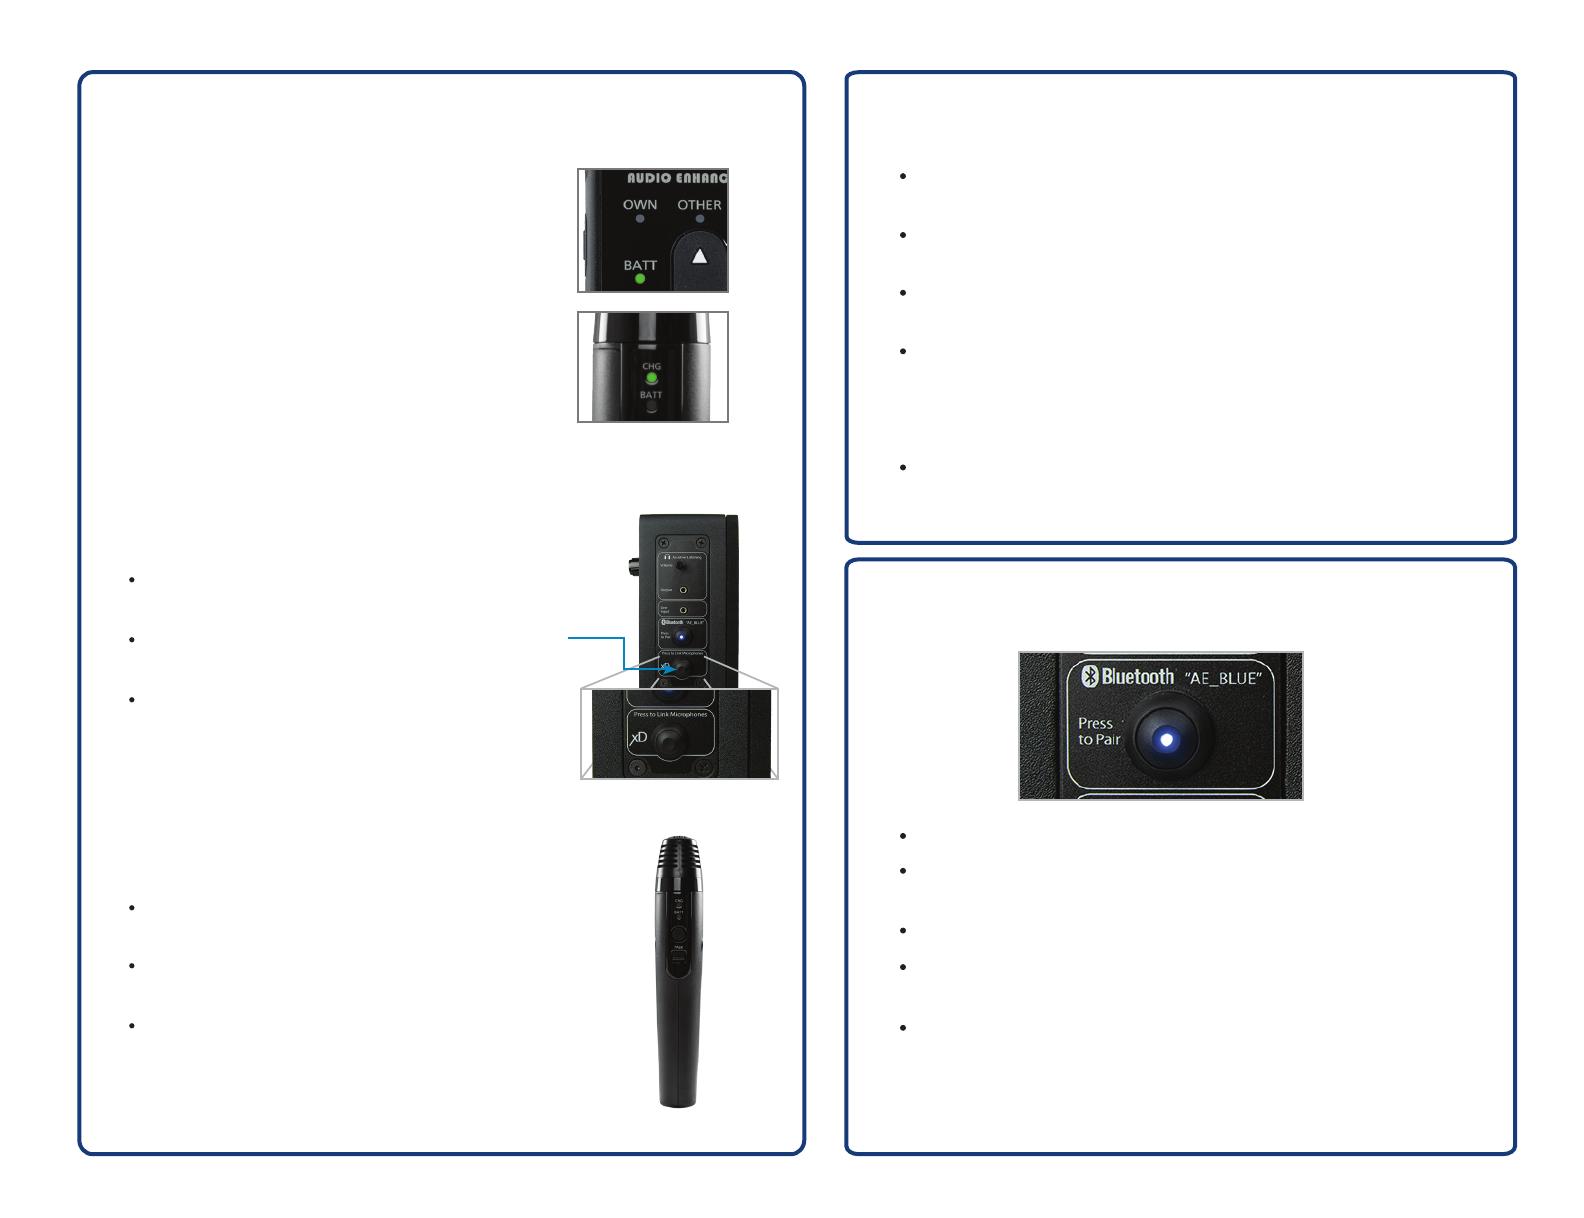
Bluetooth Pairing
Activate Bluetooth on your Bluetooth-enabled device.
Press the Bluetooth pairing button on the side of the
speaker (the blue LED in the switch will start ashing).
Select “AE_BLUE” from the menu on your Bluetooth device.
Volume of the Bluetooth input is controlled from the user’s
device. Typically this is the volume control on your phone.
To pair a new device to the BEAM, rst disconnect the paired
device, then follow the directions above for the new device.
Please Note: The BEAM pairing button must be pressed each time a
previously paired device is brought back into range of the BEAM.
Ensure that two microphones are already paired to the
BEAM and turned on.
Turn mic o: ip the TALK switch down.
The green BATT light will turn o.
Press and release the XD LINK button on the side of
the speaker.
Press and hold the PWR/LINK button and TALK
pushbuttons together on the Media Microphone until a
beep is heard from the speaker. Pairing will take longer
than usual—approximately 10 seconds.
The LINK LED will now function as the Media Channel
power indicator.
*
DC-40716.01
Pairing Microphones to the BEAM Pairing Media Microphone to the BEAM
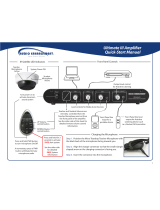
Teacher/Mic360 Microphone
Handheld Microphone
4
Any microphones purchased with the BEAM
should already be paired. You can check this
by turning on your Teacher, Mic360 and
Handheld Microphones (Teacher Mic: press
PWR for 1 second; Handheld Mic: ip TALK
switch up). If the LED under the BATT
indicator turns green, the mic is paired. If the
LED blinks another color (orange), then turn
o your microphones and use the following
instructions to pair them to the BEAM.
Turn mic o: ip the TALK switch down.
The green BATT light will turn o.
Press and release the XD LINK button on
the side of the speaker.
Press and hold the PWR/LINK button and
TALK pushbuttons together on the
Handheld Microphone until a beep is
heard from the speaker.
Turn mic o: press and hold PWR/MUTE until
the green BATT light turns o.
Press and release the XD LINK button on the
side of the speaker.
Press and hold the PWR/MUTE and REC
buttons on the Teacher/Mic360 Microphone
until a beep is heard from the speaker.
www.AudioEnhancement.com • 800.383.9362
Teacher Mic Handheld Mic