Page is loading ...

Workrite Ergonomics | 800.959.9675 www.workriteergo.com 1 of 3
0.4126"
#3 Drive
0.134"3/4"
0.216"
#12 Screw Size
Tools Required:
Required, Sold Separately:
Desk or Table
Included:
⅛" Drill Bit Clamp (2x)4 mm Hex Key #3 Phillips Screwdriver
or Drill/Driver
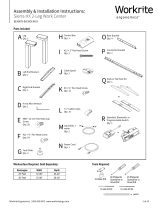
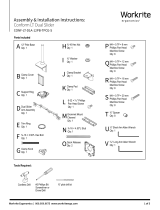
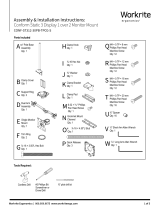
ID Part Name Qty
AHanging Pedestal 1
B #12 × ¾" Phillips Pan Head Screws 6
Cordless Drill
Assembly & Installation Instructions:
Hanging Pedestal
ACC-HPED-X
WARNING: Installation on table with payload below 200 lb not recommended
Weight capacity of Hanging Pedestal is 30 lb
NOTE: Different worksurface materials may require alternative mounting screws
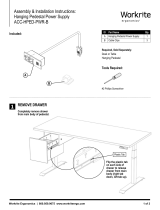
Completely remove drawer
from main body of pedestal.
Flip the plastic tab on
each side of drawer to
release drawer from
main body (right tab
down, left tab up).
REMOVE DRAWER
1
Main Body
Mounting Bracket
Plastic Tab
Drawer
AB

2 of 3 Workrite Ergonomics | 800.959.9675 www.workriteergo.com
Determine where to install the mounting
bracket on the main body.
When main body is positioned ⅞" from
front edge of worksurface, mounting
bracket should be positioned as far back
as possible under the worksurface.
If necessary, reposition bracket on the
main body by removing the two M6 bolts
with 4 mm hex key and shifting bracket.
Then replace and tighten bolts.
DO NOT DRILL DEEPER THAN
¾" INTO WORKSURFACE
Remove clamps and main body
from worksurface
Pre-drill pilot screw holes (x6) on under-
side of worksurface. If using provided
hardware, use ⅛" drill bit.
Position main body ⅞" offset from the front edge
and clamp it to underside of worksurface
Use pencil to mark holes (x6)
WARNING: 1" space required between
main body and other objects (switch, legs, control boxes)
3.1
3.2
3.3
2.1
2.2
2.3
DETERMINE REAR BRACKET LOCATION
ATTACH MAIN BODY TO WORKSURFACE
2
3
Mounting Bracket
Crossbar
Main Body
Clamps
Mounting Bracket
⅞" offset
M6 Bolts
Worksurface Front Edge
Previously Marked
Pilot Screw Holes

3 of 3 Workrite Ergonomics | 800.959.9675 www.workriteergo.com
Reclamp main body to underside of worksurface
making sure to line up the holes on the main body
to the pre-drilled holes
Attach main body to worksurface using (x6)
#12 × ¾" Phillips pan head screws (B).
REMOVE CLAMPS AND INSERT DRAWER
1500407 Rev B
4.1
4.2
ATTACH REAR BRACKET AND MAIN BODY TO WORKSURFACE
If the worksurface which the
hanging pedestal is being
mounted to is not flat, spacers
may be required to mount.
4
B
#3 Phillips Screwdriver
#12 × ¾" Phillips Pan Head Screw
5
Drawer
/
