Workrite Ergonomics Bluetooth Pro Switch Installation guide
- Type
- Installation guide

Workrite Ergonomics | 800.959.9675 www.workriteergo.com 1 of 2
Assembly & Installation Instructions:
Blue tooth Switch for Sierra SEHX & Fundamentals
BT-PROSWITCH
Parts Included
A Standard Switch
Qty: 1
Position Switch to Worksurface
0.75”
17.90mm
2.00”
50.80mm
Switch Housing
Position the Switch Housing 0.75" from the front of the worksurface and 2” from the side; mark the
pilot holes.
Use a ⅛" drill bit to drill pilot holes for the Switch. You may wish to mark your drill bit so you do not
drill any more than ¾" deep and damage tour worksurface top.
Do not drill all the way through worksurface!
B #8 × 1½” Flat Head
Screw
Qty: 2
1
a
b
1a
1b

Workrite Ergonomics | 800.959.9675 www.workriteergo.com 2 of 2
1500465 Rev A
B #8 × 1 ½" Phillips
Flat Head Screw
#8 × ⅝" Pan Head Screw
Attach Switch
Initialize Table
Press and hold the paddle until the workcenter
moves all the way down and the display reads
22.5’ then release it.
Press and hold the paddle AGAIN until the
workcenter moves down then up slightly.
■ Your Sierra SEHX or Fundamentals FDEX
workcenters are now ready to use
■ For FDLX, the readout needs to be changed to
read 27.5” using “Adjusting Display Height” step
in User Guide.
For User Guide, GO TO www.workriteergo.com/bt-proswitch
Using two #8 × 1½” Phillips Flat Head Screws (B),
mount the Switch (A) to worksurface
Attach P-Loops to secure cable using
#8 × ⅝” Pan Head Screw
Do not overtighten the cable
Do not overtighten the screws
B
A
2
3
Hardware at actual size
a
b
a
b
2a
2b
2b
Hardware at actual size
-
 1
1
-
 2
2
Workrite Ergonomics Bluetooth Pro Switch Installation guide
- Type
- Installation guide
Ask a question and I''ll find the answer in the document
Finding information in a document is now easier with AI
Related papers
-
 Workrite Ergonomics Fundamentals EX/LX Benching System, 2 Stations Installation guide
-
 Workrite Ergonomics Sierra HX Benching SEHX48-B04-WP-X Installation guide
-
 Workrite Ergonomics 2-Leg Equal Corners 46″-48″Wx23″-24″D, T464623 Installation guide
-
 Workrite Ergonomics Sierra/Fundamentals Programmable Switch User guide
-
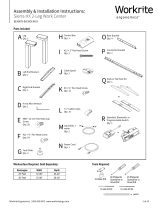 Workrite Ergonomics Sierra HX 2-Leg Installation guide
-
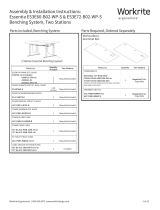 Workrite Ergonomics Essentia Benching System Installation guide
-
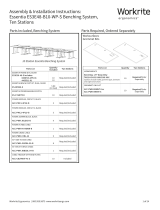 Workrite Ergonomics Essentia Benching System Installation guide
-
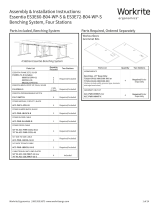 Workrite Ergonomics Essentia Benching System Installation guide
-
 Workrite Ergonomics Essentia Benching System Installation guide
-
 Workrite Ergonomics Essentia Benching System Installation guide
Other documents
-
Workrite Sierra HX 2-Leg Installation guide
-
Workrite Sierra HX 2-Leg Installation guide
-
 ISE SB-ASC2-3-23-SM-DRMS Assembly And Installation Instructions Manual
-
Workrite Fundamentals EX/LX 3-Leg 54-72″, 42-72″ Installation guide
-
Workrite Fundamentals EX/LX 3-Leg 54-72″, 42-72″ Installation guide
-
Workrite Sierra HX 3-Leg Installation guide
-
Workrite Sierra HX 3-Leg Installation guide
-
Workrite Conform ST 303 Installation guide


