Page is loading ...

Halco ProLED Select Direct Fit
Gimbal Installation Guide
®
© 2023 Halco Lighting Technologies, LLC. All rights reserved. Halco and ProLED are registered trademarks of Halco Lighting Technologies. All sizes and specications are subject to change. 05102023
Halco Lighting Technologies | 2940 Pacic Drive | Norcross, GA 30071 | Toll Free 800.677.3334 | Phone 770.242.3612 | Fax 800.880.0822 | halcolighting.com | Atlanta | Cleveland | Houston | Chicago | Phoenix
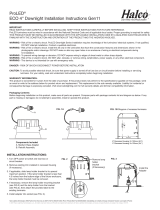
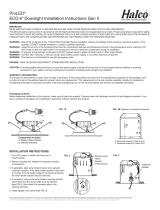
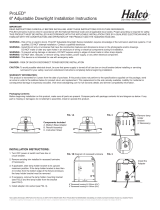
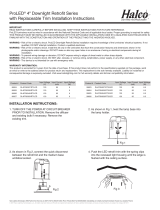
Figure 1
Figure 3
hole in the ceiling, as figure 1
2. Connecting the wire as figure 2 and make sure insulation protection,
then pull the fixture spring in vertical direction.
3. Pushing the fixture to the ceiling hole, and make sure well fixed.
Please consult a qualified electrician for hanging fixture and wiring.
CAUTION: Before starting the installation,disconnect the power by turning
off the circuit breaker or by removing the fuse at the fuse box. Carefully unpack and identify all parts
before assembly
Junction box
Ceiling
LED
Driver
AC-L
AC-N
AC-L
AC-N
LED
Driver
Figure 2
Recessed
Downlight Spring
clip
/
