Page is loading ...

ASSEMBLY INSTRUCTIONS
B1655-050 OBSIDIAN DRESSER
No ITEM Qty
A
Dresser
1 pc
B
Leg
4 pcs
C
Bottom Support Leg
1 pc
PARTS LIST
NOTE : MUST TIGHTEN SCREWS PERIODCALLY WITH USE SCREW WILL BECOME LOOSE CHECK TIGHTNESS OF ALL SCREW EVERY 6-8 WEEKS.
No ITEM Qty
1JCBC M6 x 2" Blk 4 pcs
2Spring Washer 1/4" Blk 4 pcs
3Flat Washer 1/4"IDx6/8"OD
Blk 4 pcs
4 ALLEN KEY
M4 x 2 9/16" Blk 1 pc
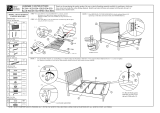
STEP 1 : Pull the drawer and take out the Bunfoot carton ( B ). Attach the Bunfoot ( B ) at the bottom Night Stand ( A ) used JCBC ( 1 ) with Spring
Washer ( 2 ) Flat Washer ( 3 ) and tighten with Allen Key ( 4 ).
BB
1
2
3
COMPLETED ASSEMBLY
A
LEVELER ADJUSTER
C
STEP 2 :
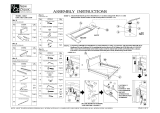
Remove handle using a Philips head screw driver (NOT PROVIDED) as shown in illustration
STEP - A. Re-install the handle as per diagram STEP - B. Repeat STEP - A STEP - B until
handle are attached correctly.
HARDWARE LIST
NO COMPONENT DRAWING QTY
ADresser 1 pc
BBun Foot 4 pcs
CSupport Bottom Leg 1 pc
NO COMPONENT DRAWING QTY
1JCBC M6 x 2" Blk 4 pcs
2Spring Washer 1/4" Blk 4 pcs
3Flat Washer 1/4"IDx6/8"OD Blk 4 pcs
4Allen Key M4 x 2 9/16" Blk 1 pc
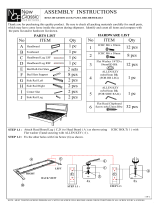
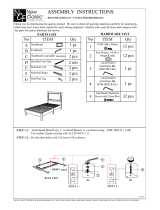
Thank you for purchasing this quality product. Be sure to check all packing materials carefully for small parts,
which may have come loose inside the carton during shipment. Identify and count all items and compare with
the parts list and/or hardware list shown.
Handle
Handle
STEP A STEP B
STEP A STEP B
4
/


