Logo on white, gray
or any lighter shade
when printing color
Logo on Pantone
2945 or any darker
shade when printing
color
Logo on white
or light shade when
printing grayscale
Logo on black or
dark shade when
printing grayscale
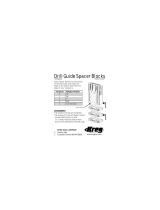
Safety Guidelines
2.
Logo on white, gray
or any lighter shade
when printing color
Logo on Pantone
2945 or any darker
shade when printing
color
Logo on white
or light shade when
printing grayscale
Logo on black or
dark shade when
printing grayscale
KREG TOOL COMPANY
201 Campus Drive
Huxley, Iowa 50124
www.kregtool.com 800.447.8638
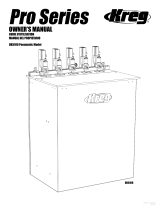
Safety Guidelines
• To avoid injury, never place hand under clamping cylinders while adjusting them.
• When drilling, make sure drill comes to a complete stop before removing or securing workpiece.
• Don’t use in dangerous environment. Keep work area well lit.
• Keep children and visitors away. All children and visitors should be kept a safe distance from work area.
• Wear proper apparel. No loose clothing, gloves, neckties, rings, bracelets, or other jewelry to get caught in
moving parts. Nonslip foot wear is recommended. Wear protective hair covering or hat to contain long hair.
• Maintain tools in top condition. Keep tools sharp and clean for best and safest performance
• Disconnect tools from power supply before servicing.
• Use recommended accessories. The use of improper accessories may cause hazards.
• Never sit or stand on table. Serious injury could occur if the table is tipped or falls over.
• Check damaged parts. Before further use of the tool, a guard or other part that is damaged should be carefully
checked to ensure that it will operate properly and perform its intended function. Check for alignment of
moving parts, binding of moving parts, breakage of moving parts, mounting, and any other conditions that may
affect its operation. A guard or other part that is damaged should be properly repaired or replaced.
• Drugs, alcohol, medication. Do not operate table while under the inuence of drugs, alcohol or any medication.
WARNING:
!
This product can expose you to chemicals including Acrylonitrile
and other chemicals, which are known to the State of California to cause cancer
and reproductive harm. For more information go to www.P65Warnings.ca.gov.
WARNING:
!
Drilling, sawing, sanding or machining wood products can expose you to wood dust, a
substance known to the State of California to cause cancer. Avoid inhaling wood dust or use a dust mask
or other safeguards for personal protection. For more information go to www.P65Warnings.ca.gov/wood.