If you have... You should...
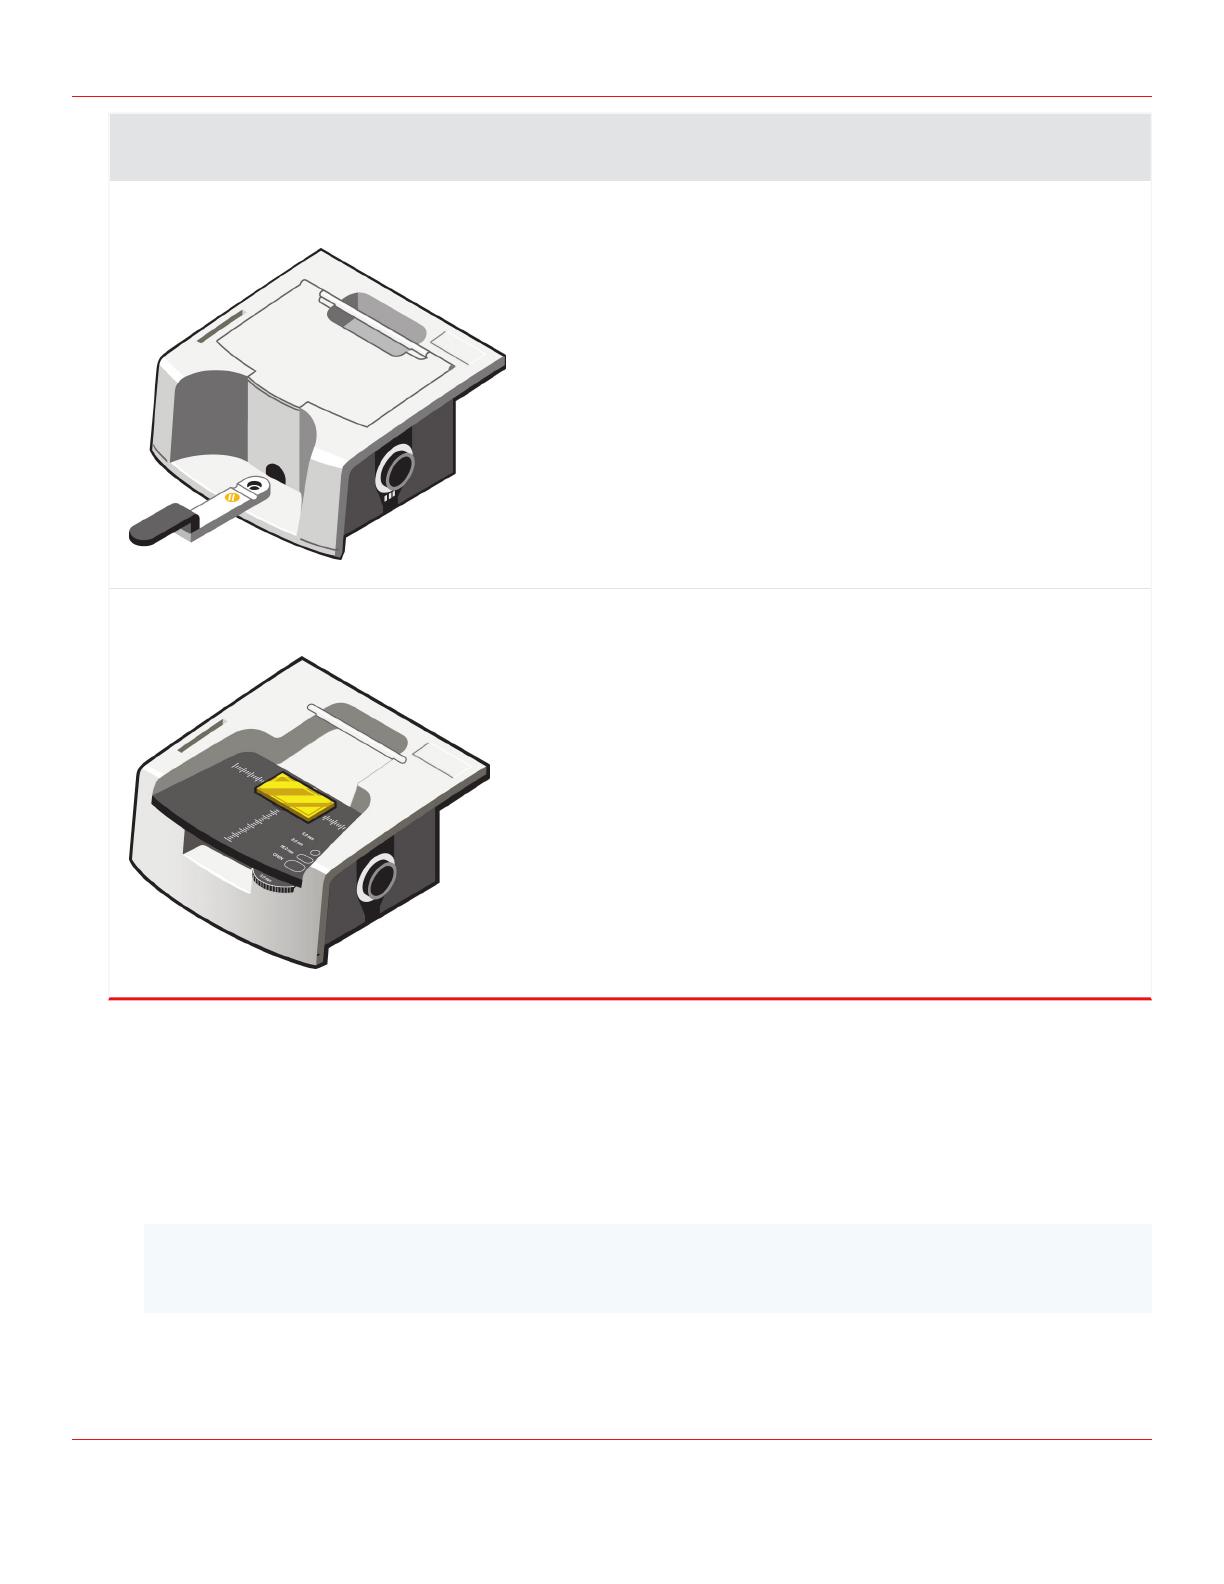
A DRIFTS accessory
Fill the cup with a sample. A good first
sample is a ground aspirin tablet diluted to 3-
5% in KBr powder. You do not need to
overfill the cup.
A specular reflection accessory
Place the sample upside down on the
accessory. A good first sample is a piece of
shiny metal, like aluminum, with a thin
coating of vegetable oil. Add a drop of oil,
then wipe the metal with a cloth so that a thin
layer of oil remains.
4. Now, press the OK/Enter button on the integrated touch panel to measure a sample spectrum.
Alternatively:
In OMNIC Paradigm software, select Start Sample Measurement in the spectra tab and wait for the
process to complete.
When the data measurement is complete, the sample spectrum will be displayed.
Note You can change your measurement name to whatever you desire. If you do not, the default
name will simply be the date and time of measurement.
13


