Page is loading ...

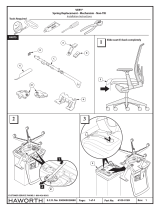
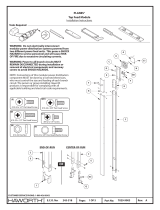
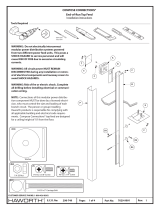
PARTS - TABLE STOP
Table Stop
Installation Instructions
ECHO®
Scale 1 : 1
0 11/2
1/4 1/4
No Tools Required
Rev:
Page:
E.C.O. No:
CUSTOMER SERVICE PHONE: 1-800-426-8562
1629-031 1 of 3 6100-0233
Part No:
#2
#10-24 Self Locking
Hex Nut
(S150)
#10 x 1/2" Hex Head Washer Screw
(S314)
#8 Hex Nut
(S313)
#8 x 1/2" Pan Head
(S312)
S150
S312
S313
S314
R
R2
S150
S312
S313
S314
R
R2
S
5/16”
3/8”

S
Rev:
Page:
E.C.O. No:
CUSTOMER SERVICE PHONE: 1-800-426-8562
1629-031 2 of 3 6100-0233
Part No:
#8 Hex Nut
(S313)
#8 x 1/2" Pan Head
(S312)
1Install table stop brackets (R) to table stop (S)
TOP VIEW
0.0”
NOTE: Postions table
stop as shown below.
NOTE: Tether Stop is installed at
the same time as a table foot.
Refer to tether instructions
(61000228)
B
S
P
S
2Rotate to install table stop (S)
NOTE: Align stop
brackets (R) with
power access holes
located in panel.
NOTE: Rotate table stop brackets (R)
into power access holes and insert
tab (S2) into tether foot (P).
S312
S313
R
2
INSERT
TAB
1
ROTATE
S
S2
P
R

Rev:
Page:
E.C.O. No:
CUSTOMER SERVICE PHONE: 1-800-426-8562
1629-031 3 of 3 6100-0233
Part No:
#10-24 Self Locking
Hex Nut
(S150)
#10 x 1/2" Hex Head Washer Screw
(S314)
3Install raceway brackets (R2)
4Install raceway cover(s)
5Refer to Tether instructions
(61000228)
1
3
2
SLIDE
S150
S314
R
R2
R2
S
S
CAUTION
M1
P
/


