MiniFinder Pico User manual
- Category
- GPS receiver modules
- Type
- User manual
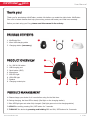
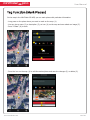
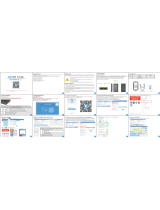
MiniFinder Pico is a compact and versatile tracking device designed to provide peace of mind and protection for your loved ones. With its advanced GPS and GSM technology, Pico allows you to monitor, locate, and communicate with your loved ones remotely. Keep track of their whereabouts, set up safe zones, receive alerts for emergencies, and make two-way calls for added safety. Pico is your reliable companion for ensuring the safety of your loved ones, whether they're elderly, children, or individuals with special needs.
MiniFinder Pico is a compact and versatile tracking device designed to provide peace of mind and protection for your loved ones. With its advanced GPS and GSM technology, Pico allows you to monitor, locate, and communicate with your loved ones remotely. Keep track of their whereabouts, set up safe zones, receive alerts for emergencies, and make two-way calls for added safety. Pico is your reliable companion for ensuring the safety of your loved ones, whether they're elderly, children, or individuals with special needs.


-
 1
1
-
 2
2
-
 3
3
-
 4
4
-
 5
5
-
 6
6
-
 7
7
-
 8
8
-
 9
9
-
 10
10
-
 11
11
-
 12
12
-
 13
13
-
 14
14
-
 15
15
-
 16
16
-
 17
17
-
 18
18
-
 19
19
-
 20
20
-
 21
21
-
 22
22


MiniFinder Pico User manual
- Category
- GPS receiver modules
- Type
- User manual
MiniFinder Pico is a compact and versatile tracking device designed to provide peace of mind and protection for your loved ones. With its advanced GPS and GSM technology, Pico allows you to monitor, locate, and communicate with your loved ones remotely. Keep track of their whereabouts, set up safe zones, receive alerts for emergencies, and make two-way calls for added safety. Pico is your reliable companion for ensuring the safety of your loved ones, whether they're elderly, children, or individuals with special needs.
Ask a question and I''ll find the answer in the document
Finding information in a document is now easier with AI
Related papers


Other documents
-
APM PT-3 User manual
-
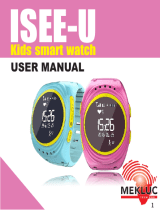 Mekluc ISEE-U Operating
-
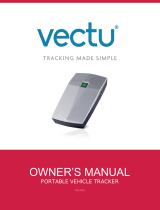 Aspenta Vectu Owner's manual
-
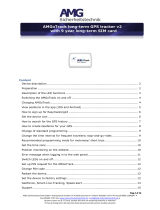 AMG-Sicherheitstechnik AMGoTrack User manual
-
 AOYA T802 User manual
-
 Sentar Q60 User manual
-
Garmin Alpha 200i F et TT 15F Owner's manual
-
Garmin Pachet pentru monitorizarea cainilor Alpha 200i/T 5 Owner's manual
-
 MobilMAX MX-LOCare BR1 User manual
-
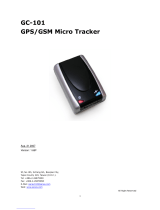 Sanav GC-101 User manual


