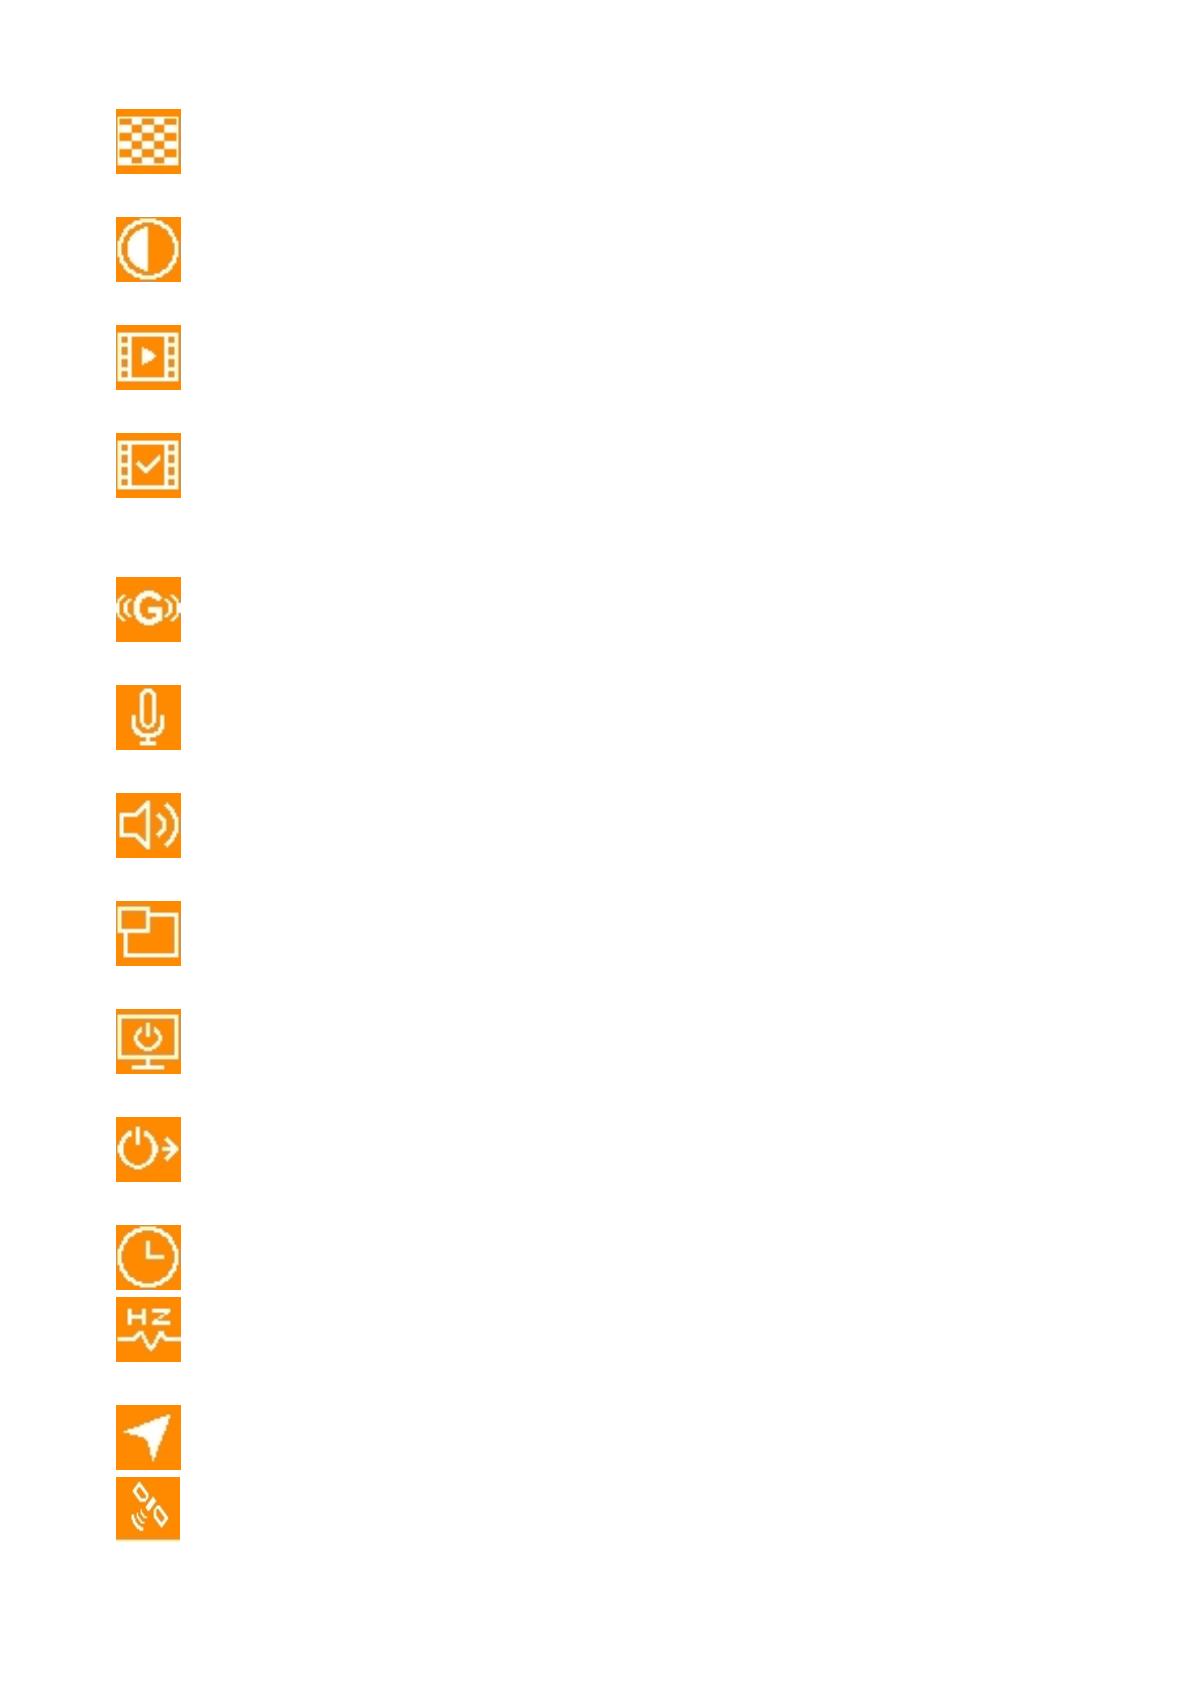
Transcend A4Z-DP520 User manual

Category
Drive recorders
Type
User manual

This manual is also suitable for

User’s Manual
DrivePro 520
Car Video Recorder
(Version 1.0)
Table of Contents
1. Introduction
..............................................................................................................................
2
2. Features.....................................................................................................................................2
3. Package Contents
...................................................................................................................
3
4. System Requirements
............................................................................................................
4
5. Safety Precautions..................................................................................................................5
6. Getting Started
.........................................................................................................................
6
Inserting a microSD Memory Card
.......................................................................................................
7
Mounting the DrivePro............................................................................................................................ 8
Connecting to Power
...............................................................................................................................
9
Recording Screen...................................................................................................................................10
Function Buttons
....................................................................................................................................
10
LED Indicator Reference Chart........................................................................................................... 11
Setting the Date, Time and Time zone.............................................................................................. 11
7. Recording Videos
.................................................................................................................
12
Emergency Recording...........................................................................................................................12
Low Battery.............................................................................................................................................. 13
8. Playing Videos and Browsing Photos
.............................................................................
14
Playing Videos / Browsing Photos.................................................................................................... 14
Deleting Videos/Photos
........................................................................................................................
15
Protecting Videos................................................................................................................................... 15
9. Settings....................................................................................................................................16
10. Using the DrivePro App
......................................................................................................
20
Downloading and Installing the App................................................................................................. 20
Connecting to the DrivePro................................................................................................................. 20
11. DrivePro Toolbox™ Software
............................................................................................
21
12. Transferring Files to a Computer..................................................................................... 22
13. Troubleshooting....................................................................................................................25
14. Specifications
........................................................................................................................
26
15. Recycling and Environmental Protection...................................................................... 27
16. Federal Communications Commission (FCC) Statement.......................................... 28
17. Two-year Limited Warranty
................................................................................................
29
18. GNU General Public License (GPL) Disclosure............................................................30
19. End-User License Agreement (EULA)............................................................................. 30
3
1. Introduction
Transcend’s DrivePro 520 Car Video Recorder is an advanced dual-lens in-car recorder that is specifically
designed to capture real time videos and photos of events happening outside and inside your vehicle.
Mounted on your cars windshield, the DrivePro 520’s front lens uses a 130° wide angle lens for the best
field of view, and records videos in crystal clear Full HD 1080P (30 FPS) with its F/1.8 large aperture to
ensure all the important details of your trip are recorded; the rear lens also features a rotatable 180° angle
lens and F/2.8 aperture that records videos in 720P (30 FPS) resolution. The rear lens built-in Infrared LEDs
will be automatically turned on in low light conditions, allowing recording at night. The DrivePro 520’s built-in
GPS receiver can log GPS coordinates, date and time into the recorded video footage. During an incident,
the GPS coordinates can help you precisely locate where you are so as to contact the Emergency Road
Service, police or insurance company. In addition, the video files recorded in G-Sensor emergency recording
mode are protected from being overwritten. The built-in Wi-Fi and battery and the handy snapshot feature
also ensure optimal user-experience.
2. Features
Smooth and detailed Full HD 1080P and 720P recording at 30fps resolution
Front and rear lenses to record what happens outside and inside your vehicle
Rear lens with Infrared LED for clear night vision and low light conditions
Built-in GPS receivers to locate your position
Built-in Wi-Fi function to let you operate the DrivePro on your mobile device
Bright 2.4-inch color LCD screen
130 degree wide angle lens
Bundled with a 32GB Transcend microSD memory card
Built-in dual-lens camera to capture real-time images while recording
Hi-Speed USB 2.0 connector for easy computer connectivity and fast file transfers
Record videos in .MP4 file format with 15Mbps high video bit rate
Built-in speaker and microphone
Built-in Li-Polymer battery
Support 13 languages
4
3. Package Contents
The DrivePro Car Video Recorder package includes the following items:
DrivePro Car Video Recorder
Adhesive Mount or Suction Mount
Car Adapter
32GB microSD Memory Card
Quick Start Guide
Warranty Card
5
4. System Requirements
System requirements for connecting the DrivePro to a computer:
A desktop or a laptop with a working USB port
Windows
®
7
Windows
®
8
Mac
®
OS X 10.8.2 or later
Linux
®
Kernel 2.6.38 or later
System requirements for using the DrivePro Toolbox:
Windows
®
7
Windows
®
8
Windows
®
8.1
6
5. Safety Precautions
These usage and safety guidelines are IMPORTANT! Please follow them carefully to ensure your own
personal safety, and help protect your DrivePro from potential damages.
General Use
For in-car use only.
For your safety, do not operate the DrivePro, or use the DrivePro App while driving.
Avoid placing the DrivePro in an extreme temperature environment.
Avoid splashing water or any other liquids on the DrivePro and accessories.
Do not use the DrivePro in an environment with strong magnetic fields or excessive vibration.
Only use the car adapter provided by Transcend. Other car adapters may not compatible with the
DrivePro.
Lighter sockets of some types of vehicles will still supply power after the car engine is turned off. If
your car is of this type, please unplug your car video recorder from the lighter socket to avoid
unnecessary power consumption and unexpected issues.
The GPS system is subject to changes which could affect its accuracy and performance. Transcend
does not guarantee the accuracy of GPS data, which should not influence your personal judgment
while driving.
GPS signals cannot penetrate buildings and metallic tinted films. The accuracy of GPS data
depends on the surroundings including the weather and the location it is being used (e.g. high
buildings, tunnels, undergrounds and forests).
Mounting Location
Never place the DrivePro where the driver’s view or deployment of airbags is obstructed.
Mount the DrivePro within the range of the windshield wipers to ensure clear visibility in rain.
WARNING: Remove the DrivePro carefully if it is mounted on a tinted window to prevent
damages to the tinted film.
Backing up Data
Transcend does NOT take any responsibility for data loss or damage during operation. We
strongly advise that you regularly back up data in your memory card to a computer or other storage
medium.
To ensure Hi-Speed USB 2.0 data transfer rates when connecting your DrivePro to a computer,
please check if the computer is installed correct USB drivers. If you are not sure how to check this,
please refer to the User’s Manual of the computer or motherboard for USB driver information.
7
6. Getting Started
Front Lens
Built-in Speaker
Rotatable Rear Lens
Reset Button
Power Button
Function Buttons
Emergency Button
mini USB Slot
microSD Slot
2.4” LCD Display
Bracket Socket
Infrared LED
Built-in Microphone
8
Inserting a microSD Memory Card
You must insert a microSD memory card into the DrivePro before you can start recording. Please use a
Class 6 or above microSD memory card with 8GB, 16GB or 32GB capacity.
1. Insert a microSD memory card into the appropriate card slot on the bottom of the DrivePro.
Note: Always format new memory cards in the DrivePro before using them for the first time. To
format a new memory card, press the Settings button during recording, and select Format Card.
WARNING: DrivePro 520 can only support FAT32 file format, but not NTFS.
The following table shows approximate recording time according to capacity and resolution (for
reference only):
Card Capacity (FAT32) Full HD 1080P 30fps HD 720P 30fps
8GB 0 hr 50 min 1 hr 10 min
16GB 1 hr 40 min 2 hr 20 min
32GB 3 hr 20 min 4 hr 40 min
2. To remove, push to eject the memory card out of the slot
WARNING: Do not remove the memory card during shutdown to avoid damages to the memory
card and loss of recorded videos
9
Mounting the DrivePro
1. Insert the mount bracket into the top of the DrivePro, and slide sideways until you hear a click.
2. Thoroughly clean and dry the area of the windshield you wish to mount the DrivePro. If possible,
mount the DrivePro in the middle of the windshield near the rear-view mirror for the best field of
view.
3. Peel off the protective film from the mount bracket’s foam sticker, and firmly attach the DrivePro to
the windshield.
4. Turn the adjustment knob anticlockwise to loosen, and then adjust the DrivePro’s position.
10
5. After the DrivePro is in the best position, turn the adjustment knob clockwise to make sure that the
DrivePro is securely locked in place.
Connecting to Power
Note: Insert a microSD memory card before connecting the DrivePro to your car’s lighter socket.
1. Connect the small end of the car adapter to the USB connector of the DrivePro.
2. Plug the other end of the car adapter in your car’s lighter socket.
3. After the car engine is switched on, the DrivePro will automatically turn on and start recording.
Note: To use for the first time, please set the date, time and time zone.
11
Recording Screen
(1) Recording status indicator
(2) Video resolution
(3) WIFI on indicator
(4) GPS fix indicator
(5) Voice record status
(6) Battery status
(7) Time/Speed
Function Buttons
Mode
Video Recording
Power / Wi-Fi Browse Files Settings Snapshot
Browse/Settings
Back* Up Down OK
Video Playback
Back*
Play/Pause
/
Protected/Unprotected Delete
View Photos
Back* Left Right Delete
*Press and hold the Power button to manually turn on/off the DrivePro in any mode.
12
LED Indicator Reference Chart
LED Wi-Fi Status Definition
On
Flashing Recording with Wi-Fi
Solid Standby with Wi-Fi
Off
Flashing Recording
Solid Standby
Setting the Date, Time and Time zone
To set the current date and time:
1. During video recording, press the Settings button .
2. Use / to select Date/Time Settings, and press .
3. Use / to adjust values, and press to move to the next block.
4. Repeat step 3 above until the date and time settings are complete.
To ensure the accuracy of GPS data, set the time zone:
Use / to adjust values, and press .
13
7. Recording Videos
After the car engine is switched on, the DrivePro will automatically turn on and start recording.
By default, one video file is saved for every 3 minute of recording. To adjust the recording length, please
refer to the Settings section in this manual.
After the car engine is switched off, the DrivePro will automatically save the current recording and power off.
Note: Lighter sockets of some types of vehicles will still supply power after the car engine is turned off. If
your car is of this type, please unplug your car video recorder from the lighter socket to avoid
unnecessary power consumption and unexpected issues.
Emergency Recording
The DrivePro can save up to 15 emergency video files. Video files recorded in emergency mode are
protected from being overwritten.
Manual Event Recording: During video recording, press the emergency button on the bottom of the
DrivePro to manually activate emergency recording mode. The emergency icon will appear on the screen
when activated.
14
G-Sensor Event Recording: During video recording, the DrivePro will automatically activate Emergency
Recording mode when detecting a collision.
If the G-Sensor sensitivity is set to “High”, even minor shocks will activate Emergency Recording
mode.
If the G-Sensor sensitivity is set to “Low”, only significant shocks will activate Emergency Recording
mode.
G-Sensor sensitivity can be adjusted or disabled in the Settings menu.
Note: The message, Max number of emergency files reached,” will pop up when 15 emergency files
have been saved. The earliest emergency file will then be overwritten by the latest emergency file
recorded.
Low Battery
Please charge the DrivePro immediately after viewing the Low Battery warning to avoid errors happening to
the system time. Please avoid using the built-in battery to record videos directly.
Note:
1. If you want to record by the built-in battery, please make sure that it has sufficient power supply.
2. It takes at least 5 hours to charge the battery from low to full by an AC/DC adapter (Output: DC5V1A).
15
8. Playing Videos and Browsing Photos
Playing Videos / Browsing Photos
1. During video recording, press the Browse button .
2. Use / to select either Normal, Emergency or Snapshot, and press .
3. Use / to select the desired file, and press to preview
4. Press to return to the video file list.
16
Deleting Videos/Photos
1. During playback of a video/photo file, press .
2. Use / to select the desired option and press .
Protecting Videos
1. During playback of a normal video file, press .
2. Use / to select the desired option and press .
17
9. Settings
In the Settings menu, you can adjust settings of video resolution, recording time and G-Sensor sensitivity. You
can also set the date/time, change the interface language, format the memory card, and upgrade firmwares
etc..
1. During video recording, press the Settings button
.
2. Use / to select the desired menu option and press .
3. Use / to select the desired setting, and press .
4. Press to return to the Settings menu.
18
Menu Options
Resolution: Set the resolution/quality for video recording.
Available options: 1080P (FHD) / 720P (HD)
Exposure Value: Adjust exposure composition value to lighten or darken the preview screen.
Available options: +2.0 ~ -2.0
Video Length: Set the recording length of each recorded video file.
Available options: 1 min / 3 mins / 5 mins
Video Stamp: Display the current time of the event or GPS information of the video being
recorded.
Available options: Enable / Disable
G-Sensor: Adjust the sensitivity of the G-Sensor.
Available options: Disable / Low / Medium / High
Microphone: Turn on/off the microphone during video recording.
Available options: Enable / Disable
Volume: Set the speaker volume level.
Available options 0 / 1 / 2 / 3 / 4 / 5 (You can choose 0 to switch on Silent Mode)
Display: Display both lenses or the front / rear lens only.
Available options: Both / Front / Rear
Auto Display Off: Set duration for display to automatically turn off after recording begins.
Available options: Never / After 1 min / After 3 mins
Delay Power Off: Schedule the DrivePro to shut down at a certain time.
Available options: Disable / 10 secs / 30 secs
Date/Time: Set the current date, time, format and time zone.
Light Frequency: Select the appropriate frequency to avoid flashing A/C light.
Available options: 50Hz / 60Hz
GPS Status: Display the number of GPS satellites received and GPS signal intensity.
Navigation System: Select a navigation system according to your preference.
Available options: GPS / Glonass
19
Speed Unit: Set the measurement unit of speed.
Available options: Kilometer / Mile
Language: Set the on-screen display menu language (13 languages are available).
Available options: English / / / / Deutsch / Español / Ελληνικά /
Français / Italiano / Русский / Português / Türkçe / 한국어
Information: Display the DrivePro’s current firmware version, card capacity and free space.
Format Card: Format the microSD memory card.
Available options: No / Yes
WARNING: Formatting will erase all the data stored in the card.
Firmware Upgrade: Keep your DrivePro up-to-date with the latest version downloaded from
Transcend website http://www.transcend-info.com/Support/service.
1. After downloading the firmware from Transcend website, decompress it and put it in the
“SYSTEM” folder in the microSD memory card.
2. Insert the microSD memory card that contains the latest firmware version.
3. Select Firmware Upgrade from the Settings menu, and press to start the firmware
detection process. The DrivePro will automatically find the latest firmware file.
20
WARNING: NEVER remove the power cord or the microSD memory card while the
firmware is being upgraded.
1. The DrivePro 520 will shut down and the red LED light will flash while the firmware is being
upgraded. After the upgrade is complete, the DrivePro will restart automatically.
2. If the DrivePro cannot be turned on due to firmware upgrade failure, please contact
Transcend customer service for technical support.
Restore Defaults: Reset all settings to factory default settings.
Available options: No / Yes
  • Page 1 1
  • Page 2 2
  • Page 3 3
  • Page 4 4
  • Page 5 5
  • Page 6 6
  • Page 7 7
  • Page 8 8
  • Page 9 9
  • Page 10 10
  • Page 11 11
  • Page 12 12
  • Page 13 13
  • Page 14 14
  • Page 15 15
  • Page 16 16
  • Page 17 17
  • Page 18 18
  • Page 19 19
  • Page 20 20
  • Page 21 21
  • Page 22 22
  • Page 23 23
  • Page 24 24
  • Page 25 25
  • Page 26 26
  • Page 27 27
  • Page 28 28
  • Page 29 29
  • Page 30 30
  • Page 31 31
  • Page 32 32

Transcend A4Z-DP520 User manual

Category
Drive recorders
Type
User manual
This manual is also suitable for

Ask a question and I''ll find the answer in the document

Finding information in a document is now easier with AI