Page is loading ...

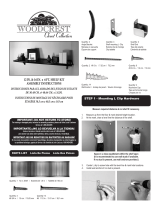
STEP 1 - Attaching J-Hook To Angle
Bracket
If your shelf is already in place, remove angle brackets and proceed with follow-
ing steps.
16IN. ANGLE BRACKET / J-HOOK ATTACHMENT
1. Measure 3in. back from front of angle bracket.
2. Mark 3in. location on bracket.
3. Align the J-hook at the mark.
4. Secure J-hook using #8 1in. screws
5. Repeat for remaining angle bracket.
PARTS LIST Lista De Piezas Liste Des Piéces
IMPORTANT: DO NOT RETURN TO STORE!
For missing or damaged parts, technical or assembly questions, please call John Louis Customer
Service at 1-800-480-6985
IMPORTANTE: ¡NO LO DEVUELVA A LA TIENDA!
Llame al servicio al cliente local de John Louis al 1-800-480-6985
para aclarar sus dudas sobre pérdidas, daños, asuntos écnicos y ensamblaje.
IMPORTANT: NE PAS RENVOYER OU RAPPORTER AU MAGASIN!
Si vous avez une question concernant l’assemblage, des piéces manquantes ou endommagées ou
un probléme technique, appelez le Service á la clientéle de John Louis au 1-800-480-6985.
6FT. BAR KIT ASSEMBLY INSTRUCTIONS
INSTRUCCIONES PARA EL ARMADO DEL JUEGO DE BARRAS DE 1.82M.
INSTRUCTIONS DE MONTAGE DU NÉCESSAIRE DE TRINGLES DE 1.82M
Quantity: 1
72 in. Metal Bar
Barra de Metal de 182.88cm
Tringles Métalliques de
1,828.8mm
Quantity: 2
J-Hook Hardware
El Gancho
Le Crochet
Quantity: 2
Bar End Hardware
Tope del Barra
Embouts de nition pour
tringle
Quantity: 4
#8 1 in. screw
#8 2.54cm. tornillo
Vis 25.4 mm #8
Quantity: 2
#6 1 1/4 Self Tapping Screw
Tornillo autoroscante de 4.445cm #6
Vis autotaraudeuse 31mm #6
12IN. ANGLE BRACKET / J-HOOK ATTACHMENT
1. Align J-hook ush with front of the angle bracket.
2. Secure J-hook using #8 1in. screws
3. Repeat for remaining angle bracket.
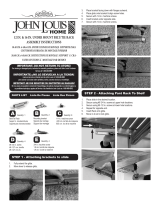
STEP 2 - Attaching Angle Bracket To
Wall
If your shelf was already in place, replace angle bracket at prior location. For
new bracket installation proceed with following steps.
1. Count over the number of slats for desired angle bracket position .
2. Place angle bracket into position

Ensure that the angle bracket is ush with the back wall and the underside
of the front shelf rail.
3. Insert #8 3in. screw into angle bracket.
4. Screw part way into wall to mark bracket location
5. Unscrew & remove bracket.
6. Use wall anchor at mark if no stud is present.
7. Insert the screw tip into the anchor & rotate angle bracket into position.
8. Secure bracket using #8 3in. screw.
9. Insert mushroom cap into angle bracket screw hole
10. Repeat for remaining angle bracket.
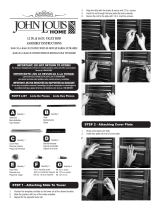
STEP 3 - Attaching Garment Bar
Measure required distance & cut garment bar if necessary.
1. Insert the bar end into the end of the garment bar.
2. Turn clockwise to tighten & repeat for opposite bar end.
3. Place the garment bar onto the J-hooks.
4. Secure the bar to the J-hooks using #6 1 1/4in. self tapping screws.
Installing Perpendicular / Corner Metal
Garment Bars
Follow metal garment bar installation process for 1st shelf.
1. Place a hanging item on the installed garment bar.
2. Use the edge of the garment to determine the end of the 2nd garment bar.
3. Allow for space between the end of the 2nd garment bar & clothing.
4. Install 2nd garment bar following metal garment bar installation process.
/
