Kohler K-T15201-4-CP Installation guide

Category
Sanitary ware
Type
Installation guide

This manual is also suitable for

Installation Guide
Two-Handle Bath/Shower Faucet
M product numbers are for Mexico (i.e. K-12345M)
Los números de productos seguidos de
M corresponden a México (Ej.
K-12345M)
Français, page“ Français-1”
Español, página“ Español-1”
K-T15201 K-T15211
K-T15225
1010464-2-B
Thank You For Choosing Kohler Company
We appreciate your commitment to Kohler quality. Please take a few
minutes to review this manual before you start installation. If you
encounter any installation or performance problems, please don’t
hesitate to contact us. Our phone numbers and website are listed on
the back cover. Thanks again for choosing Kohler Company.
Tools and Materials
Before You Begin
Please read all instructions before you begin.
Observe all local plumbing and building codes.
Shut off the main water supply.
Do not remove the thread protectors until instructed to.
Before installation, unpack the components and inspect them for
damage. Return the components to the carton until you are ready
to install.
Kohler Co. reserves the right to make revisions in the design of
faucets without notice, as specified in the Price Book.
Adjustable
Wrench
Strap
Wrench
Thread
Sealant
Plumbers
Putty
Hex
Wrench
1010464-2-B 2 Kohler Co.
1. Installing Acrylic Handles
Discard the thread protectors and apply a bead of plumbers putty
or other sealant around the edge of the escutcheons according to
the manufacturer’s instructions.
Turn each escutcheon clockwise onto the valves until they contact
the finished wall.
Remove any excess putty.
Close the valves (hot = counterclockwise, cold = clockwise).
Install the spline adapter onto the valve.
Slide the O-ring over the top of the insert.
Position the acrylic handle over the insert.
Align the handles. The higher flared end of each handle should
face away from the spout horizontally.
To adjust the alignment move the spline adapter slightly until the
desired alignment is achieved.
Fasten the handle to the valve using the screw and washer
provided.
Insert the cap.
Escutcheon
Valve
Apply
plumbers putty.
Spline Adapter
O-Ring
Insert
Handle
Washer
Cap
Screw
Kohler Co. 3 1010464-2-B
2. Install Lever Handles
Measure the distance from the top of the valve stem to the
finished surface.
Use the brass spline adapter and screw when the valve stem
height is between 1-3/16 (3 cm) and 2-1/8 (5.4 cm).
Use the plastic spline adapter when the valve stem height is
between 2-1/8 (5.4 cm) and 2-5/16 (5.9 cm).
If the brass spline adapter is required, attach it using the supplied
screw. The plastic spline adapter does not require a screw.
Close the valves (hot = counterclockwise, cold = clockwise).
Align the handles with each handle lever pointing away from the
spout horizontally.
If the handles are not properly aligned, lift a handle off the spline
adapter and move it one or two ridges until it is properly
aligned.
Attach the handle by tightening the handle bonnet onto the valve
body.
Escutcheon
Valve
Apply
plumbers putty.
Spline
Adapter
Escutcheon
Lever Handle
Plumbers Putty
Screw
Valve Body
Valve
Stem
Handle Bonnet
1010464-2-B 4 Kohler Co.
3. Install the Spout
Threaded Spout Installation
Remove the temporary nipple.
Apply thread sealant to the 1/2 nipple threads on both ends.
Install a 1/2 nipple to extend the indicated distance beyond the
finished wall.
Apply a bead of plumbers putty or other sealant around the inlet
of the spout according to the manufacturer’s instructions.
Carefully tighten the spout with a clean strap wrench and remove
all excess putty.
Flush hot and cold water through the spout for one minute.
Slip-Fit Spout Installation
Remove the temporary nipple.
Apply thread sealant and install a 1/2 copper tube so it extends
1-1/2 (3.8 cm) to 2-7/8 (7.3 cm) beyond the finished wall.
Deburr the copper tubing.
1/2" Copper
Tube
1-1/2" (3.8 cm) to
2-7/8" (7.3 cm)
Apply
plumbers
putty.
Setscrew
5/32" Hex
Wrench
Slip-Fit Spout
1/2" Nipple
3-7/8"
(9.8 cm)
1/2" Nipple
7"
(17.8 cm)
Apply plumbers putty.
Threaded Spouts
Kohler Co. 5 1010464-2-B
Install the Spout (cont.)
Loosen the setscrew with a 5/32 hex wrench.
Apply a bead of plumbers putty or other sealant around the inlet
end of the spout according to the manufacturer’s instructions.
Install the spout and carefully retighten the setscrew. Do not
overtighten the setscrew.
Remove all excess putty.
1010464-2-B 6 Kohler Co.
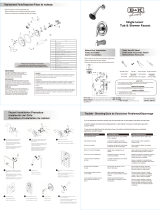
4. Install the Showerhead
CAUTION: Risk of product damage. To avoid plugging the
showerhead spray outlets, use thread sealant tape on the shower
arm threads. Do not use thread sealant compound (pipe dope).
Remove the temporary nipple.
Apply a bead of plumbers putty or other sealant to the
escutcheon according to the manufacturer’s instructions.
Slide the escutcheon over the shower arm.
Apply thread sealant on the shower arm threads and thread the
shower arm into the elbow.
Tighten with a clean strap wrench. Do not overtighten.
Flush the system for one minute.
Apply thread sealant to the shower arm threads, and thread the
showerhead onto the shower arm. Tighten securely.
Remove all excess putty.
5. Complete the Installation
Make sure all the connections are tight.
Open the drain.
Turn on the main water supply and check for leaks.
Open the hot and cold valves and check for leaks.
Run the water for about a minute and turn off.
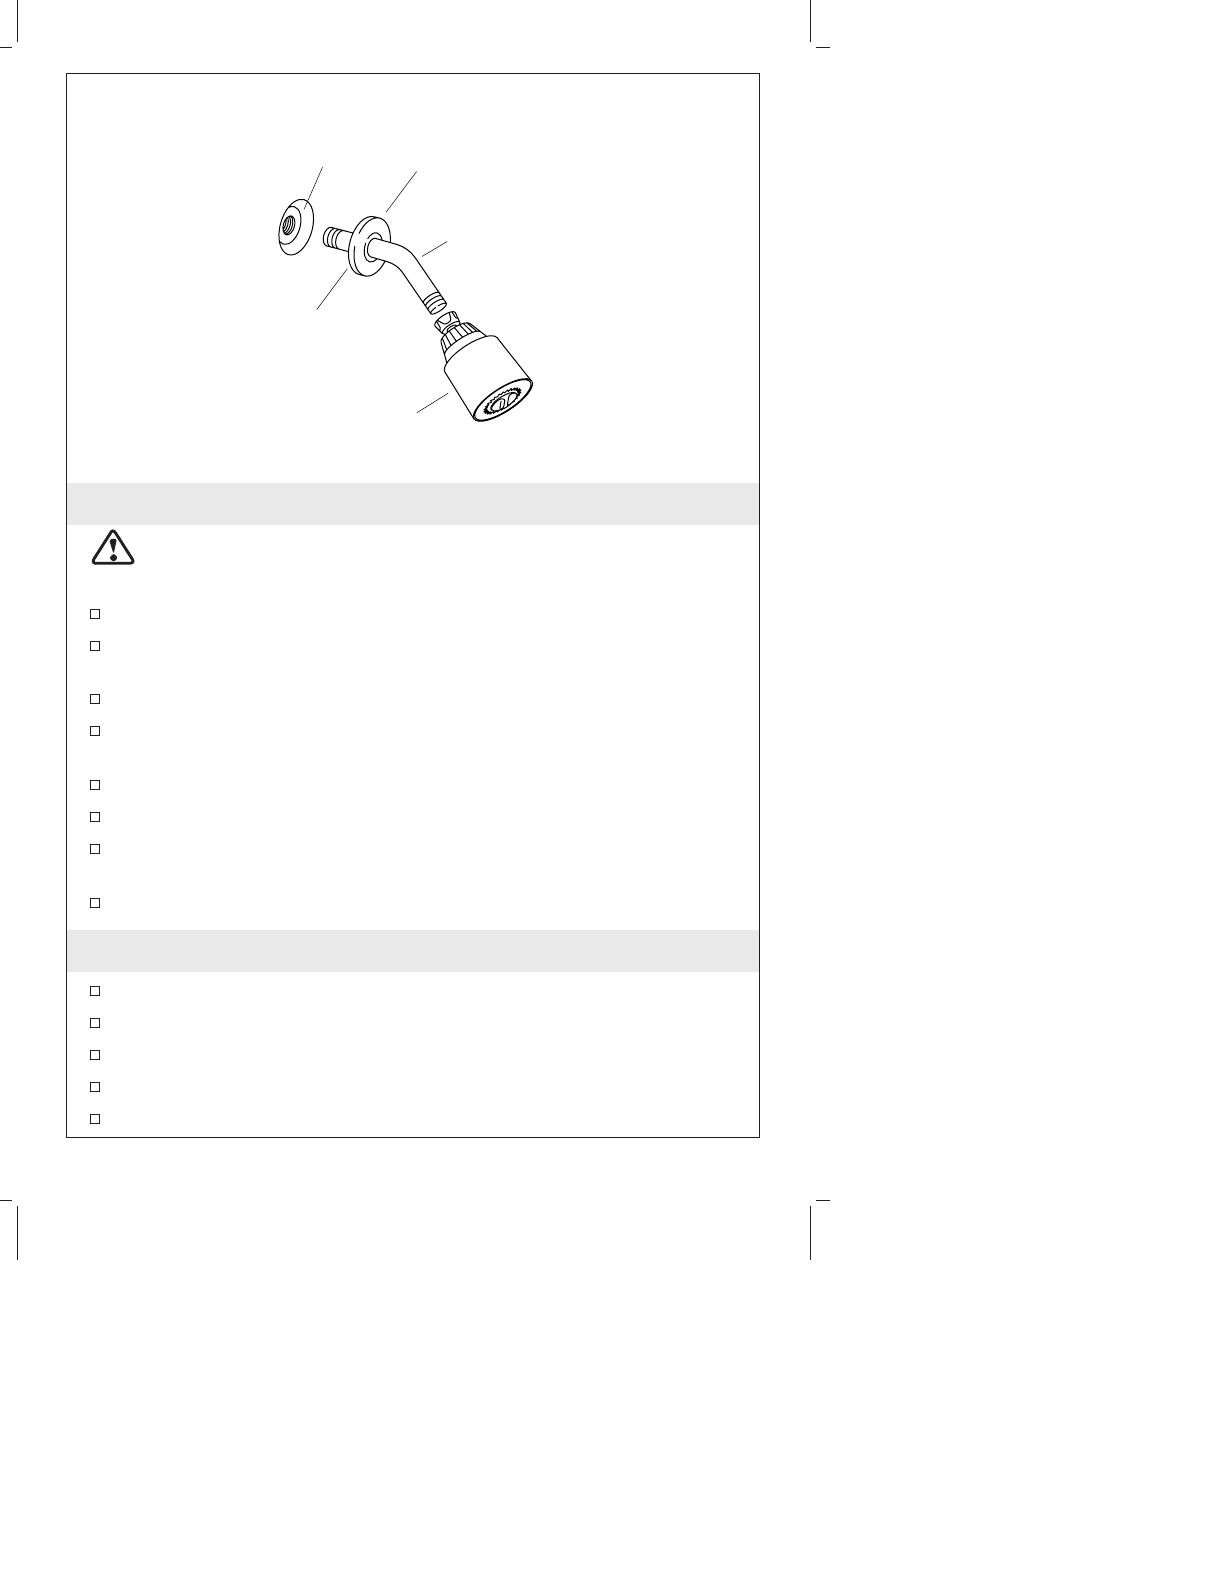
Escutcheon
Shower
Elbow
Apply
plumbers
putty.
Shower Arm
Showerhead
Kohler Co. 7 1010464-2-B
  • Page 1 1
  • Page 2 2
  • Page 3 3
  • Page 4 4
  • Page 5 5
  • Page 6 6
  • Page 7 7
  • Page 8 8
  • Page 9 9
  • Page 10 10
  • Page 11 11
  • Page 12 12
  • Page 13 13
  • Page 14 14
  • Page 15 15
  • Page 16 16
  • Page 17 17
  • Page 18 18
  • Page 19 19
  • Page 20 20
  • Page 21 21
  • Page 22 22
  • Page 23 23
  • Page 24 24

Kohler K-T15201-4-CP Installation guide

Category
Sanitary ware
Type
Installation guide
This manual is also suitable for

Ask a question and I''ll find the answer in the document

Finding information in a document is now easier with AI