iRobot Roomba 5210 User manual

Category
Robotic vacuum cleaners
Type
User manual
Discovery/400 series Owner’s Manual
Dear iRobot Roomba Owner,
Thank you for purchasing an iRobot Roomba vacuum cleaning
robot. You’ve joined the millions of people who clean with robots -
the smarter way to get it done.
Please take a few moments to read this manual and get acquainted
with your Roomba, to get the best performance from your robot.
If you have any questions, visit our website at www.irobot.com for
more information.
Register your robot to instantly activate your warranty and enjoy
these exclusive benefits:
• Take advantage of iRobot’s award-winning customer service
Get support tailored to your specific robot, including answers
to questions, maintenance tips, video demos, live chat and
more.
• Get product updates and other valuable information
Be among the first to find out about new robots, exclusive
discounts and special promotions.
When you register, you can also tell us about your experience
with your Roomba; iRobot listens to our customers and makes
enhancements to our robots based on your valued feedback. We’d
love to hear from you!
Register your robot right now at www.irobot.com/register.
On behalf of the entire team, thank you for choosing iRobot; we
appreciate your business, feedback and loyalty.
Here’s to robots that make a difference!
Yours for less chores and more life,
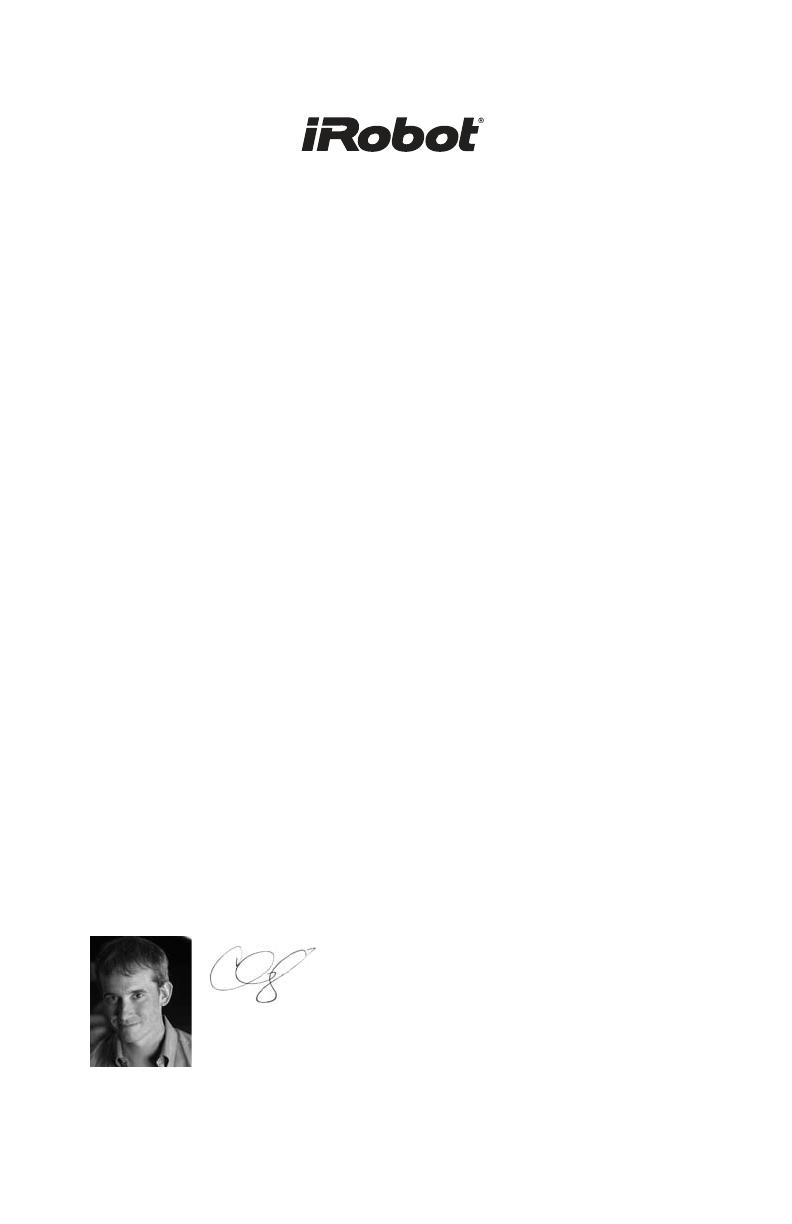
Colin Angle
Chairman, CEO and Co-Founder
iRobot Corporation
P.S. Don’t miss out on your exclusive benefits! Register your
Roomba online right now at www.irobot.com/register.
For more detailed information, visit: www.irobot.com 3
Important Tips
Roomba contains electronic parts. DO NOT submerge Roomba or spray it
with water. Clean with a dry cloth only.
For Best Performance
• Remove and clean Roomba’s brushes after every use.
• Empty Roomba’s bin and clean its lter after every use.
Use a Virtual Wall
®
(optional accessory) to keep Roomba cleaning where
you want it.
• Use your Roomba frequently.
Battery Life
To extend Roomba’s battery life and keep Roomba cleaning at peak
performance:
Always keep Roomba plugged in when not in use.
Recharge Roomba as soon as possible. Waiting several days to
recharge Roomba can damage the battery.
For storage off the charger, remove the battery from Roomba and store
in a cool, dry place.
Blue or black batteries should be stored after Roomba has been
used.
Yellow batteries should be stored after being fully charged.
4 iRobot Roomba Owner’s Manual
Table of Contents
iRobot Roomba Anatomy ..................................... 5 - 10
Cleaning Pattern .........................................................11
Cleaning Modes ..........................................................11
Cleaning System .........................................................12
Battery Storage and Charging ........................... 13 - 14
Virtual Wall (optional accessory for select models) ... 15 - 16
Home Base (optional accessory for select models) ........17
Remote Control
(optional accessory for select models) ............................18
Scheduler Remote Control
(optional accessory for select models) .................... 19 - 23
Maintenance ...................................................... 24 - 25
Troubleshooting ......................................................... 26
Important Safety Instructions ................................... 27
iRobot Customer Care .............................................. 28
For more detailed information, visit: www.irobot.com 5
Cliff Sensor
Openings
Edge-Cleaning
Side Brush
Vacuum Inlet
Replaceable
Caster Wheel
Battery
Flexible
Brush
Brush Guard Release Tabs
Brush Bearings
Brush
Guard
Main
Brush
Brush Caps
iRobot Roomba Anatomy
6 iRobot Roomba Owner’s Manual
iRobot Roomba Anatomy
Power
and Clean
Button
Virtual Wall
Sensor
Bin Release
Battery
Charger
Socket
Serial Port
Handle
Bin
4000 Model Series
For more detailed information, visit: www.irobot.com 7
iRobot Roomba Anatomy
User Interface
TM
Power
and Clean
Button
Virtual Wall
Sensor
Bin Release
Battery
Charger
Socket
Serial Port
Handle
Bin
410 Model Series
Spot
Cleaning
Button
Cleaning
Button
Status Light
Focus
Power Button
Charging
Indicator
8 iRobot Roomba Owner’s Manual
iRobot Roomba Anatomy
User Interface
411- 419 Model Series
Virtual Wall
Sensor
Bin Release
Battery Charger
Socket
Serial Port
Handle
Spot
Cleaning
Button
Cleaning
Button
Max
Cleaning
Button
Status Light
Dirt Detect
Power Button
Charging
Indicator
For more detailed information, visit: www.irobot.com 9
iRobot Roomba Anatomy
User Interface
420- 434 Model Series
Battery Charger Socket
Serial Port
Bin Release
Virtual Wall
Sensor
Handle
Power
Button
Spot
Button
Cleaning
Button
Max
Cleaning
Button
Status
Light
Dirt
Detect
10 iRobot Roomba Owner’s Manual
User Interface
435- 440 Model Series
iRobot Roomba Anatomy
Virtual Wall Sensor
Bin Release
Button
Battery Charger
Socket
Serial Port
Bin
CLEAN/
Power
Button
SPOT Button
SPOT Button
CLEAN/
Power
Button
For more detailed information, visit: www.irobot.com 11
Cleaning Pattern
Roomba is a robot that cleans floors differently than the way most people
clean their floors. Roomba uses its robot intelligence to efficiently clean
the whole floor, under and around furniture, and along walls.
Roomba calculates the optimal cleaning path as it cleans and determines
when to use its various cleaning behaviors.
Spiraling: Roomba uses
a spiral motion to clean a
concentrated area.
Wall Following: Roomba uses
this technique to clean the
full perimeter of the room and
navigate around furniture and
obstacles.
Room Crossing: Roomba
crisscrosses the room to
ensure full cleaning coverage.
TIP: For most efcient cleaning, clear your oor of clutter and use a Virtual
Wall to confine Roomba to one room.
TIP: Roomba takes approximately 25 minutes to clean an average room and
will pass over the same area of the floor multiple times to ensure total
floor coverage.
Cleaning Modes
Roomba will clean based on the cleaning mode you select. Roomba has
two cleaning modes:
Clean Mode
Roomba automatically calculates the room size and adjusts its cleaning
time appropriately.
Spot Mode
Roomba will spiral approximately three feet in diameter and then spiral
back to where it started, intensely cleaning a localized area.
12 iRobot Roomba Owner’s Manual
Cleaning System
Roomba features a patented three-stage cleaning system.
Floor Surfaces
Roomba works on wood, carpet, tile, vinyl, and linoleum, and adjusts
automatically to different floor types.
Roomba automatically senses stairs and other cliffs. Roomba is not
recommended for shag carpet or rugs with tassels.
1
Side brush
sweeps along
edge of walls and
into corners.
2
Two counter-
rotating brushes
scoop up dirt,
hair, and debris
into the bin.
3
Powerful vacuum picks up the
remaining fine particles, dirt, and
hair. The filter traps dust and
small particles.
Filter
For more detailed information, visit: www.irobot.com 13
Battery Storage and Charging
TIP: For best performance, charge Roomba’s battery overnight before using
Roomba for the first time.
Roomba is powered by a rechargeable battery.
Roomba’s battery can last for hundreds of
cleaning cycles if cared for properly.
Battery Life
To extend the battery life, iRobot recommends always storing Roomba
plugged in. For more details on how to maintain Roomba’s battery life,
visit www.irobot.com/support.
TIP: Recharge Roomba as soon as possible. Waiting several days to recharge
Roomba can damage the battery.
TIP: For storage off the charger, remove the battery from Roomba and store in
a cool, dry place.
Cleaning Time
You should fully charge Roomba’s battery before each cleaning cycle.
When fully charged, Roomba’s battery will last for at least one full clean
cycle.
16-Hour Refresh Charge
If Roomba has been left off the charger for an extended period, Roomba
will initiate a special 16-hour charge cycle. This extensive charge
refreshes Roomba’s battery and extends the battery life. While charging,
Roomba’s “Clean” button will pulse quickly. Note: For best results, do not
interrupt this Refresh Charge.
14 iRobot Roomba Owner’s Manual
Charging Lights
Roomba uses the CLEAN button light to indicate that it is charging.
Use the chart to determine that status of the battery.
CLEAN/Power
Indicator Light
Battery Status
Solid red Battery empty
Amber pulse Charging
Solid green Fully charged
Quick amber pulse 16-hour refresh charge
Charging Roomba
Charge Roomba by plugging the charger directly into Roomba’s battery
charger socket.
Or
For more detailed information, visit: www.irobot.com 15
Virtual Wall
®
(optional accessory for select models)
Virtual Walls create an invisible barrier
that Roomba will not cross. This invisible
barrier can be used to confine Roomba
to a particular room or area, and
prevent it from getting too close
to electrical or computer cords,
delicate objects on the floor, etc.
The Virtual Walls can be set to block
an opening up to seven feet long.
Note that the width of the Virtual Wall’s
beam also increases as its length increases,
creating a cone-shaped area which Roomba cannot pass. The Virtual Wall
also creates a halo of protection around itself, preventing Roomba from
getting too close.
Slim Virtual Wall (models 400-420)
The Virtual Wall requires 2 “D” batteries and
automatically shuts off after 135 minutes.
If the power light blinks green, the batteries
will soon need replacement. Use the slider
bar to adjust the length of the barrier.
A higher range will drain the battery faster.
TIP: Point the iRobot logo towards the opening you would like to block.
TIP: For best performance, place the Virtual Wall on the outside of the
doorway you wish to block.
TIP: Scheduling Virtual Walls (when programmed) will turn on a few minutes
before Roomba.
16 iRobot Roomba Owner’s Manual
Virtual Wall
®
(continued)
Compact Manual Virtual Wall
(models 430 and up)
A Manual Virtual Wall must be turned on
by hand at the beginning of the cleaning
cycle to activate the barrier. A Manual
Virtual Wall and its power light will shut
off after 135 minutes. When battery levels
are low, the Virtual Wall power light will
blink slowly to indicate that it needs new batteries.
Compact Auto Virtual Wall
(models 430 and up)
When an Auto Virtual Wall is set to “Auto”
mode, the power light blinks repeatedly
to indicate it is on. When battery levels
are low, the Virtual Wall blinks repeatedly
twice to indicate that it needs new batteries.
To save battery power, switch the Auto
Virtual Wall to “Off.” When in “Auto” mode, the
batteries should last approximately six months.
TIP: Point the arrows on top of the Virtual Wall towards the opening you would
like to block.
TIP: Point the arrows on top of the Virtual Wall towards the opening you would
like to block.
Compact Virtual Wall Battery Installation
To open the battery compartment, simply apply pressure on both iRobot
logos located on either side of the Virtual Wall and pull the bottom out,
separating the pieces.
Two “C” Alkaline Batteries
(not included)
Battery
Compartment
For more detailed information, visit: www.irobot.com 17
Home Base
®
(select models)
Roomba returns to the Home Base at the end of a cleaning cycle or when
its battery is running low. Roomba needs to find the infrared signal of the
Home Base in order to return.
Always keep the Home Base plugged in. When Roomba is on the Home
Base, the lights on the Home Base will be solid to indicate Roomba is
connected to the Home Base.
Home Base Location
You should position the Home Base on a hard level surface and in an
area where Roomba has a clear path to return to the dock at the end of a
cleaning cycle. If Roomba is unable to dock on its first attempt, it will try
again until it successfully docks.
The Roomba Remote, Virtual Wall and Home Base operate using an invisible
infrared beam. If they are all used in the same area, Roomba may see
multiple infrared signals and will not operate. The Remote WILL NOT dock
if you have a Virtual Wall near the Home Base. Fluorescent lights can also
impact Virtual Wall and Home base performance.
STAIRS
TABLE
CHAIR
RUG
18 iRobot Roomba Owner’s Manual
Remote Control
(optional accessory for select models)
The Remote Control lets you conveniently control Roomba’s functions.
You can use it to turn Roomba on and off, and steer it around your room
without bending down. It also gives you remote access to commands.
Power
Spot
CLEAN
Max
Directional
Buttons
Pause
Original Remote Control
SPOT
Roomba focuses on intensely cleaning a local area.
CLEAN
Roomba calculates the room size and adjusts its cleaning time
appropriately.
MAX
Roomba runs until battery is depleted.
PAUSE
Pause Roomba in the middle of a cleaning cycle. Press pause again
to continue.
SPOT
Roomba focuses on intensely cleaning a local area.
CLEAN
Roomba calculates the room size and adjusts its cleaning time
appropriately.
. . .
Models 435 - 499 Roomba enters Spot mode.
Directional
Buttons
SPOT
Button
CLEAN/Power
Button
. . .
Button
Remote Control
For more detailed information, visit: www.irobot.com 19
Scheduler Remote Control
(optional accessory for select models)
The Scheduler Remote Control is included with the Roomba Scheduler.
Other Roomba models are compatible with the iRobot Scheduler Remote
Control Upgrade.
Use the Scheduler Remote Control to program your cleaning times. Then
send your schedule to Roomba and the scheduling Virtual Walls. Install
the batteries and set the time before using for the first time.
Setting the Time
1
Open the Scheduler Remote Control’s front cover.
The display will turn red and read “SET TIME.”
2
Press New/Save and Delete simultaneously.
The display will change to read “SUN 12:00.”
3
Press to change the day.
4
Press to navigate to the hour on the display.
5
Press to change the hour. To select AM or PM,
simply scroll past 12:00.
6
Press to navigate to the minute on the display.
7
Press to change the minute. Hold to
scroll quickly.
8
Press New/Save to save. After the time has been
set, it will flash three times to indicate the time
has been saved. Close the Scheduler Remote’s
cover to verify that the correct time has been set.
Power
Scheduling
Virtual
Wall
Spot
Max
CLEAN
Front
Cover
Directional
Buttons
20 iRobot Roomba Owner’s Manual
Setting Schedules
To schedule iRobot Roomba to clean:
1
Open the Scheduler Remote Control’s front cover
to enter Scheduler mode.
2
Press New/Save to begin setting a schedule.
3
Press to select the day of the week.
4
Press to navigate to the hour field.
5
Press to schedule the hour. To select AM
or PM, simply scroll past 12:00.
6
Press to navigate to the minute field.
7
Press to schedule the minute.
8
Press to navigate to the Once/Weekly field.
9
Press to choose Once or Weekly. Choose
Weekly if you want Roomba to clean on the same
day and time every week.
10
Press New/Save once to save the schedule.
The LCD will flash three times to indicate that the
schedule has been set.
Don’t forget to send the schedule to both
Roomba and the scheduling
Virtual Walls.
  • Page 1 1
  • Page 2 2
  • Page 3 3
  • Page 4 4
  • Page 5 5
  • Page 6 6
  • Page 7 7
  • Page 8 8
  • Page 9 9
  • Page 10 10
  • Page 11 11
  • Page 12 12
  • Page 13 13
  • Page 14 14
  • Page 15 15
  • Page 16 16
  • Page 17 17
  • Page 18 18
  • Page 19 19
  • Page 20 20
  • Page 21 21
  • Page 22 22
  • Page 23 23
  • Page 24 24
  • Page 25 25
  • Page 26 26
  • Page 27 27
  • Page 28 28

iRobot Roomba 5210 User manual

Category
Robotic vacuum cleaners
Type
User manual

Ask a question and I''ll find the answer in the document

Finding information in a document is now easier with AI