Harvest TEC 700BBBHD User manual
- Category
- Motorcycle Accessories
- Type
- User manual
This manual is also suitable for
Harvest TEC 700BBBHD is a moisture sensor kit for large square balers, compatible with New Holland BigBaler and Case IH LB 4 Forage Harvester. It includes a processor (IPM), two star wheel moisture sensors, an end of bale sensor, a baler interface harness, and a tractor setup. The device can be operated through the Harvest TEC display, an iOS or Android tablet (not included) using the Precision Baling App, or directly plugged into the baler’s ISOBUS and display. It determines the position of the needles on the baler and communicates this information to the processor.
Harvest TEC 700BBBHD is a moisture sensor kit for large square balers, compatible with New Holland BigBaler and Case IH LB 4 Forage Harvester. It includes a processor (IPM), two star wheel moisture sensors, an end of bale sensor, a baler interface harness, and a tractor setup. The device can be operated through the Harvest TEC display, an iOS or Android tablet (not included) using the Precision Baling App, or directly plugged into the baler’s ISOBUS and display. It determines the position of the needles on the baler and communicates this information to the processor.


-
 1
1
-
 2
2
-
 3
3
-
 4
4
-
 5
5
-
 6
6
-
 7
7
-
 8
8
-
 9
9
-
 10
10
-
 11
11
-
 12
12
-
 13
13
-
 14
14
-
 15
15
-
 16
16
-
 17
17
-
 18
18
-
 19
19
-
 20
20
-
 21
21
-
 22
22
-
 23
23
-
 24
24
-
 25
25
-
 26
26
-
 27
27
-
 28
28


Harvest TEC 700BBBHD User manual
- Category
- Motorcycle Accessories
- Type
- User manual
- This manual is also suitable for
Harvest TEC 700BBBHD is a moisture sensor kit for large square balers, compatible with New Holland BigBaler and Case IH LB 4 Forage Harvester. It includes a processor (IPM), two star wheel moisture sensors, an end of bale sensor, a baler interface harness, and a tractor setup. The device can be operated through the Harvest TEC display, an iOS or Android tablet (not included) using the Precision Baling App, or directly plugged into the baler’s ISOBUS and display. It determines the position of the needles on the baler and communicates this information to the processor.
Ask a question and I''ll find the answer in the document
Finding information in a document is now easier with AI
Related papers
-
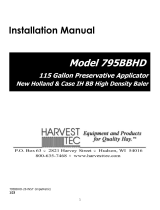 Harvest TEC 795BBHD Installation guide
-
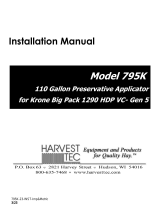 Harvest TEC 795K Installation guide
-
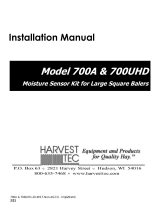 Harvest TEC 700UHD Installation guide
-
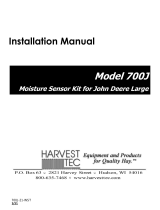 Harvest TEC 700J Installation guide
-
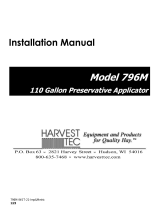 Harvest TEC 796M Installation guide
-
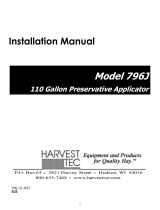 Harvest TEC 796J Installation guide
-
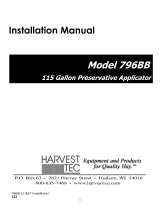 Harvest TEC 796BB Installation guide
-
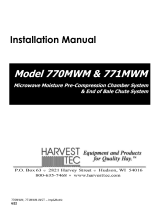 Harvest TEC 770MWM Installation guide
-
 Harvest TEC 700 Operating instructions
-
 Harvest TEC 600BB Operating instructions


