Winmate EAC Mini IL20EAC-N Quick start guide
- Category
- Gateways/controllers
- Type
- Quick start guide
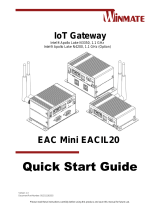
Winmate EAC Mini IL20EAC-N is a compact industrial IoT Gateway with low power consuming Intel® Apollo Lake N3350 1.1 GHz processor. It provides great expansion including one Mini-PCIe and SIM card support. Expansion module offers great options from additional USB ports to Bluetooth 4.0, Wi-Fi and 4G. Wireless connectivity and all necessary input and output ports allow the EAC Mini IL20EAC-N to send data from manufacturing facilities directly to cloud server.
Winmate EAC Mini IL20EAC-N is a compact industrial IoT Gateway with low power consuming Intel® Apollo Lake N3350 1.1 GHz processor. It provides great expansion including one Mini-PCIe and SIM card support. Expansion module offers great options from additional USB ports to Bluetooth 4.0, Wi-Fi and 4G. Wireless connectivity and all necessary input and output ports allow the EAC Mini IL20EAC-N to send data from manufacturing facilities directly to cloud server.


-
 1
1
-
 2
2
-
 3
3
-
 4
4
-
 5
5
-
 6
6
-
 7
7
-
 8
8
-
 9
9
-
 10
10
-
 11
11
-
 12
12
-
 13
13
-
 14
14
-
 15
15
-
 16
16
-
 17
17
-
 18
18
-
 19
19
-
 20
20
-
 21
21
-
 22
22
-
 23
23
-
 24
24
-
 25
25
-
 26
26
-
 27
27
-
 28
28


Winmate EAC Mini IL20EAC-N Quick start guide
- Category
- Gateways/controllers
- Type
- Quick start guide
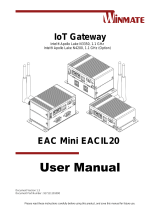
Winmate EAC Mini IL20EAC-N is a compact industrial IoT Gateway with low power consuming Intel® Apollo Lake N3350 1.1 GHz processor. It provides great expansion including one Mini-PCIe and SIM card support. Expansion module offers great options from additional USB ports to Bluetooth 4.0, Wi-Fi and 4G. Wireless connectivity and all necessary input and output ports allow the EAC Mini IL20EAC-N to send data from manufacturing facilities directly to cloud server.
Ask a question and I''ll find the answer in the document
Finding information in a document is now easier with AI
Related papers
-
 Winmate EAC Mini EACIL20 Quick start guide
-
 Winmate EAC Mini EACIL67 User manual
-
 Winmate EAC Mini EACIL20 User manual
-
 Winmate IS81EAC-201 User manual
-
 Winmate R10IB3S-VMP3 Quick start guide
-
 Winmate EAC Mini EACIL20 User manual
-
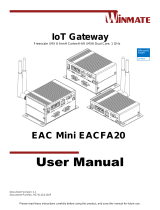
 Winmate EAC Mini EACFA20 Quick start guide
-
 Winmate EAC PRO-IK90 Quick start guide
-
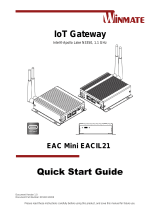 Winmate EAC Mini EACIL21 Quick start guide
-
 Winmate EAC Mini EACFA20 User manual


Other documents
-
Sharp PN-CD701 Owner's manual
-
ADTRAN IQ 710 - 1st Generation vs 2 Owner's manual
-
Dell Edge Gateway 3000 Series User guide
-
-
-
-
-
-
-