Page is loading ...

Problem Solution
Power On/
O
LCD Screen
Barrel
Flexible
Eye Cup
User End
Patient End
Docking Station
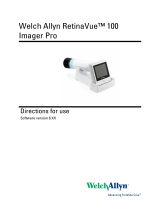
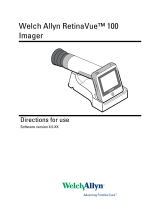
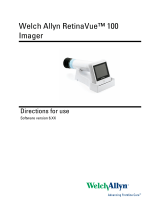
Learn More
For quick reference to the techniques described here and additional
troubleshooting please refer to the RetinaVueTM 100 Imager
Technique Video Guide at www.RetinaVue.com.
To learn more about the RetinaVueTM 100 Imager, order replacement
parts, or reference the complete Directions for Use and other
documentation please visit www.RetinaVue.com.
www.RetinaVue.com
Mat. No. 724146, 80016779 Ver. B Revision date: 2016-01 ©2016 Welch Allyn, Inc.
Guide (Patient End) Hand
The patient end of the imager will be held with just the thumb
and forefi nger. The small and ring fi nger will be used to steady
the imager by anchoring them gently on the patient’s forehead.
How to Hold the RetinaVueTM 100 Imager
The imager must be held level and in line with your patient’s eye.
There are two recommended techniques to properly hold the imager
for a quick and successful retinal scan:
RetinaVue™ 100 Imager
Telescope Grip
Smartphone Grip
Troubleshooting Image Quality
Ask the patient
to keep his or her
eye open.
Make micro adjustments
with your guide hand to fi ne
tune the imager’s focus.
Good quality image
Allow the patient to sit
in a darkened room for
at least 5 minutes.
Clean the lens with
an appropriate
cleaning cloth.
Getting Started
• The RetinaVueTM 100 Imager is light-weight,
portable and very easy to use.
• Familiarize yourself with the imager, the practices and techniques
within this guide before using it with patients.
Partial blink
Dirty lens
Overall dark image

Proper Positioning:
• While standing directly
in front of the patient
seated at the edge of
the exam table.
• While you are both
seated. Sit directly in
front of the patient with
your legs together on
the same side as the
eye being examined.
Explain to the patient:
• You will see a fl ash of
light when the image
is taken.
• The eye cup will rest
around but not touch
the eye.
• The patient must sit in
the exam room with
the lights dimmed for
fi ve minutes to allow
his or her pupils to dilate.
1. Hold the patient end of the
imager 2-3 inches directly in
front of the patient’s eye to
be examined.
2. Direct the patient to focus on the
green light inside the barrel of
the imager. They must cover but
not close their unexamined eye.
3. It is important to hold the
imager level.
4. It is also important to keep
the imager in line with the
examined eye.
5. Make slight, micro adjustments
with your guide (patient end) hand
to fi ne tune the imager’s position.
DO NOT use your hand on the LCD
side to make minor adjustments.
6. Look for a white circular refl ection
at the top of the eye’s image on
the LCD screen as shown.
This is your initial target.
7. Guide the green circle on the
imager’s LCD screen towards
this target by slowly moving the
imager towards the eye.
8. Once the refl ection has fi lled the
screen, push slightly forward
until a “bubble” appears.
11. Simply align the bubble inside
the diamond icon as shown.
9. Keep the imager in line.
Slightly adjust the imager away
from any shadows that appear.
12. An audible tone will alert you
that the image has been captured.
The acquired image will be
displayed in about fi ve seconds.
How to Acquire Fundus Images with the RetinaVueTM 100 Imager
Direct the patient to:
•Remove eyeglasses, contacts
can remain in place.
• Sit up straight.
• Look forward and hold
his or her head still.
•Keep both eyes open
as wide as possible and
limit blinking.
•Cover the unexamined
eye with his or her hand.
•Direct his or her gaze at
the green lights inside
the imager’s barrel.
10. Move the patient end of the
scope toward the bubble.
/