10 11
Browsing and selecting music (iPod or USB)
You can use certain menu items to browse the content of the iPod / iPhone
or USB device:
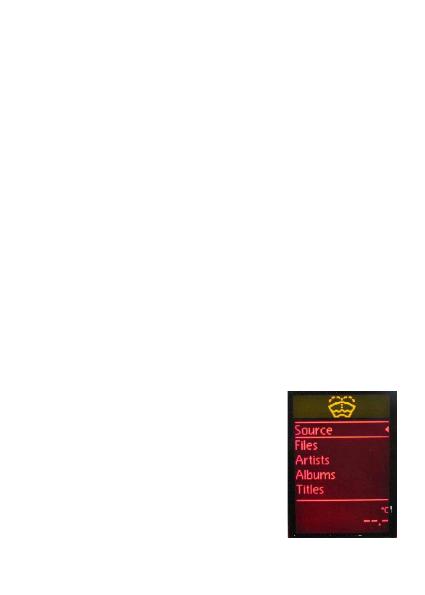
► For USB devices Source, Files, Music, Album, Artist, Songs, Bookmarks
and Settings make browsing and selecting music files easier.
► For iPod devices the following submenus will help you with browsing
and selection: Source, Music, Playlist, Artists, Albums, Songs, Genres,
Composers, Audiobooks, Album Play and Settings.
When an artist gets selected the ‘Play’ menu item plays all the songs
from the given artist.
When an album is selected, the ‘Play’ menu item starts the playback of
the album and the particular songs get listed afterwards for selection.
The following menu items provide specific functions for music playback:
► Album play: Plays the full album of the current song, typically used
when in random play mode.
Random play can be accessed by pressing the mix button.
Listening and managing DAB (Optional DAB+G
accessory is required)
After the DAB radio source is selected, you will see the ‘DAB Stations’ menu
in the main menu of the Gateway. Here you can find the following options:
► All stations: Here you can find all the available
stations based on the previous scan.
► Favourites: Your favourite DAB stations. By
pressing and holding the fast forward button
for 3 seconds while listening to a station, you
can add it as a favourite. To remove it from the
favourite list, press the fast rewind button. You
can also select the ’Delete favourites’ option in
the ‘Favourite stations’ menu, with this method
you will remove all the stations from the list.