9
Remote control code
The projector can be assigned to two different remote control codes, A or B. When several
adjacent projectors are in operation at the same time, switching the remote control codes
can prevent interference from other remote controls. Set the remote control code for the
projector first before changing that for the remote control.
To switch the code for the projector, select A or B in the SYSTEM SETUP: Advanced >
Remote Control Code menu.
To switch the code for the remote control, press PgUp and PgDn buttons on the remote
control together for 5 seconds or more. The initial code is set to A.
If different codes are set on the projector and remote control, there will be no response from
the remote control. When that happens, switch the code for the remote control again.
10. Lock
Activates panel key lock.
11. Aspect
Selects the display aspect ratio.
12. Magnify
Displays the zoom bar that magnifies or
reduces the projected picture size.
13. Info
Displays the INFORMATION menu.
14. Freeze
Freezes the projected image.
15. Pattern
Displays embedded test pattern.
16. Blank
Hides the screen picture.
17. Smart Eco
Decreases the power consumption of the
lamp by up to 70%.
It takes the projector several minutes
after it is turned on or resumed to
initiate the function.
18. Auto Sync
Automatically determines the best picture
timings for the displayed image.
19. Exit
Goes back to previous OSD menu, exits
and saves menu settings.
20. PgUp (Page Up)/PgDn (Page Down)
Operates your display software program
(on a connected PC) which responds to
page up/down commands (like Microsoft
PowerPoint) when the mouse mode is
activated.
21. Volume keys (+, -)
Magnifies or reduces the volume level.
22.
Toggles the projector audio between on
and off.
23. Color Mode
Selects an available picture setup mode.
24. Timer
Displays the presentation timer settings
menu.
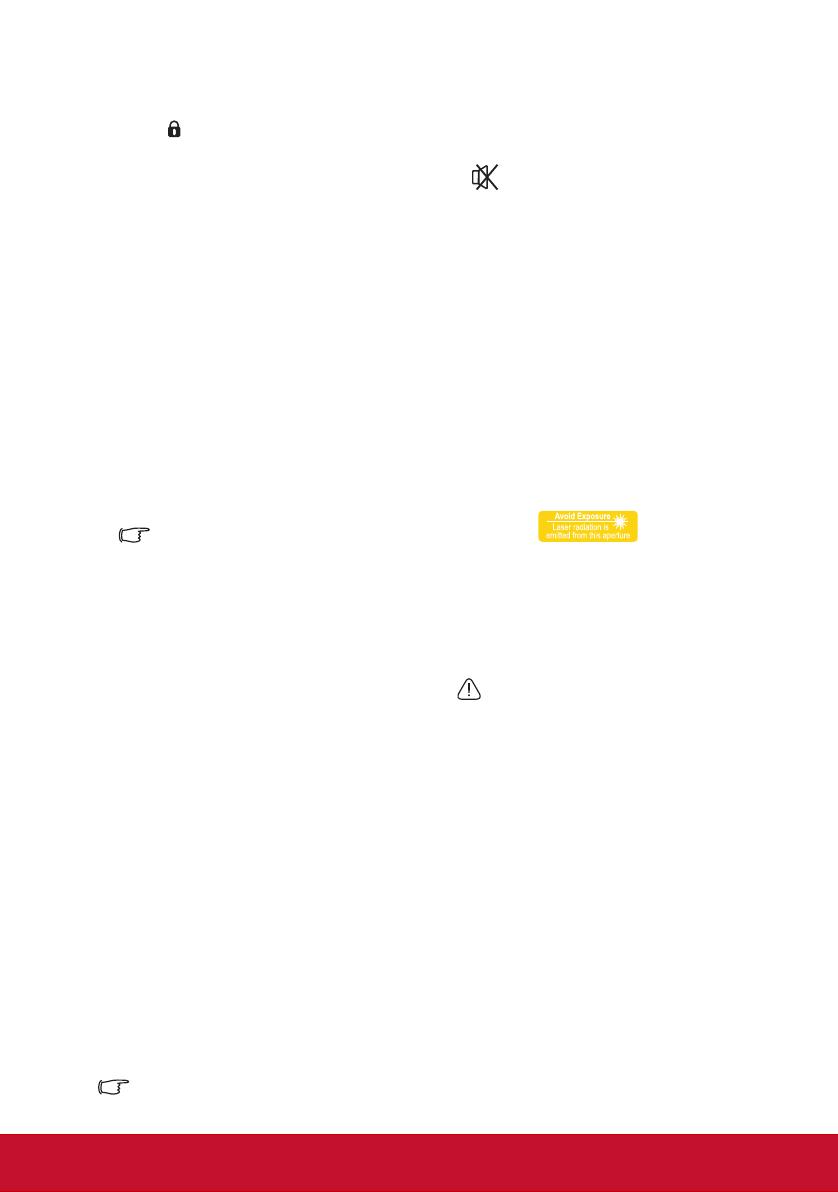
25. Laser
Emits visible laser pointer light for
presentation purposes.
Operating the Laser pointer
The Laser Pointer is a presentation aid for
professionals. It emits red colored light when
you press it and the indicator lights up red.
The laser beam is visible. It is necessary to
press and hold LASER for continuous output.
The laser pointer is not a toy. Parents should be
mindful of the dangers of laser energy and keep
this remote control out of the reach of children.
Do not look into the laser light window
or shine the laser light beam on
yourself or others. See the warning
messages on the back of the remote
control prior to using it.


