Creo 550 User manual

Category
Print servers
Type
User manual

This manual is also suitable for

User Guide
English
Xerox CX Print Server, Powered by
Creo Color Server Technology, for
the Xerox Color 550/560 Printer
Version 1.0
731-01952A-EN Rev A
Copyright
Eastman Kodak Company, 2010. All rights reserved.
This document is also distributed in Portable Document Format (PDF). You may reproduce the
document from the PDF file for internal use. Copies produced from the PDF file must be reproduced in
whole.
Trademarks
Kodak, Creo, InSite, and Prinergy are trademarks of Kodak.
Acrobat, Adobe, Distiller, Illustrator, Photoshop, and PostScript are trademarks of Adobe Systems
Incorporated.
Apple, AppleShare, AppleTalk, iMac, ImageWriter, LaserWriter, Mac OS, Power Macintosh, and
TrueType are registered trademarks of Apple Inc. Macintosh is a trademark of Apple Inc., registered in
the U.S.A. and other countries.
Hexachrome, PANTONE, PANTONE Goe, PANTONE Hexachrome, and PANTONE MATCHING
SYSTEM are the property of Pantone, Inc.
PEARL, PEARLdry, PEARLgold, PEARLhdp, and PEARLsetter are registered trademarks of Presstek,
Inc.
Xerox and the sphere of connectivity design are trademarks of Xerox Corporation in the United States
and/or other countries.
FCC Compliance
Any Creo branded equipment referred to in this document complies with the requirements in part 15 of
the FCC Rules for a Class A digital device. Operation of the Creo branded equipment in a residential
area may cause unacceptable interference to radio and TV reception, requiring the operator to take
whatever steps are necessary to correct the interference.
Product Recycling and Disposal
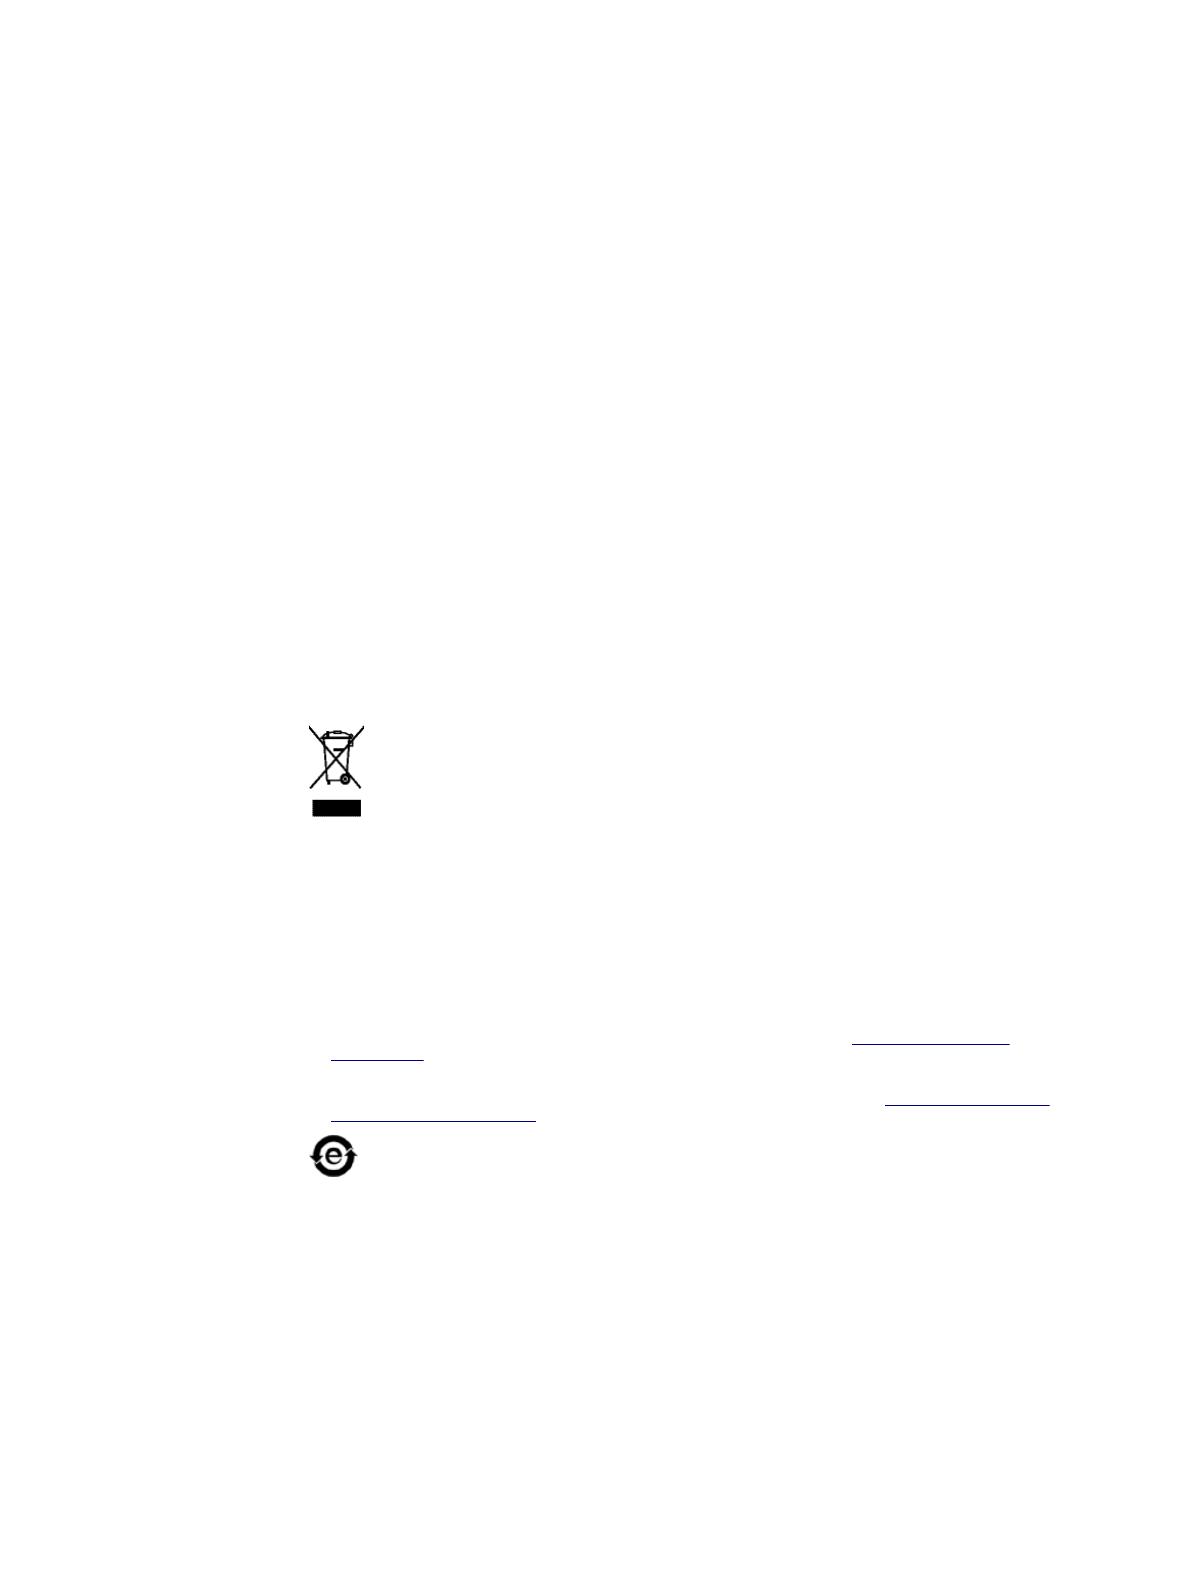
If you are managing the disposal of your Xerox product, please note that the
product contains perchlorate, lead, mercury, and other materials whose disposal
may be regulated due to environmental considerations in certain countries or states.
The presence of perchlorate, lead and mercury is fully consistent with global
regulations applicable at the time that the product was placed on the market.
Application of this symbol on your equipment is confirmation that you must dispose
of this equipment with agreed national procedures.
In accordance with European legislation, end of life electrical and electronic equipment subject to
disposal must be managed within agreed procedures.
For the proper treatment, recovery, and recycling of old products and used batteries, please take them
to applicable collection points in accordance with your national legislation and directives 2002/96/EC
and 2006/66/EC. By disposing of these products and batteries correctly, you will help save valuable
resources and prevent any potential negative effects on human health and the environment that could
otherwise arise from inappropriate waste handling. In accordance with national legislation, penalties
may be applicable for incorrect disposal of this waste.
Xerox operates a worldwide equipment take back and reuse/recycle program. Contact your Xerox
sales representative (1-800-ASK-XEROX) to determine whether this Xerox product is part of the
program. For more information about Xerox environmental programs visit http://www.xerox.com/
environment .
For perchlorate disposal information, contact your local authorities. In the United States, you may also
refer to the California Department of Toxic Substances Control (DTSC) or see http://www.dtsc.ca.gov/
hazardouswaste/perchlorate .
This electronic information product complies with Standard SJ/T 11363 - 2006 of the
Electronics Industry of the People's Republic of China.
In compliance with Article 7 (d), we hereby certify that this product is in compliance with the EEE
Regulation. "EEE yönetmeliğine uygundur."
REACH
Please consult for information about the presence of substances included on the candidate list
according to article 59(1) of Regulation (EC) No. 1907/2006 (REACH).
Limitation of Liability
The product, software or services are being provided on an "as is" and "as available" basis. Except as
may be stated specifically in your contract, Kodak and its subsidiaries, and affiliates expressly disclaim
all warranties of any kind, whether express or implied, including, but not limited to, any implied
warranties of merchantability, fitness for a particular purpose and non-infringement.
You understand and agree that, except as may be stated specifically in your contract, Kodak and its
subsidiaries, and affiliates shall not be liable for any direct, indirect, incidental, special, consequential
or exemplary damages, including but not limited to, damages for loss of profits, goodwill, use, data
or other intangible losses (even if Kodak has been advised of the possibility of such damages),
resulting from: (i) the use or the inability to use the product or software; (ii) the cost of
procurement of substitute goods and services resulting from any products, goods, data, software,
information or services purchased; (iii) unauthorized access to or alteration of your products,
software or data; (iv) statements or conduct of any third party; (v) any other matter relating to the
product, software, or services.
The text and drawings herein are for illustration and reference only. The specifications on which
they are based are subject to change. Kodak may, at any time and without notice, make changes
to this document. Kodak, for itself and on behalf of its parents, subsidiaries, and affiliates,
assumes no liability for technical or editorial errors or omissions made herein, and shall not be
liable for incidental, consequential, indirect, or special damages, including, without limitation, loss
of use, loss or alteration of data, delays, or lost profits or savings arising from the use of this
document.
http://www.creoservers.com
Internal 731-01952A-EN Rev A
Revised 2010-08-23
Contents
1 Getting started.......................................................................................................1
Printing this guide....................................................................................................................................1
What's new?............................................................................................................................................1
System overview.....................................................................................................................................2
Hardware and software components................................................................................................2
Supported formats............................................................................................................................3
Optional kits......................................................................................................................................3
Overview of the workspace.....................................................................................................................4
Turning on the CX print server................................................................................................................5
Turning off the CX print server................................................................................................................6
2 Setting up your computer for printing....................................................................7
Setting up your computer overview.........................................................................................................7
Setting up printing on a Windows computer............................................................................................9
Adding a network printer to your Windows computer.......................................................................9
Loading the Print Driver software for the first time......................................................................... 10
Shortcut for adding a printer...........................................................................................................10
Deactivating the Print Driver software............................................................................................11
Removing the Print Driver software................................................................................................11
Downloading fonts..........................................................................................................................12
Setting up a TCP/IP Printer ...........................................................................................................12
Setting up LPR printing...................................................................................................................13
Setting up printing in Mac OS X............................................................................................................14
Installing the Print Driver software in Mac OS X (10.4 and later)...................................................14
Defining a printer with the Print Driver software in Mac OS X (10.4 and later)...............................15
Removing the Print Driver software in Mac OS X (10.4 and later).................................................16
3 Calibration...........................................................................................................17
Calibration overview..............................................................................................................................17
Performing off-the-glass calibration from the Creo Color Server.......................................................... 18
Creating a calibration table using the X-Rite i1 spectrophotometer......................................................20
Troubleshooting calibration...................................................................................................................22
4 Printing a file in Windows and Mac OS...............................................................23
Printing a file to the CX print server.......................................................................................................23
Using a hot folder to print......................................................................................................................23
Password protect jobs...........................................................................................................................24
5 Printing from the color server..............................................................................27
File processing......................................................................................................................................27
Importing and printing a job...................................................................................................................28
Paper stock window.............................................................................................................................. 28
Resubmitting a job.................................................................................................................................29
Printing copies of a job...................................................................................................................29
Editing a job...........................................................................................................................................29
Previewing an RTP file...................................................................................................................30
Moving a page in a job................................................................................................................... 30
Deleting a page from a job............................................................................................................. 30
Merging pages into a job................................................................................................................30
Rotating pages 180°.......................................................................................................................31
Replacing pages.............................................................................................................................31
Finding the CMYK values of a specific area...................................................................................32
Verifying the content of the job..............................................................................................................32
Analyzing a PDF job.......................................................................................................................34
Performing a preflight check...........................................................................................................34
Viewing and printing a preflight report............................................................................................35
Preflight report window...................................................................................................................35
Proofing the job using color sets...........................................................................................................37
Printing and reviewing color sets....................................................................................................38
Assigning a color set to your job.....................................................................................................38
Printing a file that contains more than one paper size..........................................................................39
Printing using the manual duplex wizard...............................................................................................39
Running a rush job................................................................................................................................40
Submitting a rush job......................................................................................................................40
6 Managing jobs.....................................................................................................41
Archival and retrieval of jobs.................................................................................................................41
Archiving a job................................................................................................................................41
Retrieving a job...............................................................................................................................41
Forwarding a job to another CX print server ........................................................................................42
Duplicating jobs.....................................................................................................................................43
Accounting Viewer.................................................................................................................................43
Customization in the Accounting Viewer........................................................................................44
Show, hide, and move columns in the Accounting Viewer table....................................................44
Creating a customized view in the Accounting Viewer...................................................................44
Job report..............................................................................................................................................45
Exporting files........................................................................................................................................45
Exporting a PostScript file..............................................................................................................45
PDF2Go jobs..................................................................................................................................45
7 Managing color....................................................................................................47
Color management on the CX print server............................................................................................47
Managing profiles .................................................................................................................................47
Importing a destination profile........................................................................................................48
Importing a source profile...............................................................................................................48
Importing a device link profile.........................................................................................................49
Mapping media using the Media and Color Manager tool.....................................................................49
Managing calibration tables...................................................................................................................50
Calibrations window........................................................................................................................50
Calibration table list........................................................................................................................50
Calibration table Info Data tab........................................................................................................50
Calibration table Info Graph tab......................................................................................................51
Adding an entry to a calibration table.............................................................................................51
Spot Color Editor overview ...................................................................................................................52
Adding a spot color.........................................................................................................................52
Editing a spot color.........................................................................................................................53
Deleting a spot color.......................................................................................................................53
Test–printing spot colors................................................................................................................53
Measuring a spot color with the X-Rite i1 spectrophotometer........................................................54
Spot color variations overview........................................................................................................54
Protecting specific spot colors........................................................................................................56
Color adjustment with the Gradation Tool ............................................................................................57
vi Xerox CX Print Server, Powered by Creo Color Server Technology, for the Xerox Color 550/560
Printer User Guide
Creating and editing a gradation table............................................................................................58
Printing color jobs as black and white...................................................................................................60
Printing a job in grayscale mode....................................................................................................60
Printing a job that contains grayscale RGB elements using black toner .......................................60
Preserving black color in a job containing grayscale CMYK elements...........................................60
8 Production workflows..........................................................................................61
Printing using imposition.......................................................................................................................61
Imposition overview........................................................................................................................61
Previewing an imposition layout.....................................................................................................62
Printing a business card job...........................................................................................................63
Printing a saddle-stitch job.............................................................................................................64
Imposition Template Builder tool....................................................................................................65
Printing with exceptions.........................................................................................................................68
Adding exceptions to your job........................................................................................................68
Deleting exceptions from your job..................................................................................................69
Dynamic page exceptions and setpagedevice commands.............................................................69
Printing dynamic page exceptions..................................................................................................69
Printing tabs using the Creo Color Server Tabs plug-in for Acrobat.....................................................70
Tabs plug-in overview.....................................................................................................................70
Tabs plug-in window.......................................................................................................................71
Creating and printing tabs..............................................................................................................75
Managing tabs................................................................................................................................77
Working with near-line finishers............................................................................................................79
Near-line finisher overview.............................................................................................................79
Generating a corner mark and barcode..........................................................................................80
9 Scanning documents...........................................................................................81
Remote Scan Application......................................................................................................................81
Installing the Remote Scan Application in Windows.............................................................................81
Installing the Remote Scan Application in the Mac OS.........................................................................81
Creating a scan box..............................................................................................................................82
Scanning a document on the Xerox Color 550/560 Printer...................................................................84
Saving scanned files to your computer.................................................................................................85
10 Variable data printing jobs...................................................................................87
Variable data printing jobs.....................................................................................................................87
VDP document formats.........................................................................................................................87
Variable Print Specification.............................................................................................................88
PPML..............................................................................................................................................88
Managing VDP elements.......................................................................................................................89
Caching global VDP elements........................................................................................................89
Archiving VDP elements.................................................................................................................89
Retrieving VDP elements...............................................................................................................90
Deleting VDP elements..................................................................................................................90
11 Job parameters...................................................................................................91
Print tab in the job parameters window.................................................................................................91
Imposition tab in the job parameters window........................................................................................94
Quality tab in the job parameters window.............................................................................................98
Color tab in the job parameters window..............................................................................................101
Contents vii
Finishing tab in the job parameters window........................................................................................106
Exceptions tab in the job parameters window.....................................................................................109
Services tab in the job parameters window.........................................................................................110
12 Setting up your color server..............................................................................115
Preferences window............................................................................................................................115
Setting up e-mail and text message accounts.....................................................................................119
Setting up a virtual printer...................................................................................................................120
Virtual printers..............................................................................................................................120
Adding and editing a virtual printer...............................................................................................121
Restoring the settings for a default virtual printer.........................................................................122
Removing a virtual printer.............................................................................................................122
Maintaining your settings.....................................................................................................................122
Backing up the configuration........................................................................................................122
Restoring the configuration...........................................................................................................123
Tools for maintaining your system................................................................................................124
13 Working with color server tools on your computer............................................125
Remote Site Manager overview..........................................................................................................125
Activating the remote tools...........................................................................................................125
Installing the Remote Site Manager.............................................................................................126
Adding to the Remote Site Manager ...........................................................................................126
Using the EZ Connect tool to view the printer status....................................................................127
Remote Workspace overview.......................................................................................................127
Connecting to the workspace from your computer.......................................................................127
Using the Web Center.........................................................................................................................128
Overview of the Web Center........................................................................................................128
Connecting to the Web Center.....................................................................................................128
Office Hot Folder tool..........................................................................................................................128
Installing the Office Hot Folder tool..............................................................................................128
Creating an Office hot folder.........................................................................................................129
Using the Office Hot Folder tool to print.......................................................................................129
Creo Color Server Job Ticket software...............................................................................................130
Creo Color Server Job Ticket overview........................................................................................130
Language settings........................................................................................................................130
Installing the Creo Color Server Job Ticket software in Windows................................................131
Installing the Creo Color Server Job Ticket software in Mac OS..................................................131
Creating and managing job tickets...............................................................................................131
Easy VDP File Creator tool.................................................................................................................133
Selecting an Easy VDP File Creator template..............................................................................133
Adding records manually to your variable data job.......................................................................134
Adding records from a database to your variable data job...........................................................135
Creating and printing the variable data job...................................................................................135
14 Troubleshooting.................................................................................................137
Job History window.............................................................................................................................137
Handling alerts and failed jobs............................................................................................................138
Aborting a job......................................................................................................................................138
Resume printing...........................................................................................................................138
Alerts window......................................................................................................................................139
Printing system messages..................................................................................................................139
viii Xerox CX Print Server, Powered by Creo Color Server Technology, for the Xerox Color 550/560
Printer User Guide
15 Glossary............................................................................................................141
Contents ix
x Xerox CX Print Server, Powered by Creo Color Server Technology, for the Xerox Color 550/560
Printer User Guide
1
Getting started
Printing this guide
Change the paper size to print this document on any printer.
1. Open the PDF file in Adobe Acrobat.
2. From the File menu, select Print.
The Print dialog box appears.
3. Select the desired paper size, for example, A4 or letter.
4. In the Page Scaling list, select Fit To Printable Area or
Shrink To Printable Area.
Note:
The names in the Page Scaling list vary according to the version
of the Adobe Acrobat software.
5. Click OK.
This document is printed to the selected paper size on your
printer.
What's new?
The CX print server supports these new features:
APPE 2.0 support
Remote Site Manager
Text message and e-mail notifications
Measure a spot color using the X-rite i1 spectrophotometer
Predefined color sets
CX print server help
Easy VDP File Creator
Near-line finisher support
System overview
The Xerox CX print server, powered by Creo Color Server
Technology, is an on-demand prepress system that uses
advanced prepress technologies to drive the Xerox Color 550/560
Printer.
The CX print server enables you to print from computers running
the Microsoft Windows operating system and Apple Mac OS
operating system software. Using raster image processor (RIP)
technology, the CX print server converts image files in page-
description language (PDL) formats—for example, Adobe
PostScript, PDF, and variable data printing formats—to a suitable
ready-to-print (RTP) format for direct high-quality digital printing.
The CX print server also streamlines the printing process by
allowing you to print with preset workflows.
In combination with the printer, the CX print server enables you to
efficiently print business cards, print flyers, brochures, pamphlets,
catalogs, short-run trials, and print-on-demand publications.
The CX print server combines RIP functionalities, automation,
control tools, and special hardware development capabilities with
Windows-based architecture.
The CX print server supports the Xerox Extensible Interface
Platform (EIP), acting as an intermediary between custom EIP
applications and the press.
See also:
Setting up your computer overview on page 7
Hardware and software components
The CX print server includes:
Creo hardware, including the dedicated interface board
DVD-RW drive with DVD burning software
The following software:
2 Chapter 1—Getting started
CX print server software
Microsoft Internet Explorer 6
Microsoft XP for Embedded Systems
Supported formats
The CX print server supports the following file formats:
PostScript (composite or pre-separated files) (levels 1, 2, and
3)
Adobe PDF (versions 1.2 through 1.7)
EPS
Creo VPS (Variable Print Specification)
Xerox VIPP (Variable Data Intelligent PostScript PrintWare)
VIPP.VPC (VIPP Project Container)
PPML (Personalized Print Markup Language)
PPML.zip
File formats from various prepress systems—for example,
TIFF/IT software
CT, LW
JPEG
TIFF
Pre-separated formats
Optional kits
The CX print server includes optional kits:
Imposition Power Kit, which enables you to build custom
signatures, and define where marks or groups of marks are
placed on a sheet. In addition, there is an interactive job
ganging option.
Note:
A dongle is required for this package.
Creative Power Kit, which increases your color and image
quality capabilities and includes:
X-Rite i-1 Spectrophotometer
Import Device Link profile
Advanced calibration information
Spot color based on destination profiles
Color Picker
Predefined color sets
Print color set samples
Note:
A dongle is required for this package.
Supported formats 3
Peripheral Equipment Kit, which includes the stand, keyboard,
mouse, and monitor.
Professional Power Kit, extends the feature set of the Creo
Color Server with an emphasis on the capabilities requested by
graphic arts and commercial print providers. This kit includes:
Dynamic page exceptions
Imposition Template Builder
Enfocus PitStop
Archive and retrieve VDP files
Spot color variation
Print mode—progressive, separations and custom
Print spot test book
VDP Management Tool
Slug line
Note: A dongle is required for this package.
Overview of the workspace
When you start the CX print server software the workspace
automatically appears.
Note:
For the CX print server, jobs are not frozen, but printed irrespective of
any conflicts. In the event of a conflict, check the notifications on the printer
itself.
The workspace contains different areas that enable you to monitor
your job during the process and print stages. In addition, the
workspace includes tools and options that enable you to fully
customize and manage your server and jobs.
Workspace area Description
Toolbar
Consists of shortcut buttons for the Import window , Resource
Center , Calibration , Spot Color Editor , Gradation ,
Preview , Archive , Imposition Template Builder , and Alerts
.
Note: The icons that appear vary according to the optional kits in use.
Printer Status pane The Printer Status pane displays information about the current printer
status—for example, Printing, Ready, Warming up.
4 Chapter 1—Getting started
Workspace area Description
Resource details Click Trays, Finishers, Toners, Consumables or Server to display
information about the size and type of paper in each tray, the
connected finishing devices, the available toner, status of
consumables, and disk space and network details.
Process Queue and Print
Queue
The Process Queue area lists the files to be processed. After a file has
been processed successfully, it moves either to the Print Queue area
or to the Storage area.
Indicates that the queue is ready for processing or printing.
Indicates that the queue is suspended. You will need to release
the queue in order to process and print the jobs in this queue.
Note: When a queue is suspended you can open and edit the job
parameters of a job, unless the job is active or printing in the print
queue.
Storage area The Storage area contains jobs that:
were successfully printed
were held, were aborted, or failed during processing or printing
were sent directly from the client workstation, or were imported to
the Storage area
There are three different views available in the Storage area: List,
Preview, and Gallery.
You can modify the columns and information that is displayed in the
Storage area. Right-click on a column in the Storage area and select
the column that you want to add or remove.
Turning on the CX print server
1. Turn on the monitor.
2. Push the power control button.
The power indicator on the front panel lights up, and the
Windows operating system logon screen appears.
The CX print server splash screen appears, followed by the
workspace.
Turning on the CX print server 5
Notes:
If the workspace does not automatically appear, open the application from
the Windows Start menu.
If the screen saver is activated with a password, then the user name is
set to operator and password is spire.
See also:
Preferences window on page 115
Turning off the CX print server
1. From the File menu in the workspace, select Exit.
Note: Alternatively, if you want to exit the Workspace only (and not shut
down the color server), select Exit Workspace. This is useful when you
make a change to the settings that requires you to close and open the
Workspace, for example, when changing the units from inches to mm.
To restart the Workspace, right-click on the color server icon in the
system tray and click Start.
A confirmation message appears.
2. Click Yes.
The CX print server software closes. This may take a few
minutes.
Note:
If you move the cursor over the server icon on the taskbar, the
following tooltip appears: Color Server is Stopping. Please Wait.
3. Verify that the CX print server icon does not appear on the
taskbar.
4. From the Windows Start menu, select Shut Down, and click
OK.
5. After the CX print server has shut down, you can turn off the
printer.
6 Chapter 1—Getting started
2
Setting up your
computer for printing
Setting up your computer overview
Printing Methods
Some methods for printing with the CX print server:
Submit the job to one of the CX print server virtual printers. The
job is spooled and then processed or printed (according to the
selected job flow of the virtual printer). If you use this method,
you can print from any software—for example, Adobe Acrobat—
and use any file format from any Windows and Mac computer.
Drag the job to a hot folder. The job is spooled and processed
or printed (according to the selected job flow of the
corresponding virtual printer). If you use the hot folder method,
you can print most PDL files—for example, PostScript, PDF,
EPS, Variable Print Specification, and PPML.
Drag Microsoft Office files to a special hot folder and then
submit the files for printing.
Network printers
To print your file using a CX print server virtual printer, you first
need to install the virtual printer as a network printer on your
computer.
After you install a network printer on your computer, you will be
able to submit files for printing. The network printers are installed
by default with the Print Driver software. You can change the
default settings of the network printer to use the PPD parameters
instead of the Print Driver software.
The CX print server supports printing from the following operating
systems:
Mac OS X 10.4 and later
Microsoft Windows Server 2008, Microsoft Windows Server
2003, Microsoft Windows 7, Microsoft Windows Vista, and
Microsoft Windows XP
The CX print server provides default network printers, referred to
here as virtual printers.
A virtual printer contains preset workflows that are automatically
applied to all print jobs processed with that virtual printer. The
default virtual printers are published on the network with specific
parameters set for processing and printing.
The default virtual printers are:
ProcessPrint—Files sent to this printer are automatically
processed and immediately sent to the printer for printing.
ProcessStore—Files sent to this printer are automatically
processed and stored in ready-to-print (RTP) format in the
Storage area. Later, you can submit an RTP job for printing, or
change the parameters of the job and resubmit it for processing
or printing.
SpoolStore—Files sent to this printer are spooled to the
Storage area and wait until you submit them for processing
and printing. The files remain in PDL format (such as PS, PDF,
VPS, and PPML).
Print Driver software
Use the Print Driver software to set job parameters when you are
submitting a job to the CX print server from any application in your
computer. The Print Driver software provides a graphical user
interface that is similar to the CX print server job parameters
window. The software is automatically installed on a Windows
computer when you set up a network printer.
Note:
On a Mac computer, you must install the Print Driver software
manually.
In the Print Driver window, you can perform the following actions:
Define or change job parameters regardless of whether your
computer is connected to the server
Lock a job for secure printing
Save a set of parameters. Sets are useful when you want to
print different jobs with the same parameters, or if you want to
reprint a job.
Retrieve a saved set of parameters
Check the status of the printer
Define PostScript parameters for the job
Preview imposition layout
8 Chapter 2—Setting up your computer for printing
Setting up printing on a Windows computer
Adding a network printer to your Windows computer
To print from a Windows computer, you first need to add a CX
print server virtual printer to your client workstation.
Tip: Following are some shortcut tips for setting up a printer. The full
procedure is detailed below.
Locate the CX print server in My Network Places, and then double-click
on the network printer you want to install. The network printer is
automatically installed on your computer and appears in the list of
printers.
1. From the Start menu, select Settings > Printers and Faxes.
The Printers and Faxes window appears.
2. In the Printer Tasks area, select Add a printer.
Note: Your computer might have slightly different wording from what
appears in this task.
The Add Printer Wizard appears.
3. Select Next.
4. Select A network printer, or a printer attached to another
computer, and then click Next.
5. Select Browse for a printer, and click Next.
6. Find the CX print server, and double-click it to display the list
of network printers.
7. Select the desired printer, and click Next.
8. When a message appears, click Yes.
9. Select one of the following:
Yes if you want to set this printer as the default printer on
your computer.
No if you don't want to set the printer as the default printer
on your computer.
10. Click Next.
11. Click Finish to close the wizard.
The CX print server network printer is added to your printer list. In
addition, the Print Driver software and PPD file are automatically
copied.
Setting up printing on a Windows computer 9
Loading the Print Driver software for the first time
Requirements:
A network printer must be defined on your Windows-based
computer.
Load the Print Driver software after installing a network printer so
that the CX print server will be ready for printing.
1. Open a file with its corresponding application—for example,
open a PDF file in Adobe Acrobat.
2. From the File menu, select Print.
The Print dialog box appears.
3. Select one of the network printers—for example, Print and
click Properties.
A message tells you that the software is loading.
Note: This process may take a few minutes.
After the software loads successfully, click Finish. The job
parameters window appears.
4. Close the job parameters window and printer Print Dialog box
to complete the installation of the Print Driver.
The network printer is set up for printing using the Print Driver
software.
Shortcut for adding a printer
1. From the Start menu, select Run.
10 Chapter 2—Setting up your computer for printing
  • Page 1 1
  • Page 2 2
  • Page 3 3
  • Page 4 4
  • Page 5 5
  • Page 6 6
  • Page 7 7
  • Page 8 8
  • Page 9 9
  • Page 10 10
  • Page 11 11
  • Page 12 12
  • Page 13 13
  • Page 14 14
  • Page 15 15
  • Page 16 16
  • Page 17 17
  • Page 18 18
  • Page 19 19
  • Page 20 20
  • Page 21 21
  • Page 22 22
  • Page 23 23
  • Page 24 24
  • Page 25 25
  • Page 26 26
  • Page 27 27
  • Page 28 28
  • Page 29 29
  • Page 30 30
  • Page 31 31
  • Page 32 32
  • Page 33 33
  • Page 34 34
  • Page 35 35
  • Page 36 36
  • Page 37 37
  • Page 38 38
  • Page 39 39
  • Page 40 40
  • Page 41 41
  • Page 42 42
  • Page 43 43
  • Page 44 44
  • Page 45 45
  • Page 46 46
  • Page 47 47
  • Page 48 48
  • Page 49 49
  • Page 50 50
  • Page 51 51
  • Page 52 52
  • Page 53 53
  • Page 54 54
  • Page 55 55
  • Page 56 56
  • Page 57 57
  • Page 58 58
  • Page 59 59
  • Page 60 60
  • Page 61 61
  • Page 62 62
  • Page 63 63
  • Page 64 64
  • Page 65 65
  • Page 66 66
  • Page 67 67
  • Page 68 68
  • Page 69 69
  • Page 70 70
  • Page 71 71
  • Page 72 72
  • Page 73 73
  • Page 74 74
  • Page 75 75
  • Page 76 76
  • Page 77 77
  • Page 78 78
  • Page 79 79
  • Page 80 80
  • Page 81 81
  • Page 82 82
  • Page 83 83
  • Page 84 84
  • Page 85 85
  • Page 86 86
  • Page 87 87
  • Page 88 88
  • Page 89 89
  • Page 90 90
  • Page 91 91
  • Page 92 92
  • Page 93 93
  • Page 94 94
  • Page 95 95
  • Page 96 96
  • Page 97 97
  • Page 98 98
  • Page 99 99
  • Page 100 100
  • Page 101 101
  • Page 102 102
  • Page 103 103
  • Page 104 104
  • Page 105 105
  • Page 106 106
  • Page 107 107
  • Page 108 108
  • Page 109 109
  • Page 110 110
  • Page 111 111
  • Page 112 112
  • Page 113 113
  • Page 114 114
  • Page 115 115
  • Page 116 116
  • Page 117 117
  • Page 118 118
  • Page 119 119
  • Page 120 120
  • Page 121 121
  • Page 122 122
  • Page 123 123
  • Page 124 124
  • Page 125 125
  • Page 126 126
  • Page 127 127
  • Page 128 128
  • Page 129 129
  • Page 130 130
  • Page 131 131
  • Page 132 132
  • Page 133 133
  • Page 134 134
  • Page 135 135
  • Page 136 136
  • Page 137 137
  • Page 138 138
  • Page 139 139
  • Page 140 140
  • Page 141 141
  • Page 142 142
  • Page 143 143
  • Page 144 144
  • Page 145 145
  • Page 146 146
  • Page 147 147
  • Page 148 148
  • Page 149 149
  • Page 150 150
  • Page 151 151
  • Page 152 152
  • Page 153 153
  • Page 154 154
  • Page 155 155
  • Page 156 156
  • Page 157 157
  • Page 158 158
  • Page 159 159
  • Page 160 160
  • Page 161 161
  • Page 162 162
  • Page 163 163
  • Page 164 164
  • Page 165 165
  • Page 166 166

Creo 550 User manual

Category
Print servers
Type
User manual
This manual is also suitable for

Ask a question and I''ll find the answer in the document

Finding information in a document is now easier with AI