TABLE OF CONTENTS
SAFETY INSTRUCTIONS........................................................................................................................2
INTRODUCTION.......................................................................................................................................5
C-816 Controller......................................................................................................................................6
Front Panel...........................................................................................................................................6
Rear Panel............................................................................................................................................7
Keypad.....................................................................................................................................................9
Front Panel...........................................................................................................................................9
Rear Panel..........................................................................................................................................10
R-3 Handheld Remote...........................................................................................................................11
DESIGNING AND INSTALLING A C-4.4 SYSTEM............................................................................15
System Design.......................................................................................................................................15
Head End Considerations......................................................................................................................15
Zone Considerations..............................................................................................................................15
INSTALLATION......................................................................................................................................15
Controller Location................................................................................................................................15
Ventilation.............................................................................................................................................15
Rack Mounting......................................................................................................................................16
Keypad Location & Mounting...............................................................................................................16
WIRING....................................................................................................................................................17
Keypads for Renaissance system...........................................................................................................17
Keypads for Phantom system................................................................................................................18
Speakers in a Renaissance system.........................................................................................................18
Speakers in a phantom system...............................................................................................................18
Video (Option).......................................................................................................................................18
Mute.......................................................................................................................................................19
RS-232...................................................................................................................................................19
Audio Page.............................................................................................................................................19
CONNECTIONS.......................................................................................................................................20
HEAD END CONNECTIONS..............................................................................................................20
Keypads.............................................................................................................................................20
Speakers.............................................................................................................................................20
Source Audio.....................................................................................................................................20
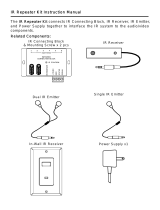
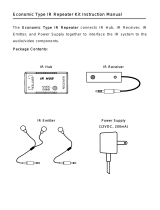
IR Emitters.........................................................................................................................................20
Mute...................................................................................................................................................20
RS-232...............................................................................................................................................20
Audio Page.........................................................................................................................................21
ZONE CONNECTIONS.......................................................................................................................21
Keypads.............................................................................................................................................21
Speakers.............................................................................................................................................21
Video (Option)...................................................................................................................................21
Nexlink Connection...........................................................................................................................23
Source Audio.....................................................................................................................................23
IR Emitters.........................................................................................................................................23
Speakers.............................................................................................................................................23
Mute...................................................................................................................................................23
Page Audio.........................................................................................................................................23
PROGRAMMING.....................................................................................................................................25
3