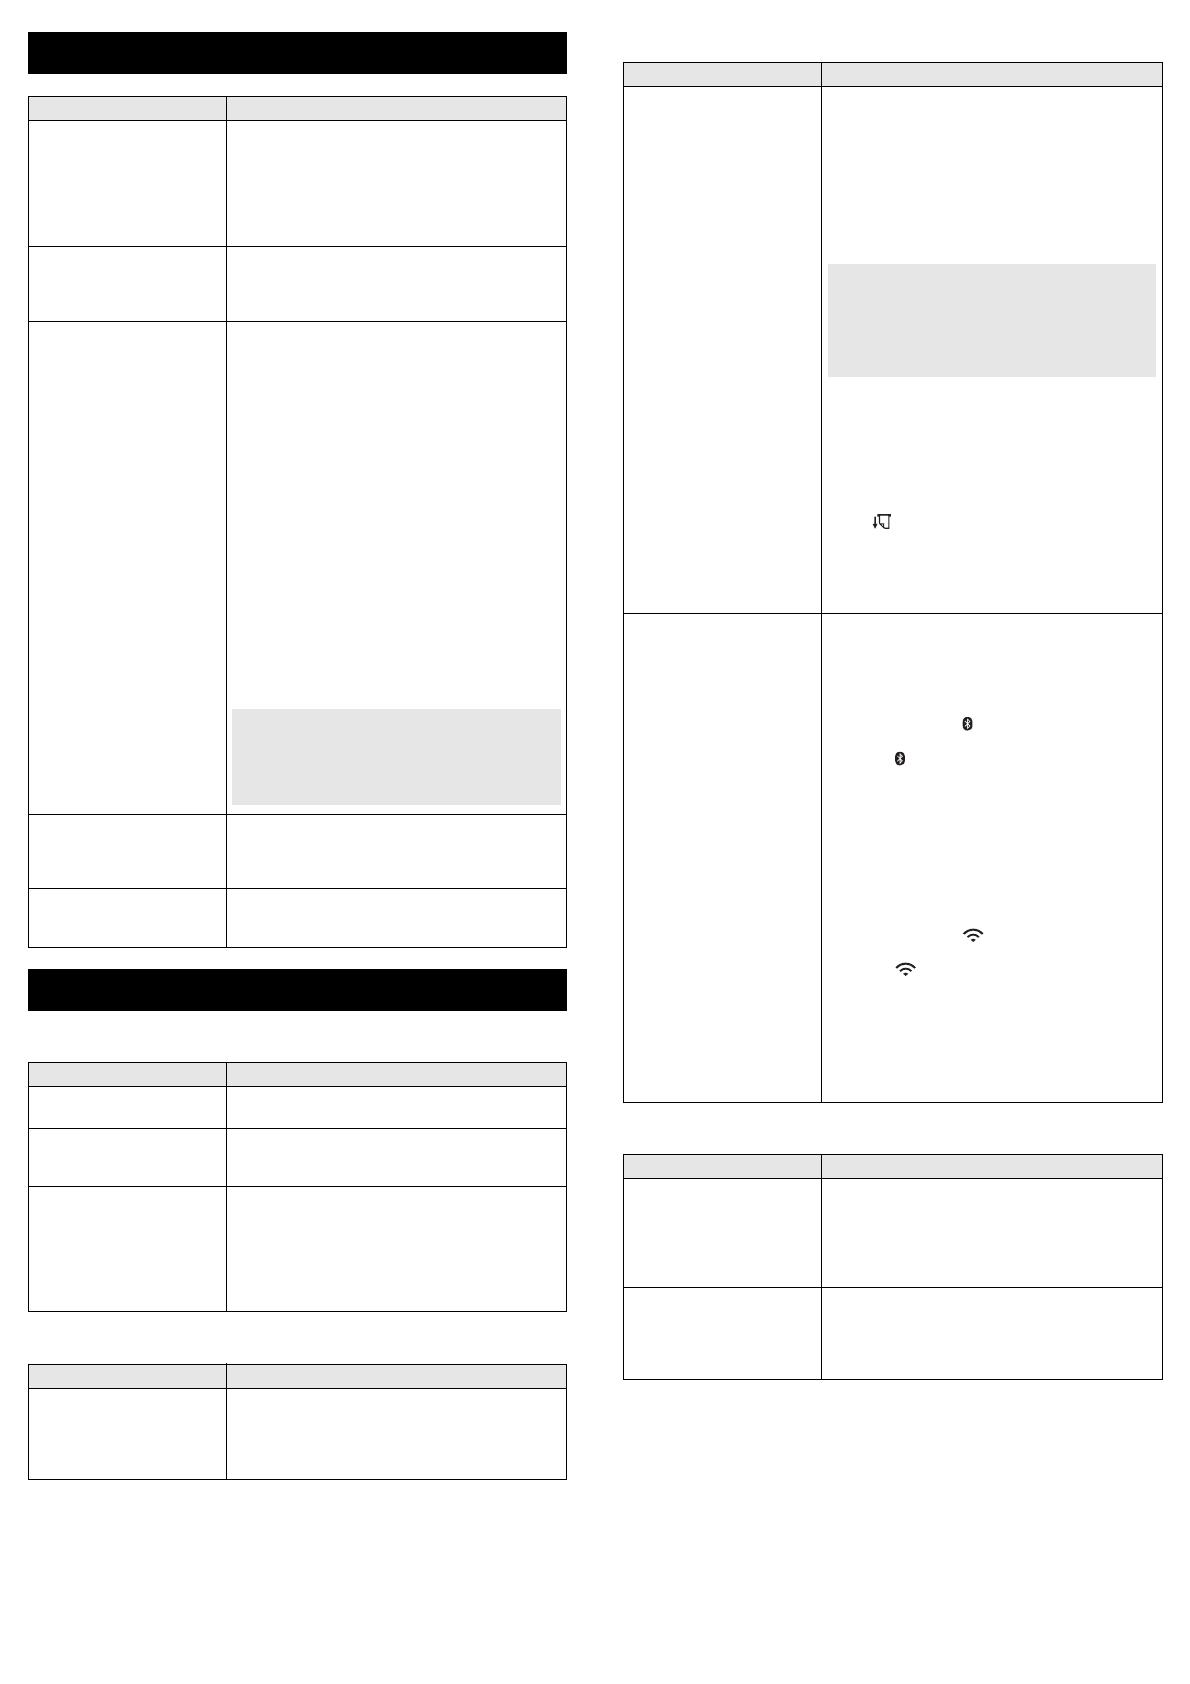
Brother PJ-722 User manual

Category
POS/mobile printers
Type
User manual
You can download the latest manuals from the Brother Solutions Center at
support.brother.com
.
1
Printed manual in the box
2
PDF manual on the Brother Solutions Center website
1 (Power) button
2 (Feed) button
3 (Bluetooth) button (PJ-762/PJ-763/PJ-763MFi only)
(Wi-Fi) button (PJ-773 only)
4 POWER indicator
5 DATA indicator
6STATUS indicator
7
(Bluetooth) indicator (PJ-762/PJ-763/PJ-763MFi only)
(Wi-Fi) indicator (PJ-773 only)
8 Release cover
9 Paper outlet slot
10 Tear bar
11 Paper input slot
12 USB port
13 DC connector
14 Battery latches
15 Battery cavity mounting block
LED Indicators
The indicators light and flash to indicate the printer’s status. Each indicator
may light or flash in green, red, orange or blue.
Available Manuals
Product Safety Guide
1, 2
This guide provides safety information; read it
before you use the printer.
User's Guide
1, 2
This guide provides basic information about
using the printer along with detailed
troubleshooting tips.
Online User’s Guide
2
This guide includes the contents of the User’s
Guide, and additional information about the
printer settings and operations, network
connection and settings, troubleshooting tips,
and maintenance instructions.
AirPrint Guide
2
This guide provides information for using
AirPrint to print from a Mac or iOS device.
Google Cloud Print
Guide
2
This guide provides details on how to use
Google Cloud Print™ services for printing
over the Internet.
Mobile Print/Scan Guide
for Brother iPrint&Scan
2
This guide provides useful information about
printing from your mobile device when the
printer and the device are connected using
Bluetooth or Wi-Fi
®
.
P-touch Template
Manual
2
This manual provides information on P-touch
Template.
Raster Command
Reference
2
This manual provides information about
printer control commands for controlling the
printer directly.
PJ-722/PJ-723/PJ-762/PJ-763/PJ-763MFi/PJ-773
English
Thank you for purchasing the Brother PocketJet PJ-722/PJ-723/PJ-762/
PJ-763/PJ-763MFi/PJ-773 thermal mobile printer.
We recommend that you keep this document nearby for future reference. To
download the latest manuals, please visit the Brother Solutions Center
(support.brother.com
) where you can also download the latest drivers and
applications for your printer, read FAQs and troubleshooting tips and learn
about special printing solutions.
User’s Guide
Printed in USA
LBE501001
General Description
PJ-722/PJ-723
PJ-762/PJ-763/PJ-763MFi
PJ-773
1
2
4
5
6
7
8
11
10
9
3
15
13
14
12
Button Functions
Installing the Rechargeable Li-ion Battery
1. Move battery latch 1 to the unlock position.
2. While holding battery latch 2 in the unlock position, remove the battery
cavity mounting block.
3. Release battery latch 2.
Battery latch 2 moves back to the lock position.
4. Insert the battery into the battery cavity until it locks into place.
5. Move battery latch 1 to the lock position.
Removing the Rechargeable Li-ion Battery
1. Move the battery latches to the unlock position, and then remove the
battery.
2. Insert the battery cavity mounting block into the battery cavity until it
locks into place.
3. Move battery latch 1 to the lock position.
Charging the Rechargeable Li-ion Battery
1. Turn the printer off and install the battery.
2. Use the AC adapter and AC power cord to connect the printer to an AC
power outlet, or use the car adapter to connect the printer to a DC power
outlet.
3. When the battery is fully charged, the STATUS indicator turns off.
Disconnect the AC adapter or car adapter from the DC connector.
Stopping Rechargeable Li-ion Battery Charging
To stop the battery charging, disconnect the AC adapter or car adapter from
the DC connector.
(Power) button function
Operation
Turn the printer on Press and hold the button for about one second
until the POWER indicator turns on.
Turn the printer off Press and hold the button for about one second
or press it quickly two times depending on the
printer setting (see the Online User’s Guide for
more information).
(Feed) button function
Operation
Feed paper Load the paper and press the button to feed the
paper.
Print the printer settings To print the printer settings without connecting
the printer to a computer or mobile device:
1 Turn the printer on and make sure no paper
is loaded.
2 Press and hold the button until the DATA
indicator lights in red.
3 Load paper.
(Bluetooth) button function
(PJ-762/PJ-763/PJ-763MFi
only)
Operation
Enable/disable the
Bluetooth function
Press and hold the button for one second to
enable or disable the Bluetooth function of the
printer.
(Wi-Fi) button
function (PJ-773 only)
Operation
Enable/disable the Wi-Fi
function
Press and hold the button for one second to
enable or disable the Wi-Fi function of the
printer.
Use WPS to configure
Wi-Fi settings easily
Press and hold the button for about five
seconds to configure the Wi-Fi settings using
WPS.
Use the Rechargeable Li-ion Battery
(Optional)
1 Battery latch 1
2 Battery latch 2
3 Battery cavity mounting block
4 Battery cavity
5 Rechargeable Li-ion battery
2
3
1
4
5
1 Battery latches
NOTE
Charge the battery immediately after purchase using the following
procedure.
Up to three hours are needed to fully charge the rechargeable Li-ion
battery. When fully charged, the battery will print about 600 pages.
1POWER indicator
2STATUS indicator
Notes on Using the Rechargeable Li-ion Battery
Fully charge the battery before use. Do not use it before it is fully
charged.
High density (dark) printing discharges the battery faster than low
density printing.
Adjust the print density setting in the printer drivers dialog box or Printer
Setting Tool (see the Online User’s Guide).
The battery charging must take place in 32°F - 10F (0°C - 40°C)
environments, otherwise the battery will not be charged, and the
STATUS indicator will remain lit.
If you use the printer when both the battery is installed and the AC
adapter or car adapter is connected, the STATUS indicator may turn off
and charging may stop even if the battery has not been fully charged.
Rechargeable Li-ion Battery Characteristics
To ensure the highest performance and longest life from your the battery:
Do not use or store the battery in a location exposed to extreme high or
low temperatures as it may discharge more quickly. This may happen
when using a rechargeable Li-ion battery with a high charge (charged
90% or more) in a location exposed to high temperatures.
Remove the battery when storing the printer for long periods of time.
Store batteries with less than a 50% charge in a cool dry place out of
direct sunlight.
Recharge the battery every six months if it is stored for long periods of
time.
1
1
2
Connecting to an AC Power Outlet (Optional)
Connect the printer to a nearby AC power outlet to power the printer or charge
the rechargeable Li-ion battery using AC power.
1. Connect the AC adapter to the printer.
2. Connect the AC power cord to the AC adapter.
3. Connect the AC power cord to a nearby AC power outlet
(100 - 240 VAC, 50 - 60 Hz).
Connecting to a DC Power Outlet (Optional)
Connect the printer to your vehicle’s 12 V DC power outlet(cigarette lighter or
similar) to power the printer or charge the rechargeable Li-ion battery using
the vehicle’s DC power.
1. Connect the car adapter to the vehicle’s 12 V DC power outlet.
2. Connect the car adapter to the printer.
Several printing methods are available depending on your printer model and
the computer or mobile device you use to print from.
Refer to the Online User’s Guide for more information and install other
applications to your computer or mobile device as needed.
Installing the Printer Driver and Applications (When
Using a Windows
®
PC or Mac)
To print from your Windows
®
PC or Mac, install the printer driver, P-touch
Editor and other applications to your computer.
1. Visit our website (www.brother.com/inst/) and download the installer for
the software and documents.
2. Double-click the downloaded .exe file and follow the on-screen
instructions to proceed with the installation. Select the software you
want in the installer's software selection window.
Updating the Printer Drivers and Applications
You can download the latest versions from the Brother Solutions Center
website (support.brother.com). We recommend you visit the website to make
sure you have the latest version of the drivers and applications.
A software development kit (SDK) is available.
Visit the Brother Developer Center
(www.brother.com/product/dev/index.htm).
The printer can be connected to your computer or mobile device using a USB
cable or via a Bluetooth connection (PJ-762/PJ-763/PJ-763MFi only) or
Wi-Fi connection (PJ-773 only). For more information, see the Online User’s
Guide.
Connecting Using USB
1. Make sure the printer is turned off before connecting the USB cable.
2. Connect the printer end of the USB cable to the USB port on the side of
the printer.
3. Connect the other end of the USB cable to the USB port on the
computer.
Connecting Using Bluetooth (PJ-762/PJ-763/PJ-763MFi
only)
Use this procedure to pair the printer with the computer or mobile device
using the Bluetooth management software.
1. Press and hold the (Power) button to turn the printer on, and then
press and hold the (Bluetooth) button.
2. Use your Bluetooth device management software to discover the
printer.
Connecting Using Wi-Fi
®
(PJ-773 only)
1. Press and hold the (Wi-Fi) button for one second.
The (Wi-Fi) indicator on your printer starts flashing in blue once
every three seconds.
2. Use your computer or mobile device to select the SSID of your printer
("DIRECT-*****_PJ-773"). If required, enter the password ("773*****").
Connect the Printer to External Power
1 AC adapter
2 AC power cord
NOTE
The AC adapter and AC power cord are optional accessories. When
purchasing, choose an adapter and power cord appropriate for the region
where the printer will be used.
1 Car adapter
NOTE
The car adapter is an optional accessory.
The voltage supplied by a vehicle may fluctuate, and printing speed
may vary.
The maximum valtage is 12 V DC.
The car adapter plug is not compatible with other outlets that are not
the 12 V cigarette type.
When the car adapter is connected to charge the rechargeable Li-ion
battery, the amount of voltage required to fully charge the battery may
not be supplied by the DC power outlet. If 9 hours have passed since
charging started, the STATUS indicator turns off and charging stops
even if the rechargeable Li-ion battery has not been fully charged.
1
2
1
Install Software to Your Computer or
Mobile Device
Connect the Printer to a Computer or
Mobile Device
NOTE
Follow the recommendations of the manufacturer of your
Bluetooth-equipped devices (computers and mobile devices) or
Bluetooth adapter and install any necessary hardware and software.
The Bluetooth connection settings are saved even after the printer is
turned off.
NOTE
For more information about connecting using Wi-Fi, see the Online
User's Guide.
1. Open the document to be printed on your computer or mobile device.
2. Make sure the printer is correctly powered. Use a fully charged battery,
or connect the printer to an AC or DC power outlet.
3. Turn the printer on by pressing and holding the (Power) button for
about one second.
The POWER indicator lights in green (if the printer is connected to an
AC or DC power outlet) or in orange (if the rechargeable Li-ion battery
is used).
4. Connect the printer to a computer or mobile device using USB,
Bluetooth or Wi-Fi. For more information, see the Online User's Guide.
5. Load paper. Use both hands to hold the paper straight, and then
carefully insert the paper into the printer’s input slot until the roller pulls
it into the starting position. For best results, use genuine Brother paper.
6. Print from the application.
The DATA indicator flashes in green to indicate that the printer is
receiving data, and then the document is printed.
You can set the paper type to [Cut Sheet], [Roll] or [Perforated Roll] in the
printer driver.
Clearing a Paper Jam
1. Carefully lift the release cover up to open it.
2. Carefully pull the paper out of the printer in either direction.
3. Close the release cover.
4. Insert paper and print again.
Printing
1 (Power) button
2 POWER indicator
1 Print surface
NOTE
The bottom edge of the paper must be parallel to the roller.
Only one side of the paper can be printed on. Check the paper, and
load it so that the smooth, thermal side faces down.
NOTE
If necessary, change the printer settings in the printer driver’s dialog box
or Printer Setting Tool. For more information, see the Online User's
Guide.
2
1
1
Notes on Using Paper
NOTE
Roll paper can be cut using the printer’s tear bar. Pull one edge of the
ejected paper up and toward the other edge diagonally.
*The tear bar is sharp. To avoid injury, do not touch the tear bar.
The indicators light and flash to indicate the printer’s status. The symbols
used in this section explain the meaning of the different indicator colors and
patterns:
Example: G = Indicator is flashing in green
Bluetooth indicator
1
Wi-Fi indicator
2
1
PJ-762/PJ-763/PJ-763MFi only
2
PJ-773 only
3
When the AC adapter or car adapter is used to power the printer, the
indicator is lit in green; when the rechargeable Li-ion battery is installed
to power the printer, the indicator is lit in orange.
LED Indicators
= Indicator is lit
G = Green
O = Orange
R = Red
B = Blue
= Indicator is flashing
= Indicator is lit or flashing in any color
(Off) = Indicator is off
POWER
DATA
STATUS
(Bluetooth)
1
(Wi-Fi)
2
Description
G
(Off)
Battery charging
completed with the
AC adapter or car
adapter connected
G O
Battery charging
O
(Off)
Rechargeable Li-ion
battery in use, battery
charge is full
O
O
(Once
ever y four
seconds)
Rechargeable Li-ion
battery in use, battery
charge is half-full
O
O
(Twice
ever y four
seconds)
Rechargeable Li-ion
battery in use, battery
charge is low
R
(Off)
O
(Once
every
second)
Rechargeable Li-ion
battery in use, charge
the battery
(Off)
O
Battery charging
while printer is turned
off
G/O
3
(Off) Printer in idle mode
G/O
3
G
Receiving data
G/O
3
G
Printing, or buffer
contains unprinted
data
G/O
3
O
(Once
every
second)
(Off) Transferring data
G/O
3
O
(Off)
Updating a template
or program
G/O
3
R
Maintenance mode/
self printing/
cleaning
G/O
3
R R
(Off) (Off) Printer in boot mode
G/O
3
O
(Once
every two
seconds)
O
(Once
every two
seconds)
Printer cooling down
O
(Once
every
second)
(Off)
O
Communication error
No template error
Memory full error
Access point search
error
2
Access point
connection error
2
Security error
2
R R
(Off) (Off) (Off) Mass storage error
R R R
(Off) (Off) System error
POWER
DATA
STATUS
(Bluetooth)
Description
B
Bluetooth on, connected
B
Pairing with Bluetooth
R R R B
Bluetooth module error
POWER
DATA
STATUS
(Wi-Fi) Description
B
(Once every
three
seconds)
Wi-Fi on, not connected
B
Wi-Fi on, connected
B
(Once every
second)
WPS setup
O
(Once every
second)
B
(Once every
second)
WPS setup failed
R R R
B
(Once every
second)
Wi-Fi module error
Paper Problems
Printed Image Problems
Pages Do Not Print
Pages Are Partially Printed
Indicator Warnings
Problem Solution
The POWER indicator
does not light
The printer is receiving no power.
If you are using AC or DC power, connect the
AC adapter or car adapter correctly and turn the
AC or DC power outlet on.
If you are using a rechargeable Li-ion battery,
make sure the battery is firmly installed in the
printer and is fully charged.
Received data in buffer Print data is saved in the buffer. If the printer
recieves incomplete data (for example because
of a lost Wi-Fi connection), printing will not start.
Turn the printer off, and then turn it on again.
Head or motor is cooling
down
The thermal head or motor is too hot.
Head:
The printer stops and resumes printing only
after the thermal head has cooled down. The
head may become too hot if you are printing a
large number of documents with high text
content.
If the thermal head becomes too hot, it may
produce imaging on the paper in areas not
intended to be printed. To avoid or delay
overheating, use a lighter density setting,
reduce the amount of black space being printed
(for example, remove background shading and
colors in graphs and presentation documents),
and make sure the printer has adequate
ventilation and is not located in an enclosed
space.
Motor:
Continuously using the printer will cause the
motor to heat up. If it becomes too hot, in this
case, the printer will stop and resume printing
after the motor has cooled down.
Data reception error With unstable communication, it may not be
possible to receive data correctly. Improve the
communication conditions, and then establish
the connection again.
Printer is in boot mode To resolve the issue, contact your Brother
dealer or Brother customer service for
assistance.
Troubleshooting
Problem Solution
The paper is jammed in the
printer
See Clearing a Paper Jam.
The paper feeds through
the printer, but nothing
appears on the paper
Make sure you are using thermal paper.
The print surface must face the back, when
looking from the front of the printer.
The paper does not feed
even though the motor is
running
The release cover must be completely closed.
You must use genuine Brother thermal paper.
Other paper may not feed through the printer
correctly.
If you still have problems, the printer may be
damaged. Contact your Brother dealer or
Brother customer service for assistance.
Problem Solution
The image is compressed
and stretched in many
places
Make sure the release cover was not left open
during printing. If it is open, close it completely.
You must use genuine Brother thermal paper.
Before loading paper, make sure it is not
wrinkled.
This condition may occur more often when
the printer is used at high altitude (more
than 10,000 ft (3,048 m)) due to a lower air
density available to cool the printer.
Problem Solution
The DATA indicator
remains lit in green but the
printer does not print
Printing of all received data is not completed.
Wait until it is finished.
If paper is not loaded, load the paper.
If the printer does not print even though
paper is loaded, remove the paper, and then
load it again.
Try printing again after turning the printer off,
and then on again.
There may be problems with sending simple
ASCII text data to the printer. If the CR/LF
command is not at the end of lines or the
form feed command is not at the end of the
last line, the printer may be waiting for this
data to be sent. Print another page, or press
the
(Feed) button to feed the paper.
The printer may have been started up in
mass storage mode (see the Online User’s
Guide for more information). Turn the printer
off, and then turn it on again.
The application should be
sending data to the printer,
but the DATA indicator
does not light in green
With a USB connection:
1 Connect the USB cable firmly and correctly.
2 Try using another USB cable.
With a Bluetooth connection (PJ-762/
PJ-763/PJ-763MFi only):
1 Check that the
(Bluetooth) indicator is lit
in blue.
If the
(Bluetooth) indicator is flashing or
turned off, the Bluetooth connection is not
established. To establish a Bluetooth
connection, refer to
Connecting Using
Bluetooth (PJ-762/PJ-763/PJ-763MFi
only).
2 Specify the correct Bluetooth settings in the
Printer Setting Tool (see the Online User’s
Guide for more information).
With a Wi-Fi connection (PJ-773 only):
1 Check that the
(Wi-Fi) indicator is lit in
blue.
If the
(Wi-Fi) indicator is flashing or
turned off, the Wi-Fi connection is not
established. To establish a Wi-Fi
connection, refer to
Connecting Using
Wi-Fi
®
(PJ-773 only).
2 Specify the correct Wi-Fi settings in the
Printer Setting Tool (see the Online User’s
Guide for more information).
Problem Solution
The DATA indicator turns
off while a page remains in
the printer
The computer or mobile device may not have
sent a full page of data. Try printing the
document again.
The computer or mobile device may have sent
the wrong page size information, or the size of
the loaded paper is wrong.
The printer ejects a
partially printed page, and
the DATA indicator
remains lit or flashing in
green
Use the correct paper size setting.
If the printer is connected via Wi-Fi
(PJ-773 only), the connection is lost when
the printer is turned off. When the printer
is turned on again, it will take up to 15
seconds for Wi-Fi to become functional.
Cleaning the Platen Roller
Dirt and debris on the platen roller can cause the paper to be fed incorrectly
(skewing the print image) and degrade the print quality (distorting the print
image).
Follow the procedure below to clean the platen roller:
1. Turn the printer on and make sure no paper is loaded.
2. Insert the cleaning sheet into the paper input slot. The text “CLEANING
SHEET” should be upright and face the front of the printer, as shown.
The roller will pull the cleaning sheet into the starting position.
3. Remove the backing paper on the upper half of the cleaning sheet, as
shown.
4. Press the (Feed) button for more than two seconds. The printer will
feed and eject the cleaning sheet.
Cleaning the Printer’s Surface
To clean the printer's surface, wipe it with a dry cloth.
Do not use a wet cloth or allow water to enter the printer.
Do not use benzene, alcohol, paint thinner, or cleaners that are abrasive,
alkaline, or acidic. Such cleaners may damage the printer’s surface.
This feature is used to print a Letter-size report without connecting the printer
to a computer or mobile device. (The report will fit on A4-size paper.)
To print the printer settings report:
1. Turn the printer on and make sure no paper is loaded.
2. Press and hold the (Feed) button until the DATA indicator lights in
red.
3. Insert a piece of genuine Brother thermal paper into the printer’s paper
input slot. The report will print automatically, and then the printer will
return to idle mode.
Brother Global website: www.brother.com
Brother Developer Center: www.brother.com/product/dev/
For frequently asked questions (FAQs), troubleshooting tips and driver and
application updates, visit the Brother Solutions Center:
support.brother.com
Printer Maintenance
NOTE
Do not remove the backing paper from the lower half of the cleaning
sheet.
Product Specifications
Model Name
PJ-722/PJ-723/PJ-762/PJ-763/PJ-763MFi/
PJ-773
Dimensions Approximately 10.04 (W) x 2.17 (D) x 1.18 (H)
in. / 255 (W) x 55 (D) x 30 (H) mm
Weight Approximately 1.06 lb. / 480 g (excluding
battery, paper)
Approximately 1.34 lb. / 610 g (including
battery, excluding paper)
Printing
Method Direct thermal printing
Interface
USB USB Ver. 2.0 (Full Speed) (mini-B, Peripheral)
Printer class: Mass storage (2.5 MB of memory)
Bluetooth
(PJ-762/PJ-763/PJ-763MFi
only)
PJ-762/PJ-763
Ver 2.1 + EDR Class 1
Supported profiles: SPP, OPP, BIP, HCRP
PJ-763MFi
Ver 2.1 + EDR Class 1
Supported profiles: SPP, OPP, BIP, HCRP, iAP
Wi-Fi
(PJ-773 only)
Wireless Direct: IEEE802.11g/n
Ad-hoc Mode: IEEE802.11b/g/n
Infrastructure Mode: IEEE802.11b/g/n
•WPS 2.0
Environment
Operating temperature 14°F - 12F/-10°C - 50°C
Operating humidity 20 - 80% (No condensation)
Storage temperature -4°F - 140°F/-20°C - 60°C
Storage humidity 20 - 80% (No condensation)
Confirm the Printer Settings
NOTE
The printer report contains the following information: The program
version, device setting information, serial number, Bluetooth setting
information (for PJ-762, PJ-763 or PJ-763MFi) and Wi-Fi setting
information (PJ-773 only).
Useful Internet Addresses
  • Page 1 1
  • Page 2 2
  • Page 3 3
  • Page 4 4
  • Page 5 5
  • Page 6 6
  • Page 7 7

Brother PJ-722 User manual

Category
POS/mobile printers
Type
User manual

Ask a question and I''ll find the answer in the document

Finding information in a document is now easier with AI