Form I-CAUA-DP, P/N 176514R2, Page 2
Components
Installation
Instructions
Installation should be done by qualied agency in accordance with these
instructions and in compliance with all codes and requirements of authorities
having jurisdiction.
The heater should be in its nal installed location and should be level before
adding the discharge plenum. (NOTE: It is recommended that the discharge
plenum be placed in position prior to installing the vent.) Because of the cabi-
net design, no mechanical attachment is required between the discharge ple-
num and the heater section.
If installing an Option CD60 with open sides, lift the discharge plenum and
place it on top of the heater. Installation of Option CD60 is complete. Follow
the instructions in the heater installation manual (Form I-CAUA) to complete
the installation.
If installing an Option CD61, install the blockoff plates before lifting the dis-
charge plenum into position. Discharge can be from either two or three sides.
Use blockoff plates in any of the following combinations -- 1) two blockoff plates
on either front or rear; 2) one blockoff plate on either left or right side; or 3) two
blockoff plates either front or rear and one blockoff plate on either side.
Decide the locations for the blockoff plates being used. Remove the screen
retainers on the selected sides. Place the blockoff plates over the screen and
re-attach the retainers.
Lift the discharge plenum and place it on top of the heater. Installation of Option
CD61 is complete. Follow the instructions in the heater installation manual
(Form I-CAUA) to complete the installation.
If installing an Option CD62, it is attached to the top of the cased cooling
coil at the factory. Option CD62 includes six blockoff plates; install the blockoff
plates before lifting the assembled cased coil/discharge plenum into position.
To provide the high velocity required for cooling application, use all six blockoff
plates. Each blockoff plate horizontally covers half of the screened opening.
Either use the plates to blockoff half of the openings the whole way around or
use the plates to block off an entire font, rear, and/or side, depending on the
location of the system. To install, remove the screen retainers, place the block-
off plate over the screen, and re-attach retainers.
Follow the instructions in the cased cooling coil installation manual (Form I-
CAUA-CC) to lift the assembly into position. Follow the instructions in both the
cased cooling coil installation manual and the heater installation manual (Form
I-CAUA) to complete the installation.
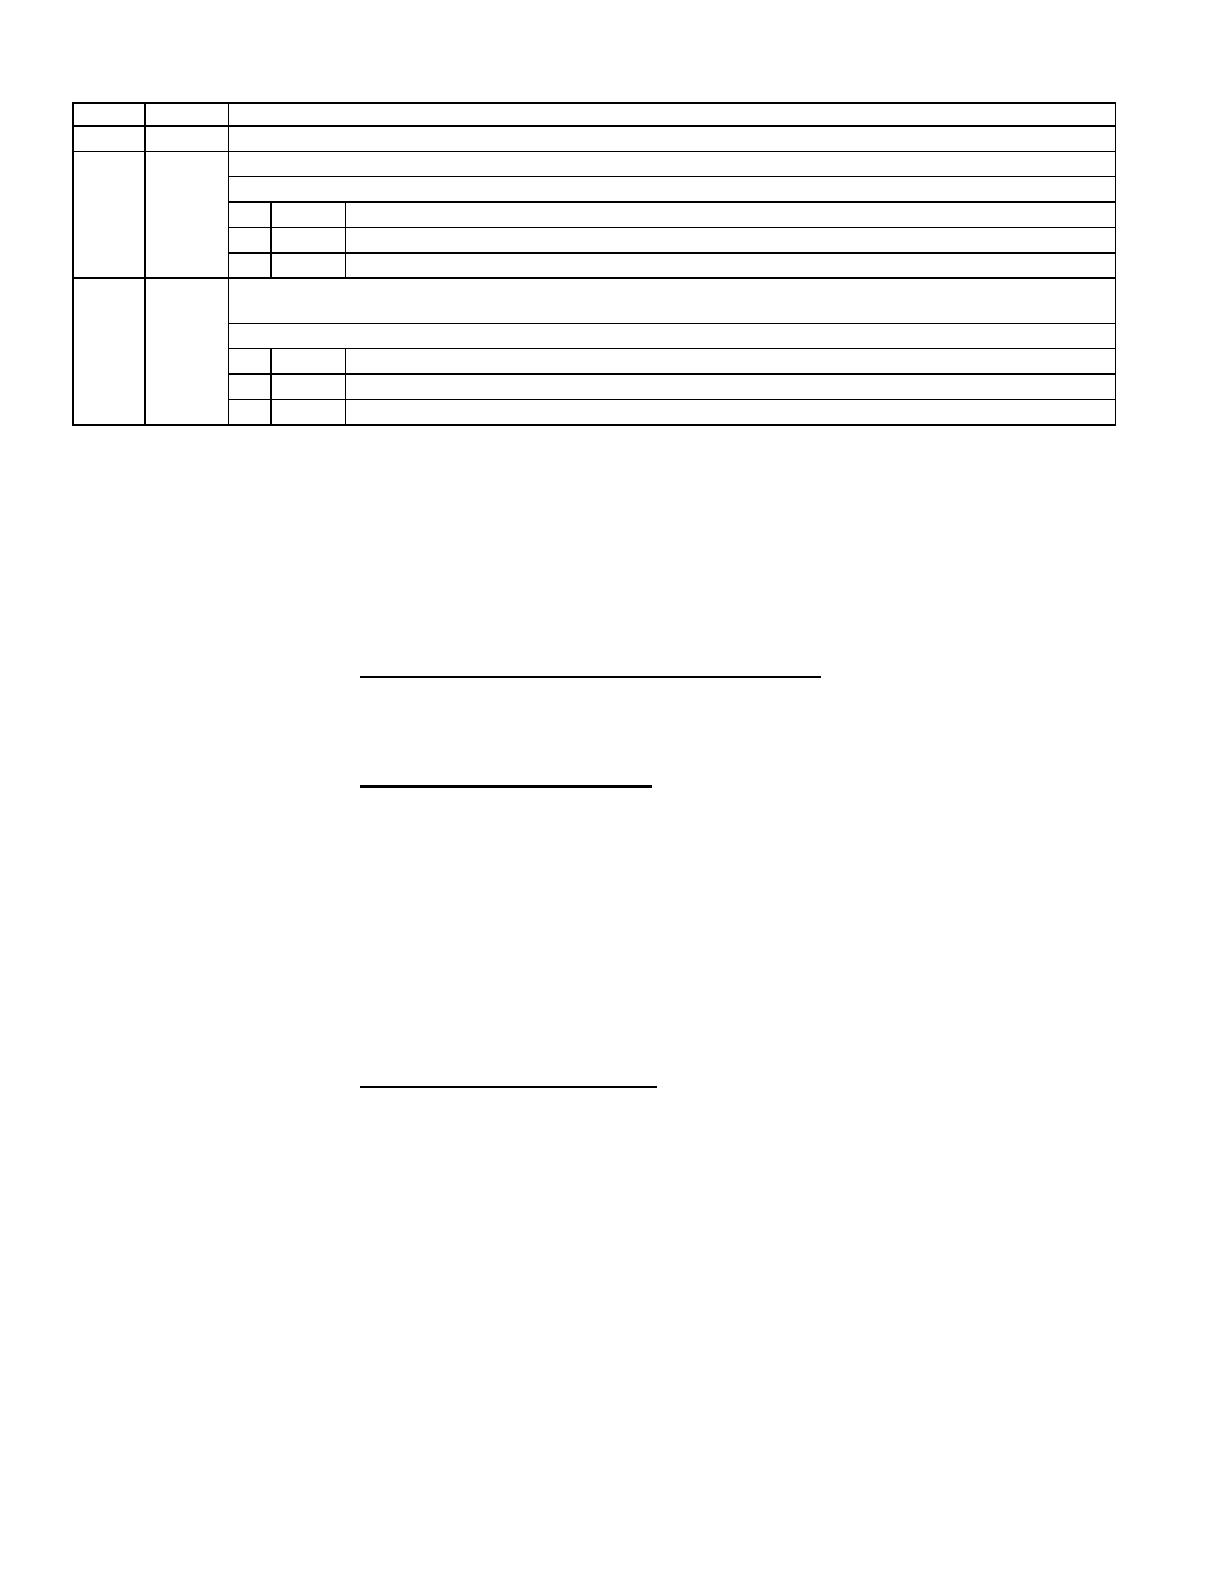
Option Pkg P/N Description
CD60 176351
Factory-assembled Screened Discharge Plenum
CD61 176364
Factory-assembled Screened Discharge Plenum
Plus:
Qty P/N Description
1 176366 Blockoff Plate, 28"x19-13/16" (711mm x 503mm), to cover a side opening
2 176367 Blockoff Plate, 22-1/2"x19-13/16" (571mm x 503mm), to cover front or rear openings
CD62 176365
Factory-assembled Screened Discharge Plenum with a factory-installed Cased Cooling Coil
(ordered separately and specied for use with either R22 or R-410A refrigerant)
Plus:
Qty P/N Description
2 176368 Blockoff Plate, 28"x9-7/8" (711mm x 251mm) to cover a side opening
4 176369 Blockoff Plate, 22-1/2"x9-7/8" (571mm x 251mm) to cover front or rear openings
Specications & illustrations subject to change without notice and without incurring obligations.
© Nortek Global HVAC LLC 2015. All rights reserved.
All trademarks are the property of their respective owners.
Printed in the U.S.A. (04/15)
Form I-CAUA-DP (04-15)

