International HQ
Jerusalem, Israel
Tel: + 972 2 535 9666
North American HQ
Linden, New Jersey
Tel: + 1 908 4862100
European HQ
Dübendorf, Switzerland
Tel: + 41 1 823 8000
Italy
Rome
Tel: + 39 06 8209 7902
www.minicom.com
Customer support - support@minicom.com
5UM20072 V2.4 11/03
Phantom Specter
Quick Installation Guide
PHANTOM SPECTER
1
1. What is the Phantom system?
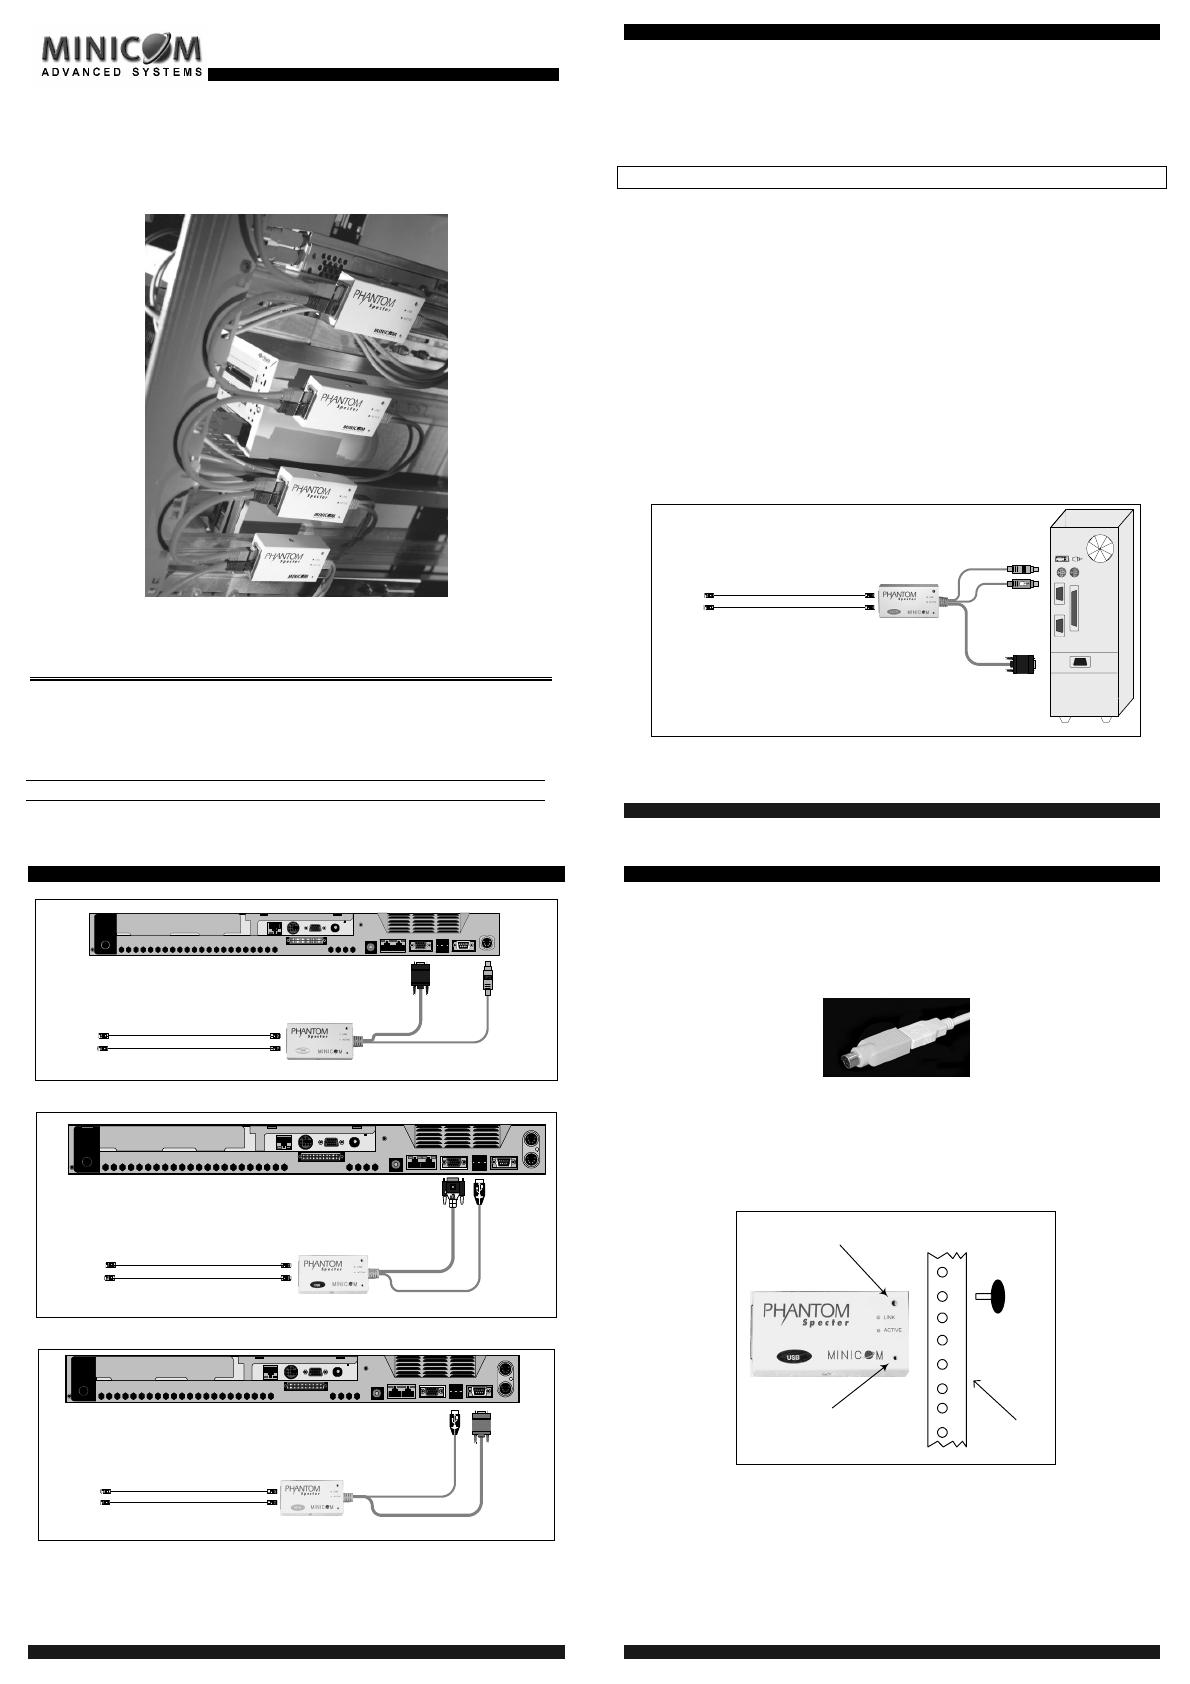
The Phantom system from Minicom is a distributed KVM switching solution for 1 or
more users. In the 1-User system a Manager controls the remote computers that are
connected to Phantom Remote units. The Remote units can be either PCI cards or
boxes called Specters. For multi-user functionality add a Phantom MX II.
ALL types of Phantom Manager and Remote units are compatible with each other.
This Quick Installation Guide illustrates the Phantom Specter, its cables, and how to
install it. For further information please see the softcopy Guide on the Marketing &
Documentation CD.
2. Pre installation instructions
Disconnect all computers from the electrical power supply.
Place cables away from fluorescent lights, air conditioners, and any machine that is
likely to generate electrical noise.
3. Connecting the Specter PS/2 & Specter II PS/2, SUN, USB,
IRS232
Connect the Specters to computers and to the Phantom system as illustrated in the
figures below.
Connect a Terminator to the System Out port of the last Specter in the daisy chain.
To System Out port of
previous unit
To System In port of next
unit
To Computer’s
Keyboard Port
To Computer’s
Mouse Port
To Computer’s
Video Card
Shielded CAT5 FTP System cables
To System In port
To System Out port
The Specter PS/2 & Specter II PS/2 connections
QUICK INSTALLATION GUIDE
2
To System Out port of
previous unit
To System IN port of next
unit
To Computer’s
Keyboard Port
To Computer’s
Video Card
Shielded CAT5 FTP System cables
To System In port
To System Out port
The Specter II SUN connections
To System Out port of
previous unit
To System IN port of next
unit
To USB Port
To Video Card
Shielded CAT5 FTP System cables
To System IN port
To System Out port
The Specter II USB connections
To System Out port of
previous unit
To System IN port of next
unit
To USB Port
(for power only)
To System In port
To System Out port
To RS232 Port
Shielded CAT5 FTP System cables
The Specter II RS232 connections
PHANTOM SPECTER
3
4. The Specter RS232 Power Options
1. USB connection for power only (illustrated above)
2. Server without USB - connect a USB to PS/2 Adapter as illustrated below.
Connect the adapter to the Keyboard port.
3. External power - connect USB connector to an optional power adapter
5. Rack mounting
Specters can be mounted on racks. There are numerous types of racks, and some
may need an extension bracket (to be ordered separately). Use the Mounting kit
screw provided to attach the Specter to a rack as illustrated in the figure below.
Rack
Hole for extension bracket
screw
Hole for rack mounting screw
Alternatively, attach the Specter to the side or back of the computer with the Velcro
strips provided. For the strips to attach properly ensure that the surface is clean and
dry.
6. What happens next?
See the Read This First (RTF) to assign ID numbers and configure keyboard
settings. The Phantom system is then ready for use.
