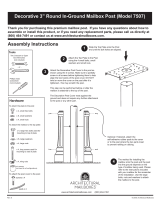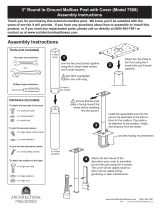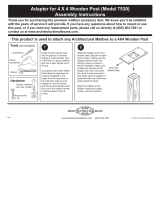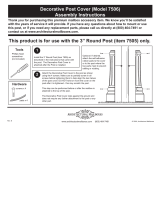
Coronado Post (Model 5515)
Installation and Assembly Instructions
Thank you for purchasing this premium mailbox post. We know you'll be satisfied with the
years of service it will provide. If you have any questions about how to mount or use this post,
or if you need any replacement parts, please call us directly at (800) 464-7491 or contact us at
www.architecturalmailboxes.com.
© 2008, Architectural Mailboxes
3
(B)
(A)
(C)
Tools
Hardware
x 2, small painted screw
Dig a hole deep enough to allow the box
to sit at the specified height. The height
from the road level to the mailbox floor
is between 41 and 45 inches. Make sure
the hole is set back from the road such
that the distance from the curb to the
mailbox handle is between 6 and 8
inches.
Insert the post with one set of holes
facing forward for a single mailbox
assembly. For multiple mailbox
assemblies, the post must be mounted
with the holes facing to the sides. Pour
the concrete (at least 1 cubic foot
recommended) completely around the
post, making sure the post remains level
and correctly positioned. Allow the
concrete to set.
Height per post
office, between
41" and 45" to
mailbox floor.
Set back per
post office,
between 6"
and 8".
1
After the concrete has set, attach
the support bracket to the post as
shown using the 1” screws and
lock washers.
2
(A) Place the adapter plate onto the support arm and place the mailbox onto the adapter
plate. Screw the mailbox onto the support arm using the 2-1/4” screws and flat
washers. The adapter plate is trapped between the mailbox and the support arm. Use
the hole sets marked “2” and “4” in the drawing below.
(B) Secure the finial to the top of the post with the small painted screws.
(C) Push the hole plugs into the holes on the back of the post. If you are installing multiple
mailboxes on this post, discard the hole plugs.
!
Rev. C
Allen wrenches
(included)
x 4, 1/4” lock washer
x 4, 2-1/4” screw
x 4, 1” screw
x 4, 5/16” flat washer
x 4, hole plugs
Phillips head
screwdriver
1
2
3
4
5
www.architecturalmailboxes.com (800) 464-7491
R


