Page is loading ...

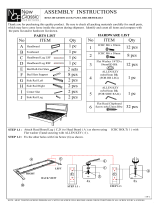
ASSEMBLY INSTRUCTIONS
MADE IN MALAYSIA
STEP 1
COMPLETED
ASSEMBLY
3
L
4R
A+B+C
1
&
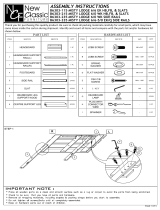
Thank you for purchasing this quality product. Be sure to check all packing materials carefully for small parts, which
may have come loose inside the carton during shipment. Identify and count all items and compare with the parts list
and/or hardware list shown below.
A+B+C
A+B+C
A+B+C
BACK VIEW
A+B+C
D
4x
Screw Driver is not included
PARTS LIST
ITEM DRAWING DESCRIPTION QTY
1HEAD
BOARD 1 PC
2FOOT
BOARD
SLATS
SUPPORT
7WOODEN
SLAT
SIDE RAILS
A
C.S.K SCREW
(M4) 4 x32mm
HARDWARD LIST
ITEM DRAWING DESCRIPTION QTY
HB LEG
POST (L)
3
5
6
1 PC
2 PCS
8 PCS
4 PCS
8 PCS
HB LEG
POST (R)
1 PC
1 PC
4
B
4 PCS
C
Spring Washer
M8 x22mm 4 PCS
D
Flat Washer
M8 x 16 x 1.6mm 4 PCS
E
1 PC
JCBB (M8)
8 x 35MM (NYLOK)
ALLEN KEY M5
5 x 35 x120MM
PAGE 1 OF 2
B677W-115 ANDOVER 6/ 6-6/ 0 EK/WK HEADBOARD, FOOTBOARD & SLATS-WHITE
B677W-335 ANDOVER 5/ 0-6 /6 Q/EK SIDE RAILS-WHITE
B677B-115 ANDOVER 6/ 6-6/ 0 EK/WK HEADBOARD, FOOTBOARD & SLATS-NUTMEG
B677B-335 ANDOVER 5/ 0-6 /6 Q/EK SIDE RAILS-NUTMEG
NOTE:MUST TIGHTEN SCREW PERIODICALLY.WITH USE SCREWS WILL
BECOME LOOSE CHECK THIGHT OF ALL SREWS EVERY 6-8 WEEKS.
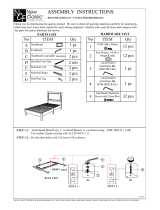
Step 1: Attach and tighten the leg
posts (3 & 4) to the head board (1)
by inserting JCBB bolt (A) with
washers (B & C).

ASSEMBLY INSTRUCTIONS
NOTE:MUST TIGHTEN SCREW PERIODICALLY.WITH USE SCREWS WILL
BECOME LOOSE CHECK THIGHT OF ALL SREWS EVERY 6-8 WEEKS. MADE IN MALAYSIA
COMPLETED
ASSEMBLY
1
2
3
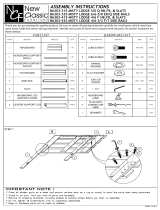
Important !!
LEVEL THE SIDE RAIL BY
COVERING WITH A SOFT CLOTH
AND TAPPING WITH A HAMMER.
Press laterally into
the groove and
drop down.
7
64
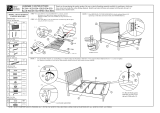
Affix the Bottom
Rail Support (6) to
Wooden Slat (7) as
Shown.
Affix the Side Rail (5) to
the Wooden Slat (7) using
the CSK screw (E) and a
screwdriver.
E
55
7
1
2
6
7
2
5
B677W-115 ANDOVER 6/ 6-6/ 0 EK/WK HEADBOARD, FOOTBOARD & SLATS-WHITE
B677W-335 ANDOVER 5/ 0-6 /6 Q/EK SIDE RAILS-WHITE
B677B-115 ANDOVER 6/ 6-6/ 0 EK/WK HEADBOARD, FOOTBOARD & SLATS-NUTMEG
B677B-335 ANDOVER 5/ 0-6 /6 Q/EK SIDE RAILS-NUTMEG
&
3
4
PAGE 2 OF 2
STEP 2 STEP 3
1
6
5
4
3
/

