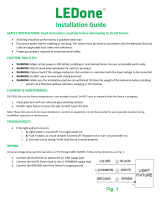
GPLED & PLED INSTALLATION INSTRUCTIONS
Thank you for buying RAB lighting xtures. Our goal is to design the best quality products to get the job done right. We’d like to hear your comments.
Call the Marketing Department at 888-RAB-1000 or email: marketing@rabweb.com
TM
TM
IMPORTANT
READ CAREFULLY BEFORE INSTALLING FIXTURE. RETAIN THESE INSTRUCTIONS FOR FUTURE REFERENCE.
Fixtures must be wired in accordance with the National Electrical Code and all applicable local codes. Proper grounding is required
for safety. THIS PRODUCT MUST BE INSTALLED IN ACCORDANCE WITH THE APPLICABLE INSTALLATION CODE BY A PERSON
FAMILIAR WITH THE CONSTRUCTION AND OPERATION OF THE PRODUCT AND THE HAZARDS INVOLVED.
WARNING: Make certain power is OFF before installing or maintaining xture. No user serviceable parts inside.
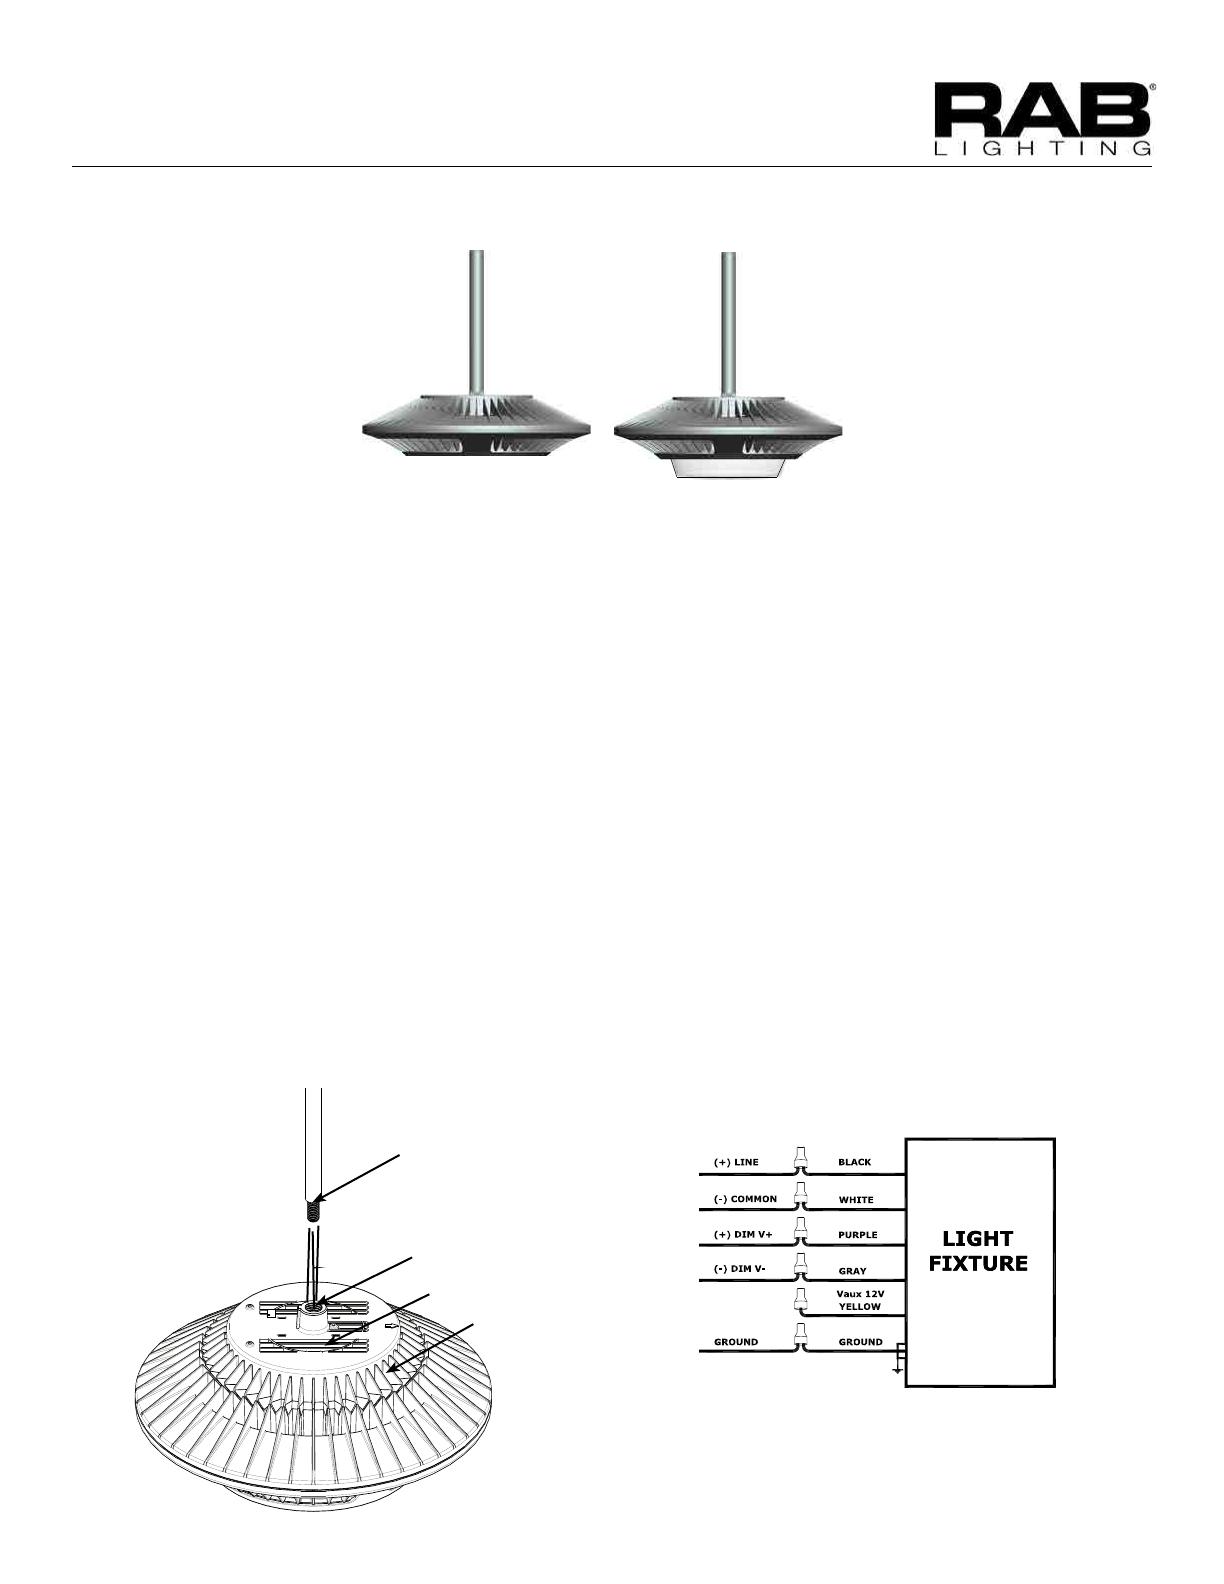
PENDANT MOUNTING
Choose pendant length and mount the PLED to a junction
box as follows:
1. Use Pendant Rod with 1/2” NPS thread (not supplied).
Fixture is supplied with (50”) leads.
2. Feed Housing wires through Pendant and thread
the Pendant onto the Housing. Wrap teon tape or
silicone gel onto the threads to prevent moisture from
getting into the Housing.
3. Tighten the set screw on the side of the Housing.
4. Make the wiring connections with UL approved
connectors at the junction box.
Pendant Stem
(not supplied)
Housing
Housing Wires
1/2” NPS
Note: These instructions do not cover all details or variations
in equipment nor do they provide for every possible
situation during installation operation or maintenance.
Fig. 2
0-10V DIMMABLE WIRING
Universal voltage driver permits operation at 120V thru
277V, 50 or 60 Hz. 0-10V control wires must be rated for 300V
minimum. For 0-10V Dimming, follow the wiring directions as
in g. 2.
1. Connect the black xture lead to the (+) LINE supply lead.
2. Connect the white xture lead to the (-) COMMON supply
lead.
3. Connect the GROUND wire from xture to supply ground.
Do NOT connect the GROUND of the dimming xture to
the output.
4. Connect the purple xture lead to the (V+) DIM lead.
5. Connect the gray xture lead to the (V-) DIM lead.
6. Cap the yellow xture lead. Do NOT connect.