User manual
7
AXOLUTE
Nighter & Whice
1.2.1 Video door entry function keys 1.2.2 Navigation keys
Activation Entrance Panel/Cycling
It activates the switching on of the associated Entrance Panel
and, if present, allows the cycling display of the other Entrance
Panels/cameras.
Connection key
Activates/deactivates the audio connection.
When a call has been received the LED flashes; press once to an-
swer: the LED shines steadily.
At rest activates the paging function (if enabled).
Call exclusion
Enables/disables the call bell. If the bell is excluded the exclusion
LED lights up and the Connection LED (flashing) signals the call.
Door lock key
When there is a call it opens the door lock of the Entrance Panel
from which the call was made, at rest that of the associated En-
trance Panel. The LED signals that it is activated.
Staircase Lights
Activates the staircase lights relay.
Mute
Enables/disables the microphone during a sound connection.
Activating the Mute during the conversation the connection key
LED turns red.
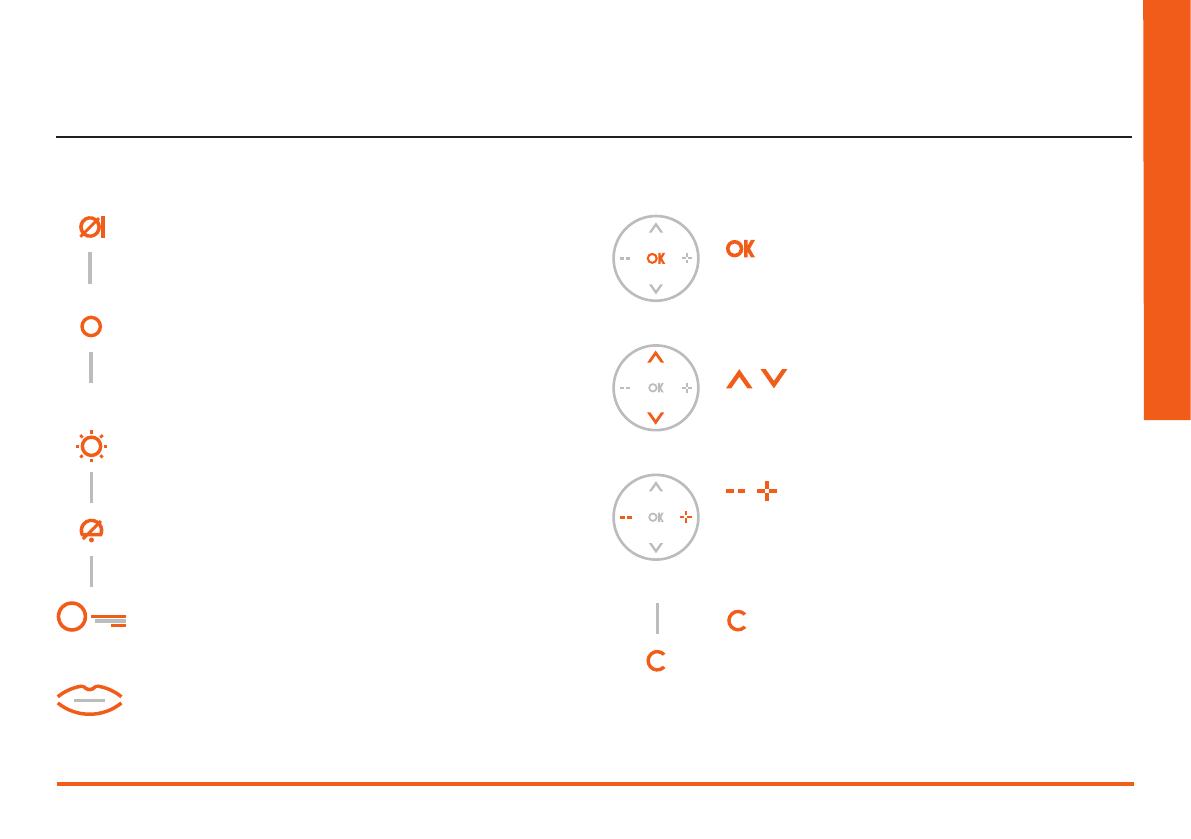
key
Allows access to the menu; confirms the selection made.
keys
Inside the menu they change the value set.
In audio/video connection they allow rapid access to the vol-
ume and monitor settings.
keys
Inside the menu they select the previous or next item.
keys
Returns to the previous window. If you are already on the first
window it switches the display off.


