Creating labels with other applications
10
IntroductionCreating LabelsAppendix
Creating labels with other applications
When installing the software, if you choose the Add-In function, a P-touch icon will be automatically added
onto the Microsoft
®
Word, Excel
®
, and Outlook
®
toolbar. (Only if Microsoft
®
Word, Excel
®
, Outlook
®
are
already installed on your computer.) The Add-In function is valid for Windows
®
only.
In each application, by choosing the text you want to print and clicking on the P-touch icon, you can create and
print labels quickly and easily.
Depending on the setting, the character string that is downloaded by using Add-In function will be registered to
Label List. Label List is a database for exclusively P-touch Editor. To display Label List, click [File] - [Database] -
[Label List].
For details about the Add-In function, label design or installation information, see the P-touch Editor Help.
Registering and canceling the Add-In function
The following is the example for Windows Vista
®
.
1 Click [Start] - [All Programs] -
[Brother P-touch] - [P-touch Tools] -
[P-touch Editor 5.0 Add-Ins Utility].
The [Brother P-touch Add-In Settings]
dialog box appears.
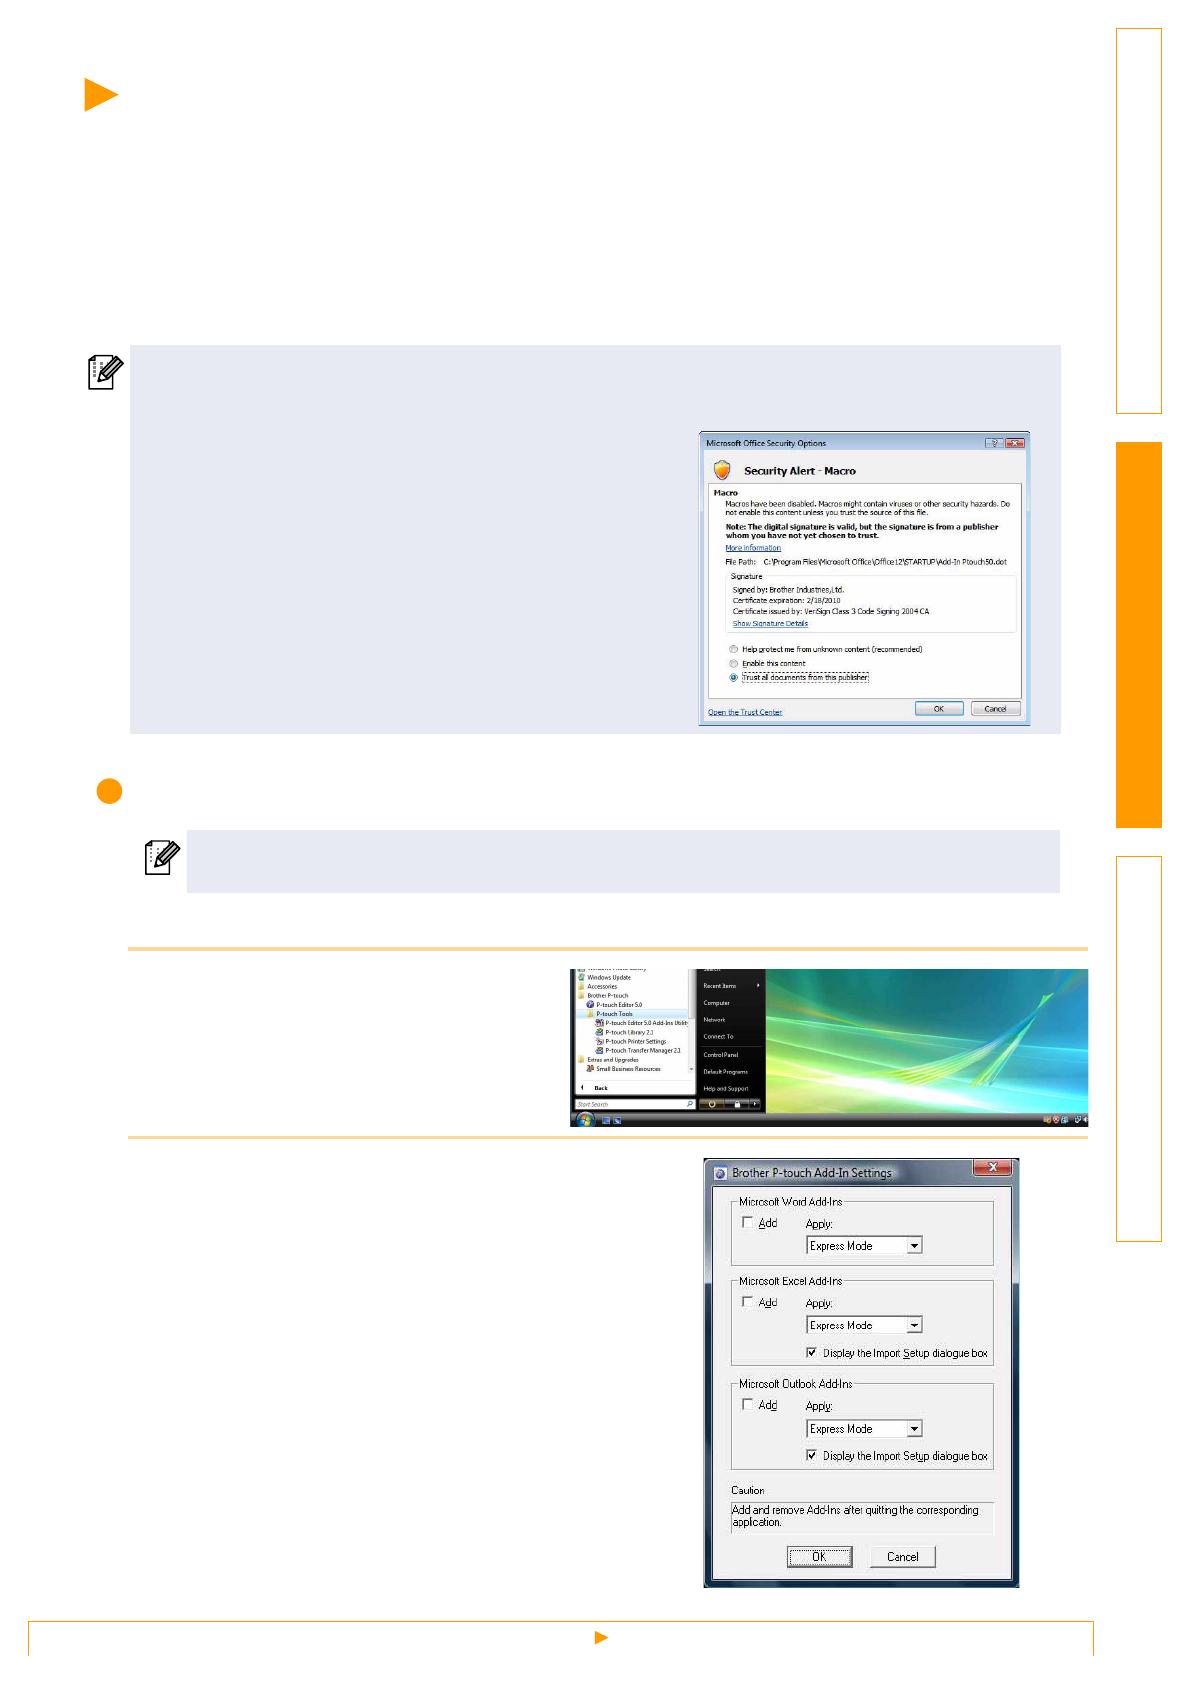
2
Click on the checkboxes for the Microsoft
application where you would like the
P-touch Editor add-in function button to be
installed.
[Apply] is used to specify what action is taken when
the (Add-In button) is pressed in each application.
• Express Mode : Starts Express Mode.
• Professional Mode : Starts Professional mode.
• Print Immediately : Prints the label.
• The Add-In function supports the following applications:
Microsoft
®
Word 2000/2002/2003/2007, Microsoft
®
Excel
®
2000/2002/2003/2007, and Microsoft
®
Outlook
®
2000/2002/2003/2007
• After the Add-In function is installed into Microsoft
®
Word,
Excel
®
, or Outlook
®
, the security dialog box may appear
when starting these applications, depending on the
application's security settings.
• For Microsoft
®
Word 2007 etc., if the dialog box on the right
appears, select [Trust all documants from this publisher],
and click [OK]. For details on security settings, see the Help
files for the application.
• For Microsoft
®
Word 2003 etc., check the [Always trust
macros from this source] checkbox, and click on [Enable
Macros].
Before running this program, close the Microsoft
®
Word, Excel
®
and Outlook
®
programs.


