Digital Watchdog DWC-B1365T User manual
- Category
- Security cameras
- Type
- User manual
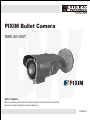
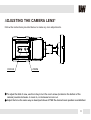
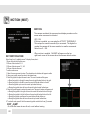
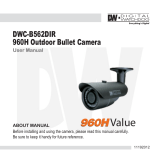
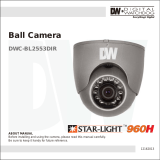
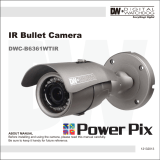
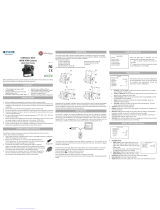
The Digital Watchdog DWC-B1365T is a versatile and feature-rich bullet camera designed for various surveillance applications, offering exceptional image quality and advanced functionalities. With its 1/3” PIXIM Seawolf CMOS sensor and 690 horizontal TV lines, it delivers crisp and detailed video footage. The 3.3~12mm varifocal auto-iris lens provides optical zooming capabilities, allowing you to adjust the field of view as needed.
The Digital Watchdog DWC-B1365T is a versatile and feature-rich bullet camera designed for various surveillance applications, offering exceptional image quality and advanced functionalities. With its 1/3” PIXIM Seawolf CMOS sensor and 690 horizontal TV lines, it delivers crisp and detailed video footage. The 3.3~12mm varifocal auto-iris lens provides optical zooming capabilities, allowing you to adjust the field of view as needed.


-
 1
1
-
 2
2
-
 3
3
-
 4
4
-
 5
5
-
 6
6
-
 7
7
-
 8
8
-
 9
9
-
 10
10
-
 11
11
-
 12
12
-
 13
13
-
 14
14
-
 15
15
-
 16
16
-
 17
17
-
 18
18
-
 19
19
-
 20
20
-
 21
21
-
 22
22
-
 23
23
-
 24
24
-
 25
25
-
 26
26
-
 27
27
-
 28
28
-
 29
29
-
 30
30
-
 31
31
-
 32
32
-
 33
33
-
 34
34
-
 35
35
-
 36
36


Digital Watchdog DWC-B1365T User manual
- Category
- Security cameras
- Type
- User manual
The Digital Watchdog DWC-B1365T is a versatile and feature-rich bullet camera designed for various surveillance applications, offering exceptional image quality and advanced functionalities. With its 1/3” PIXIM Seawolf CMOS sensor and 690 horizontal TV lines, it delivers crisp and detailed video footage. The 3.3~12mm varifocal auto-iris lens provides optical zooming capabilities, allowing you to adjust the field of view as needed.
Ask a question and I''ll find the answer in the document
Finding information in a document is now easier with AI
Related papers
-
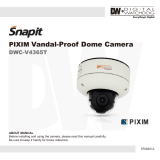 Digital Watchdog DWC-V4365T User manual
-
Digital Watchdog PIXIM DWC-C235T User manual
-
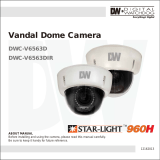 Digital Watchdog DWC-V6563D User manual
-
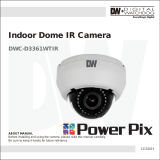 Digital Watchdog DWC-D3361WTIR User manual
-
 Digital Watchdog DWC-B562DIR User manual
-
 Digital Watchdog DWC-V6361WTIR User manual
-
 Digital Watchdog DWC-V6553D User manual
-
 Digital Watchdog DWC-D3563DIR User manual
-
 Digital Watchdog DWC-BL2553DIR User manual
-
 Digital Watchdog DWC-B6361WTIR User manual


Other documents
-
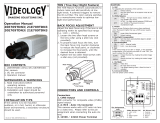
 Videology 21B709W Operating instructions
-
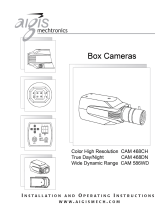 Aigis Mechtronics CAM 468CH Installation And Operating Instructions Manual
-
 Videology 20E709TDN3 Operation Manuals
-
 Videology 20C20XW User manual
-
 Videology Seawolf DX56WXX User manual
-
 INMOTION in30S1x1L Quick start guide
-
Xvision XHC1080VB User manual
-
Digimerge DPD24W User manual
-
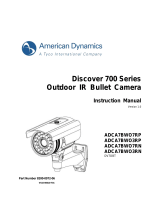 American Dynamics ADCA7BWO3RP User manual
-
Sanyo VCC-9624 User manual


