John Louis Home JLH-731 Installation guide
- Category
- AV equipment stands
- Type
- Installation guide
This manual is also suitable for

PARTS LIST Lista De Piezas Liste Des Piéces
IMPORTANT: DO NOT RETURN TO STORE!
For missing or damaged parts, technical or assembly questions, please call John Louis Customer
Service at 1-800-480-6985
IMPORTANTE: ¡NO LO DEVUELVA A LA TIENDA!
Llame al servicio al cliente local de John Louis al 1-800-480-6985
para aclarar sus dudas sobre pérdidas, daños, asuntos écnicos y ensamblaje.
IMPORTANT: NE PAS RENVOYER OU RAPPORTER AU MAGASIN!
Si vous avez une question concernant l’assemblage, des piéces manquantes ou endommagées ou
un probléme technique, appelez le Service á la clientéle de John Louis au 1-800-480-6985.
B
Quantity: 2
Mounting bracket
Soporte de montaje
Support de montage
C
Quantity: 8
1/4 in. machine screw
.635 cm. tornillo de máquina
635 cm. vis de la machine
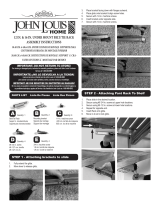
12 IN. & 16 IN. UNDER MOUNT PANT RACK
ASSEMBLY INSTRUCTIONS
30.48 CM. & 40.64 CM. INSTRUCCIONES DE MONTAJE BARRA PARA PANTA-
LONES DE MONTAJE INFERIOR
30,48 CM. & 40,64 CM. INSTRUCTIONS DE MONTAGE SUPPORT Á PANTAL-
ONS Á MONTAGE PAR DESOUS
STEP 1 - Attaching brackets to slide
1. Fully extend the glide.
2. Move lever to release glide.
3. Place bracket facing down with anges outward.
4. Place glide onto bracket & align screw holes.
5. Secure with 1/4 in. machine screws.
6. Insert bracket under opposite side.
7. Secure with 1/4 in. machine screws.
STEP 2 - Attaching Pant Rack To Shelf
1. Place slide in the desired location.
2. Secure using #6 3/4 in. screws at upper hole locations.
3. Secure using #6 1/2 in. screws at lower hole locations.
4. Repeat for opposite end.
5. Insert Rack onto glide.
6. Move in & out to lock glide.
A
Quantity: 1
Pant rack
Barra para pantalones
Support á pantalons
E
Quantity: 4
3/4 in. machine screw
1.9 cm. tornillo de máquina
1,9 cm. vis de la machine
D
Quantity: 4
#6 1/2 in. screw
#6 1.27 cm. tornillo
#6 1,27 cm vis
STEP 3 - How To Reverse Rack Loading
1. Extend glide & insert phillips head screwdriver.
2. Hold nut in place & remove screw.
3. Repeat for opposite end.
Page is loading ...
Page is loading ...
Page is loading ...
-
 1
1
-
 2
2
-
 3
3
-
 4
4
John Louis Home JLH-731 Installation guide
- Category
- AV equipment stands
- Type
- Installation guide
- This manual is also suitable for
Ask a question and I''ll find the answer in the document
Finding information in a document is now easier with AI
in other languages
Related papers
-
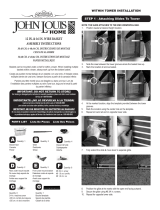
 John Louis Home JLH-741 Installation guide
-
 John Louis Home JLH-732 Installation guide
-
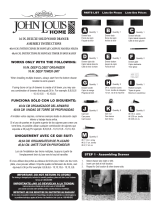 John Louis Home JLH-558 Installation guide
-
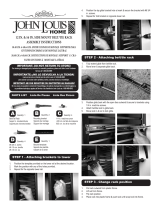 John Louis Home JLH-743 Installation guide
-
 John Louis Home JLH-584 Installation guide
-
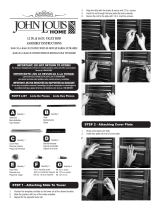 John Louis Home JLH-738 Installation guide
-
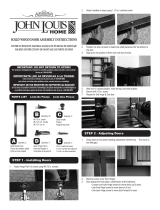 John Louis Home JLH-534 Installation guide
-
 John Louis Home JLH-525 Installation guide
-
 John Louis Home JLH-530 Installation guide
-
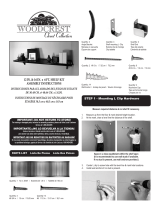 John Louis Home JLH-574 Installation guide
Other documents
-
Project Source V38137-PS Installation guide
-
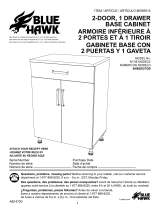 Blue Hawk BHBDD27GB Installation guide
-
 Dorel Home 1783213COM Installation guide
-
 Dorel Home 7818341COM Installation guide
-
Altra Furniture 5685215PCOM Operating instructions
-
Knape & Vogt PDMTM21-2-35WH Installation guide
-
 Dorel Home Ameriwood 5505301PCOM Assembly Manual
-
JANOME Sewing Machine Owner's manual
-
Kobalt 0056643 User manual
-
JANOME 521 Sewist Owner's manual


