20
For Wireless Network Users
For Wireless Network Interface Users
8
Before you begin
First you must configure the wireless network settings of your printer to communicate with your network access
point/router. After the printer is configured to communicate with your access point/router computers on your
network will have access to the printer. To use the printer from these computers, you will need to install the printer
driver. The following steps will guide you through the configuration and installation process.
Infrastructure Mode
• To achieve optimum results with normal everyday document printing, place the Brother printer as close to
the network access point/router as possible with minimal obstructions. Large objects and walls between the
two devices as well as interference from other electronic devices can affect the data transfer speed of your
documents.
• Due to these factors, wireless may not be the best method of connection for all types of documents and
applications. If you are printing large files, such as multi-page documents with mixed text and large graphics,
you may want to consider choosing wired Ethernet for a faster data transfer or USB for the fastest
throughput speed.
• Although the Brother HL-3070CW can be used in a both wired and wireless network, only one of the
connection methods can be used at a time.
• If you are going to connect the printer to your network, we recommend that you contact your system
administrator prior to installation. You must know your wireless network settings before you
proceed with this installation.
• If you are using Windows
®
Firewall or a firewall function of anti-spyware or antivirus applications,
temporarily disable them. Once you are sure that you can print, configure the software settings
following the instructions.
• If you have previously configured the wireless settings of the printer, you must reset the print server
back to its factory default settings (see page 40).
• Make sure there are no USB Flash memory drive inserted.
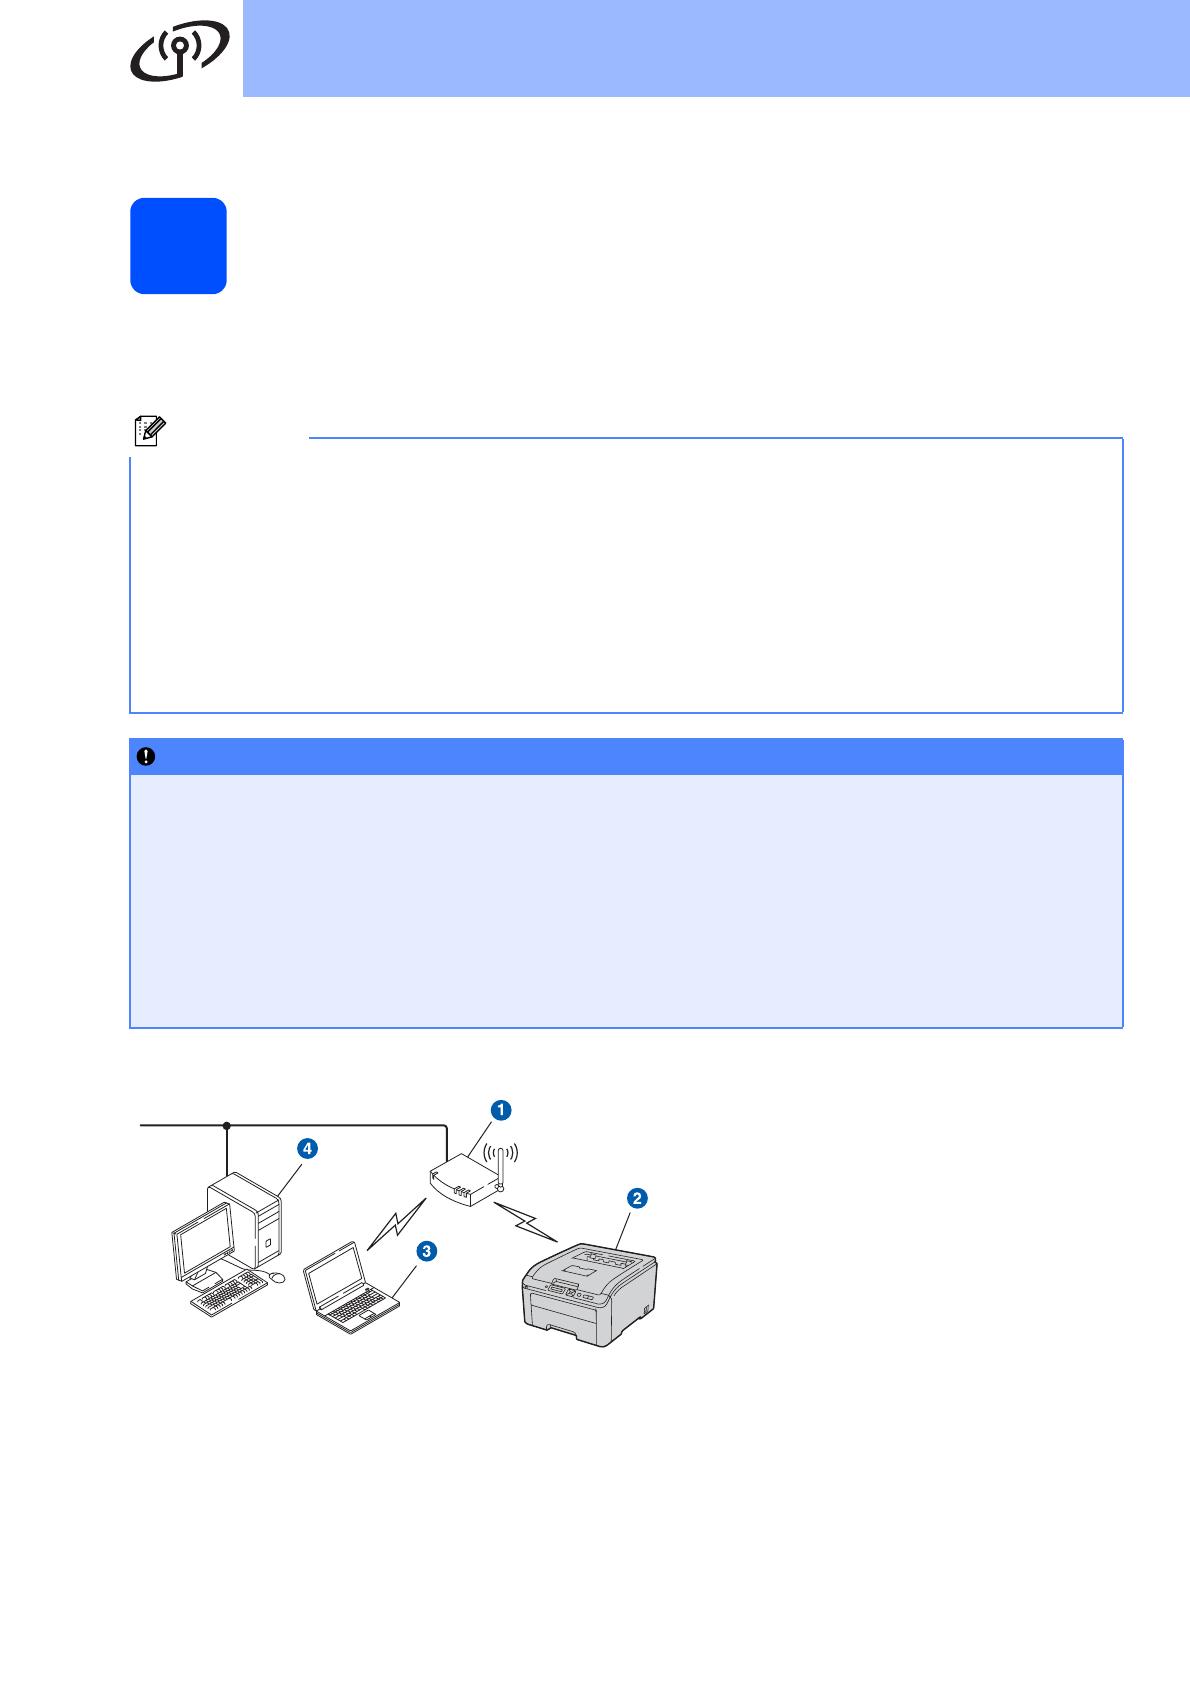
a Access Point
b Wireless Network machine (your printer)
c Wireless capable computer connected to the
access point
d Wired computer which is not wireless capable
connected to the access point with an Ethernet
cable
3


