
INSTALLATION INSTRUCTIONS
Item# P5433-697-L (Rev. 06/02/2023)
READ AND SAVE THESE INSTRUCTIONS
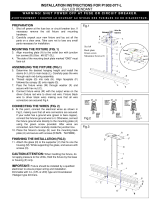
Fig.1
Set # A-020- 102A
- Mounting plate
- Outlet box screw* 2 pcs
- Ground Screw
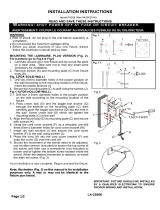
Fig. 2
FIXTURE
WIRES
Black or
Smooth
HOUSE
WIRES
Black
( Hot)
FIXTURE
WIRES
White or
Ribbed
HOUSE
WIRES
White
( Neutral)
FIXTURE
WIRES
Bare
Coppe r
( Ground)
HOUSE
WIRES
Green
( Ground)
Page: 1/1
P5433-697-L
C
B
W A R N I N G ! S H U T P O W E R O F F AT F U S E O R C I R C U I T B R E A K E R .
AVERTISSEMENT! COUPER LE COURANT AU NIVEAU DES FUSIBLES OU DU DISJONCTEUR.
PR
E
PARATION
1 . Shut off power at the fuse box or circuit breaker box.
If
necessary, remove the old fixture and mounting hardware.
2 . Carefully unpack your new fixture and lay out all the
parts
on a clear area. Take care not to lose any small
parts
necessary for installation.
MOUNTING THE FIXTURE (FIG. 1 )
3. Secure mounting plate (A) to the outlet box (not included)
using outlet box screws (B) (Size: #8-32N*L1
''
L). The
side
of the mounting plate (A) marked
“
GND
”
must face out.
CONNECTING THE WIRES (FIG. 2)
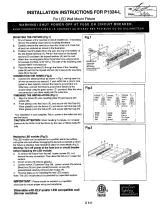
4 . Connect the electrical wires as shown in Fig. 2, making sure
that all wire connectors are secured. If your outlet has a
ground wire ( green or bare copper) , connect the fixture's
ground wire to it. Otherwise, connect the fixture' s ground
wire directly to the mounting plate (A) using the green screw
provided. After wires are connected, tuck them carefully
inside the outlet box.
COMPLETING THE INSTALLATION ( Fig. 1 )
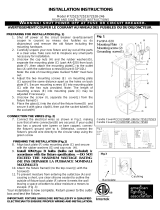
5. Place the fixture’ s back plate ( C) over mounting plate (A
)
and secure with screws (D) .
Note: Illustration (Fig. 1) on this manual is for
installation purpose only. It may or may not be identical
to the fixture purchased.
IMPORTANT: Fixture should be installed by a
qualified
electrician to ensure proper wiring and installation.
Dimmable with ELV and/ or LED compatible wall dimmer
switch.
A
D
-
 1
1
Ask a question and I''ll find the answer in the document
Finding information in a document is now easier with AI
Related papers
-
Metropolitan N7764-683 User manual
-
 George Kovacs P1902-077-L User manual
-
Minka Group 4561-098 User manual
-
The Great Outdoors 72501-615B-L User manual
-
 George Kovacs P4308-084 User manual
-
 Minka Lavery 72528-246 User manual
-
 George Kovacs P1324-084-L User manual
-
 George Kovacs P472-66A-L User manual
-
George Kovacs P4319-084 User manual
-
The Great Outdoors 73101-143C-L User manual
Other documents
-
Metropolitan N7136-597 User manual
-
 George Kovacs P1387-077-L User manual
-
 Minka Lavery 5864-279 Installation guide
-
 George Kovacs P1399-044G-L User manual
-
 Minka Lavery 4109-84 Installation guide
-
Minka-Lavery 4675-111 User manual
-
 Minka Lavery 4671-111 User manual
-
Minka-Lavery 4454-784 User manual
-
 George Kovacs P1900-077-L User manual
-
Modern Forms WS-21724-BN Installation guide


