Getting started
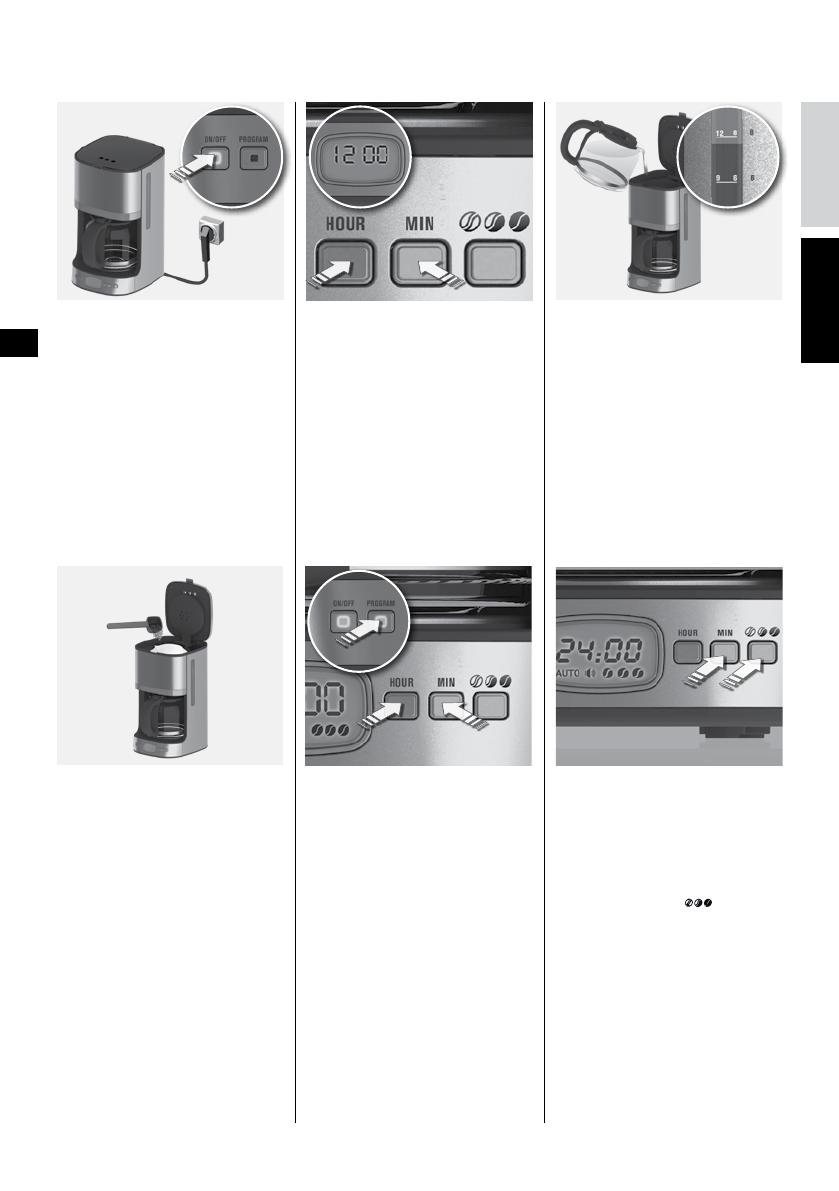
2. Setting/changing time. Plug in the
machine, the display will ash the
initial time showing: 12:00. Press the
HOUR and MIN button to set the
required time. Time can be changed
at any time, even under program
mode. Simply press the HOUR and
MIN button, the time changes at once.
Note: if you unplug the machine, the
time needs so be set again.
1. Place the machine on a at surface.
When starting the machine for the
rst time, ll the tank with cold water.
Start the machine with the ON/OFF
switch. Let a full tank of water pass
through the machine once or twice to
clean it, without using a paper lter or
coee.
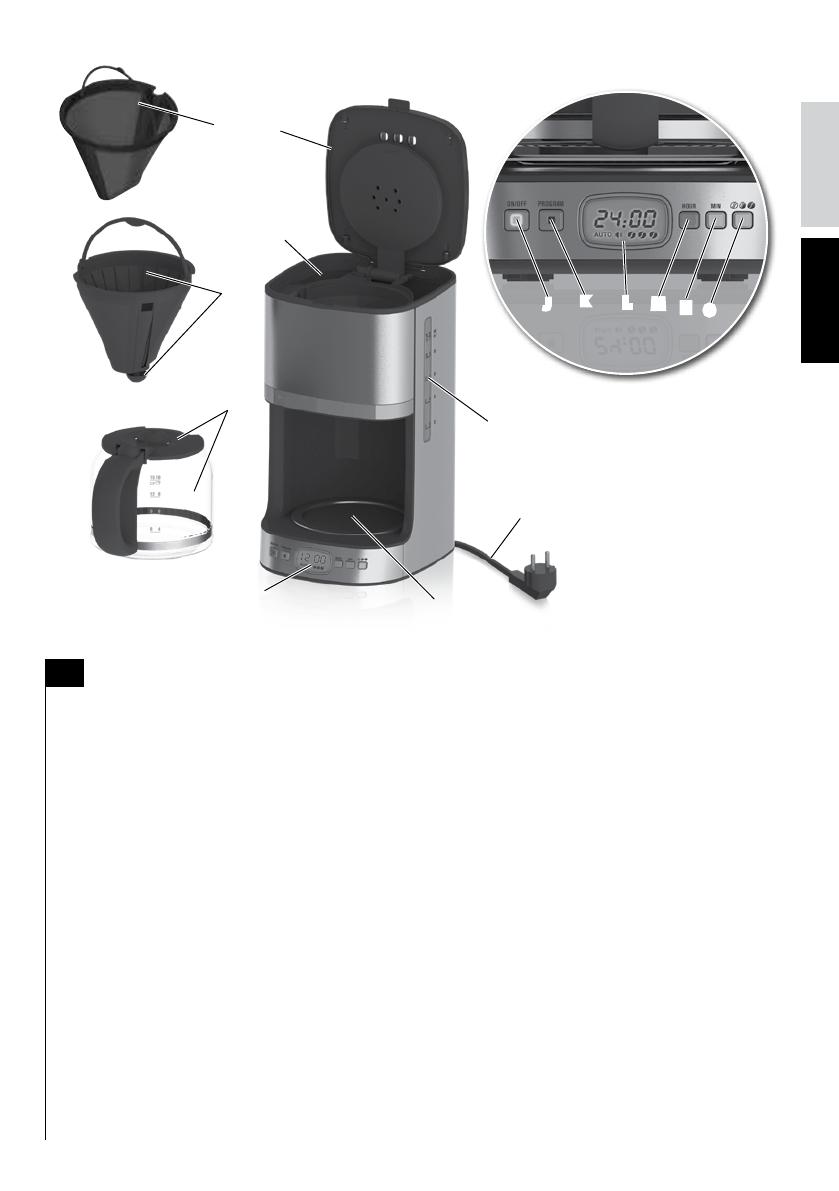
3. Making coee: open the lid and ll
the water tank with fresh cold water
up to the desired level. There is a
water level indicator on the water
tank and on the coee jug. (The
machine must not be used with
empty tank!)
4. Insert the permanent lter* or a 1x4
size paper lter in the lter holder
and ll it with grounded coee.
There is a gauge for recommended
number of spoons of coee next to
the water gauge. For average strong
coee 1 measuring spoon (approx.
6-7 g) per cup is sucient. Close the
water tank lid and place the jug back
(complete with lid).
GB
5. Setting/changing delay time.
Press and hold PROGRAM button
more than 1 second, then release the
PROGRAM button, the green program
light ashes, set hours by pressing
the HOUR button. Then set minutes
by pressing the MIN button. Press the
PROGRAM button again to conrm,
the display will go back to show the
current time immediately, and display
show “auto” symbol, green program
light illuminate.
Note: If user don’t press program button
again, the display will go back to show
the current time after 5 seconds, and
setting delay time is cancelled.
6. Sound alarm on/o: The bugle
symbol ashes on the display by
default. The symbol blinks, and it
continues to light when brewing. The
buzzer beeps 3 times when the coee
is ready. To turn on/o the sound
alarm function, press and hold the
MIN button and the
button at
same time. The sound alarm function
can only be turned on/o on a non-
working mode, it cannot be changed
during brewing.
Note: The alarm shows by default
when the machine is unplugged.
Repeat this procedure to turn it o.
DE
GR
NL
FR
GB
17