11
The Machine
• The machine is a precision machine. Do not drop, hit or otherwise bang the machine.
• The machine may malfunction if left near a television, radio, etc. Do not use the machine
near any machine that can cause electromagnetic interference.
• Do not insert any objects into or block the label output slot, USB port, Serial port or LAN
port.
• Use only the USB Interface Cable included with the machine.
• When not in use for an extended period, remove the DK Roll from the machine.
• Do not attempt to print labels while the DK Roll cover is open.
• There is a noise from the printer while printing due to
the speed printing (this is not a failure of the printer).
Set "print quality" of the printer driver setting to reduce
the noise.
• If a paper jam should occur due to a build up of
adhesive on the paper guide surface, unplug the power
cord from the electrical outlet and wipe away the
adhesive buildup on the paper guide surface with a
cloth dipped in ethanol or isopropyl (rubbing) alcohol. It
is recommended that you clean the paper guide when
replacing the cutter unit.
DK Rolls (DK Labels and DK Tapes)
• Use only genuine Brother accessories and supplies (with , marks). Do not use any
unauthorized accessories or supplies.
• If the label is attached to a wet, dirty, or oily surface, it may peel off easily. Before
applying the label, clean the surface to which the label will be applied.
• As DK Rolls use thermal paper and thermal film, ultraviolet rays, wind, and rain may
cause the color of the label to fade and the ends of the label to peel off.
• Do not expose the DK Rolls to direct sunlight, high temperatures, high humidity, or dust.
Store in a cool, dark place. Use the DK Rolls soon after opening the package.
• Scratching the printed surface of the label with your finger nails or metal objects, or
touching the printed surface with hands dampened by water, sweat, or medicated cream,
etc., can cause the color to change or fade.
• Do not apply labels to any persons, animals, or plants.
DK Roll (DK Label, DK Tape)
Be careful not to drop the DK Roll.
DK Rolls use thermal paper and thermal
film. Both the label and print will fade
with sunlight and heat. Do not use DK
Rolls for outdoor use that requires
durability.
Depending on the area, material, and
environmental conditions, the label may
unpeel or become irremovable, the color
of the label may change or be
transferred to other objects.
Before applying the label, check the
environmental condition and the
material. Test the label by affixing a
small piece of it to an inconspicuous
area of the intended surface.
CAUTION
General Precautions
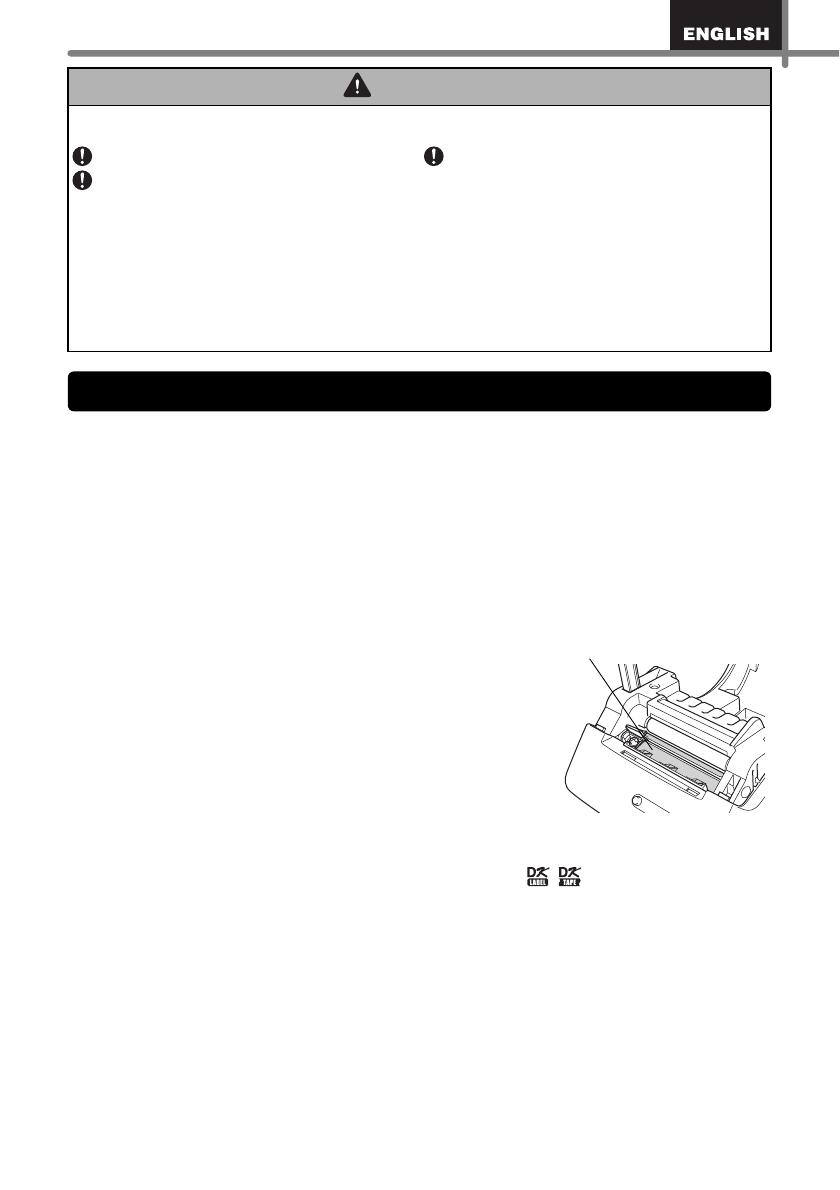
Paper guide surface


