1. Check if your needs this kit 2. Install Tamper Board
1
2
Compliant with the smart charging
regulations 2021, including schedule 1
Tamper Detection built-in.
No Tamper Retrofit Kit Required
-G
You need to install this retrofit kit if you’re
installing a , in England, Scotland or
Wales, without a tamper detection device, on
or after 30th December 2022.
a) You can identify whether the has
in-built tamper detection by either, looking
at the rating plate on the for the
words “Tamper Detection” (1) or by a label
on the box also indicates whether tamper is
already built-in (2).
b) This kit is not suitable for models that have
a serial number starting with 1.
See figures 1 and 2 below
WARNING!
Ensure is safely isolated before performing
these steps. The tamper detection board is electro-
static-sensitive. Hold it by the edges. We would advise
touching something earthed before handling the board
Step 1: Isolate the device, if required.
Step 2: Remove fascia and front of enclosure.
NOTICE
For more detailed instruction on removing the fascia and
cover refer to Installation Manual.
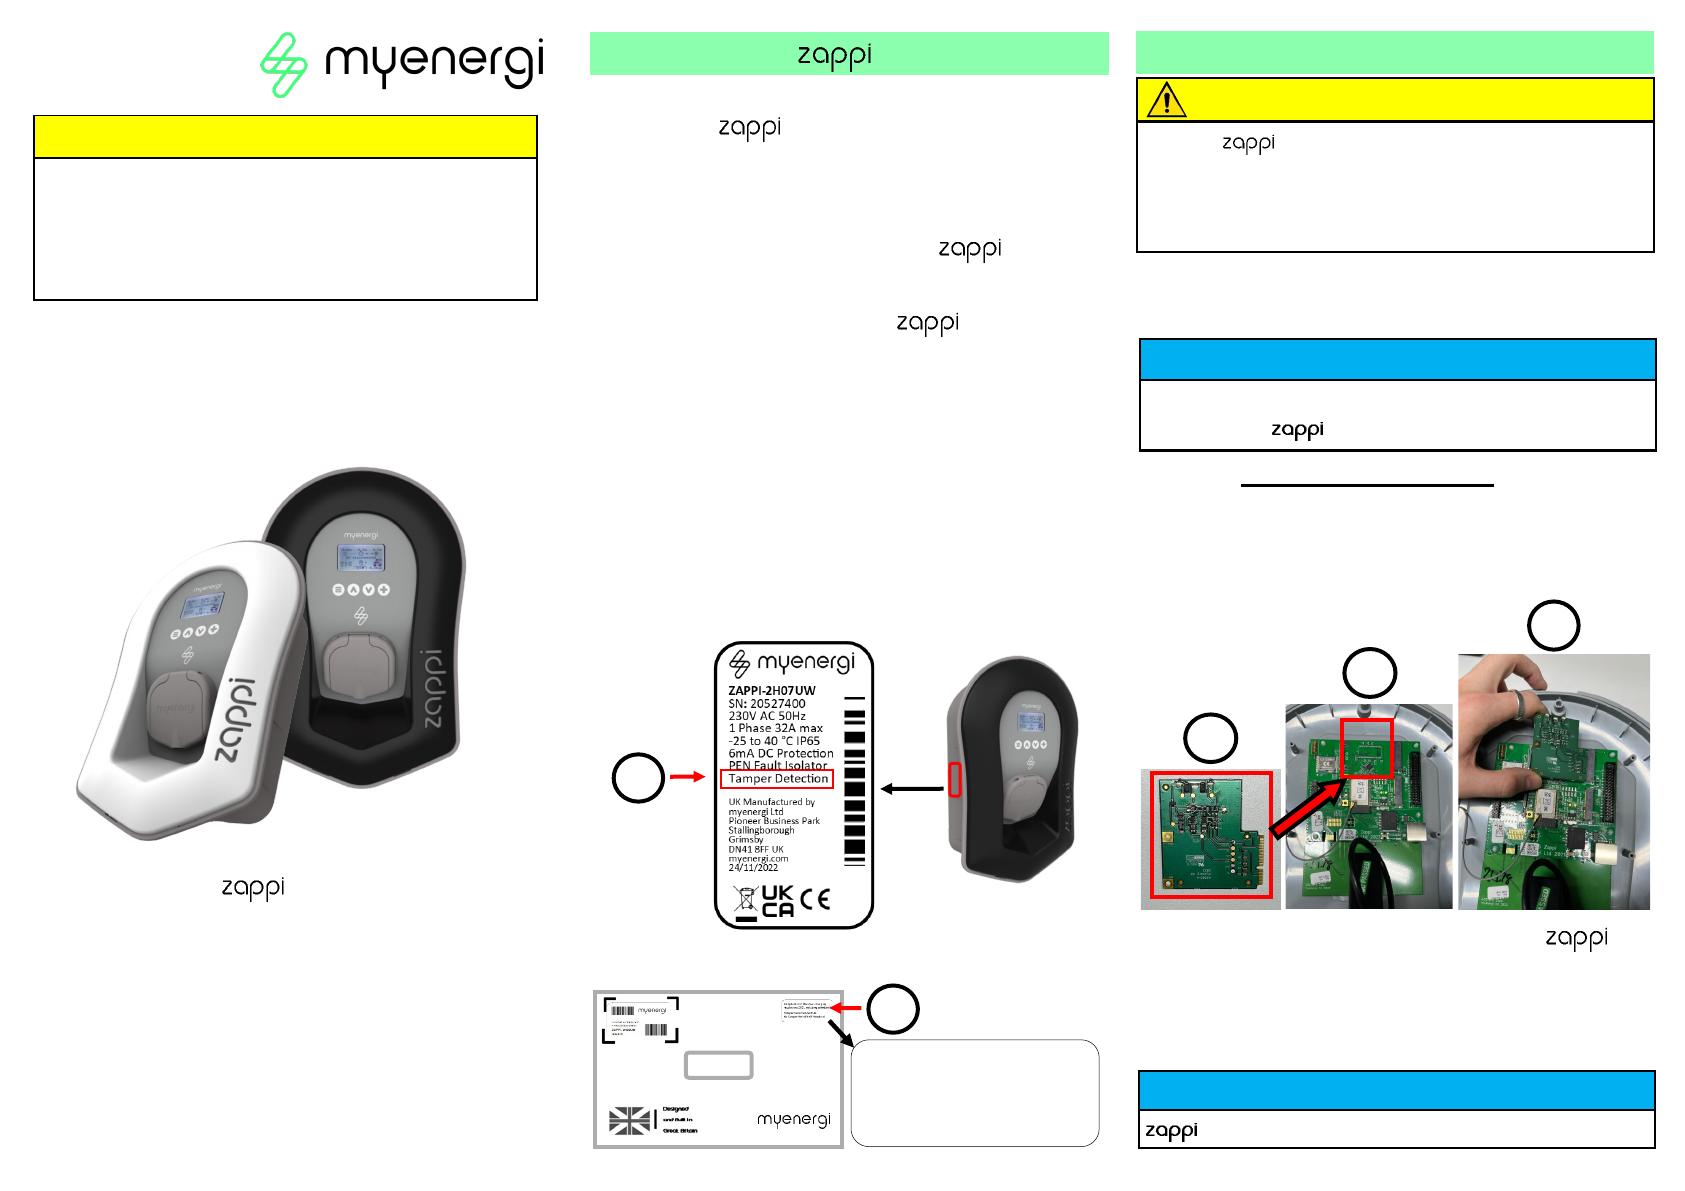
Step 3: Holding it by the edges, take the
Tamper Board (1) and insert onto the CPU
board (2), located on the back of the enclosure
cover, as shown on the image below (3).
Step 4: Now, continue installing the as
you usually would, following the Installation
Manual, ensuring the front cover is securely
in place before powering up.
NOTICE
requires an internet connection for next steps.
1
2
3
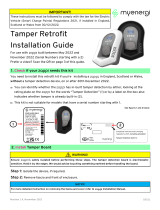
Tamper Retrofit
Installation Guide
For use with built between May
2022 and November 2022 (Serial
Numbers starting with a 2)
Prefer a video? Scan the QR on the back
of this guide
Revision 1.4, November 2022 D3511
IMPORTANT!
These instructions must be followed to comply
with the law for the Electric Vehicle (Smart
Charge Points) Regulations 2021, if installed in
England, Scotland or Wales from 30/12/2022.