2. Ground E!ect Ball.
Salt-Water Condition (left half): This
refers to the presence of salt in water
environments, such as beaches. The
conductive nature of saltwater can create
interference similar to mineralization,
generating false signals and potentially
affecting the detector's ability to
differentiate between various metals.
Mineralization (right half): Mineralization
in metal detecting refers to the presence of
minerals like iron in the ground. These can
interfere with the detector's
electromagnetic field, causing false signals
and making it difficult to distinguish real
metal targets from minerals in the soil. The
higher the level, the more severe the
mineralization.
Correction Index (outside circle): This
shows the ground effect correction. The
microcontroller will apply preset programs
to balance the ground effects caused by
mineralization or saltwater, or even both,
automatically without setup. The Ground
Balance process will adjust the correction
index. Turn to Ground Balance page for
more info.
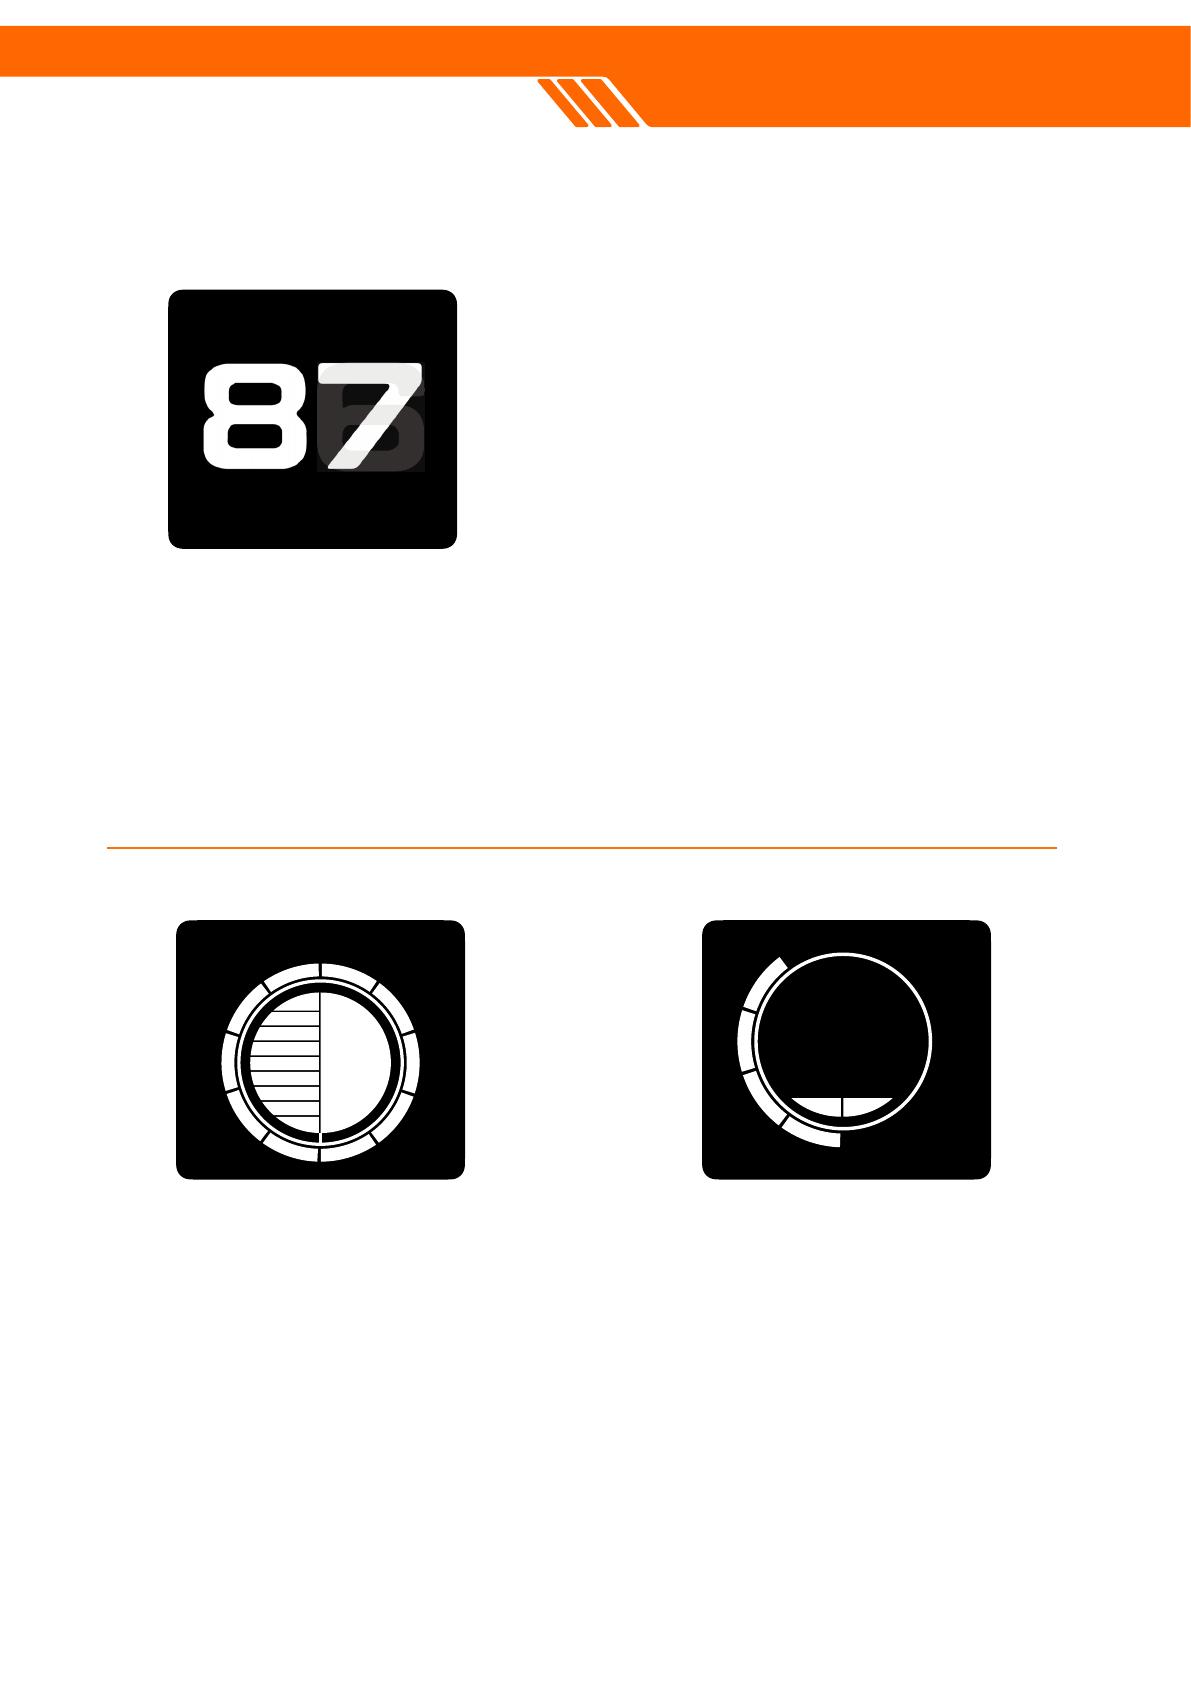
1. Target ID.
Target Identification (Target ID) in metal
detectors is a complex feature that offers a
numeric representation of a detected object,
ranging from 0 to 99. This number helps
identify a target's ferrous or non-ferrous
properties, such as a US quarter displaying
a Target ID of 82.
However, Target IDs can sometimes be
inconsistent. Factors like orientation, depth,
metal purity, corrosion, soil mineralization,
and the swing direction of coil can cause
multiple IDs for the same target. In certain
situations, the device may even fail to
provide an ID, especially for deep or smaller
targets, as a strong, clear signal is needed.
Different frequency or coils may cause minor
differences too.
HyperQ enhances Target ID accuracy,
especially in mineralized ground, maximizing
depth and stability. However, it may take
time and experience to make optimal use of
Target ID, as different detectors produce
varying numbers, and local variations in
metals and sizes may require testing and
adjustment.
PART 2
Mineralization
Saltwater
Correction index
7


