Page is loading ...

1.
Aer choosing a locaon to mount your lights, install and loosely ghten before installing the wiring
harness. Oponal: Refer to ‘Template’ for Flush Mount applicaons.
2.
To install the switch, drill a ¾” hole in the desired locaon to press the switch into.
( Do not install switch unl you have the switch wires routed to the switch locaon,
and then aach the switch wires accordingly before pressing the switch into the mounng hole). Connect
the switch wires as follows: to Ground (brass color) blade, to Load (center) blade,
and (Supply) to the last blade on the switch.
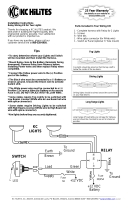
1. Begin by roung the KC wire harness from the baery (or power source) and connect the light leads
(DT connectors) to the lights. Next, route the three switch leads (spade connectors) toward the desired
switch locaon.
3. Next, connect the lead (with ring terminal) to the (+) Posive side of the baery or
power source. Connect the lead (with ring terminal) to the (-) Negave side of the bat-
tery or chassis ground. Test your lights.
3.
Complete switch installaon and place switch in posion.
(1) Wire Harness, (1) Switch, (8) Wire Ties
KC HiLiTES, Inc. Williams, Arizona USA www.kchilites.com Copyright 2017 Rev 20170712 - KC3265FA
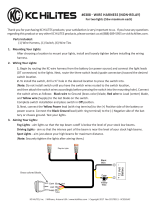
Thank you for purchasing KC HiLiTES products; your sasfacon is very important to us. If you have any quesons
regarding this product or any other KC HiLiTES products, please contact us at (888) 689-5955 or visit kchilites.com.
Brass colored blade
Black
/


