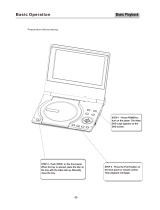
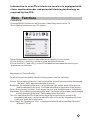
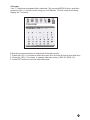
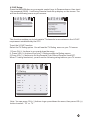
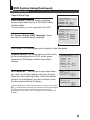
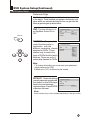
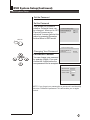
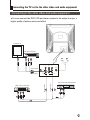
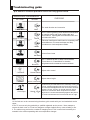
Haier TDC2014S is a 20-inch TV/DVD combo that offers a wide range of features and capabilities, making it a versatile entertainment device for your home. With its DVD player, you can enjoy your favorite movies, TV shows, and music. The TV also features a built-in tuner, allowing you to access and watch over-the-air channels. Additionally, the TV/DVD combo has multiple connectivity options, including HDMI and USB ports, so you can easily connect external devices such as gaming consoles, Blu-ray players, and USB drives.
Haier TDC2014S is a 20-inch TV/DVD combo that offers a wide range of features and capabilities, making it a versatile entertainment device for your home. With its DVD player, you can enjoy your favorite movies, TV shows, and music. The TV also features a built-in tuner, allowing you to access and watch over-the-air channels. Additionally, the TV/DVD combo has multiple connectivity options, including HDMI and USB ports, so you can easily connect external devices such as gaming consoles, Blu-ray players, and USB drives.


-
 1
1
-
 2
2
-
 3
3
-
 4
4
-
 5
5
-
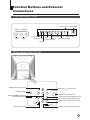 6
6
-
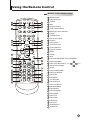 7
7
-
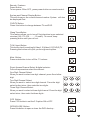 8
8
-
 9
9
-
 10
10
-
 11
11
-
 12
12
-
 13
13
-
 14
14
-
 15
15
-
 16
16
-
 17
17
-
 18
18
-
 19
19
-
 20
20
-
 21
21
-
 22
22
-
 23
23
-
 24
24
-
 25
25
-
 26
26
-
 27
27
-
 28
28
-
 29
29
-
 30
30
-
 31
31
-
 32
32
-
 33
33
-
 34
34


Haier TDC2014S User manual
- Type
- User manual
- This manual is also suitable for
Haier TDC2014S is a 20-inch TV/DVD combo that offers a wide range of features and capabilities, making it a versatile entertainment device for your home. With its DVD player, you can enjoy your favorite movies, TV shows, and music. The TV also features a built-in tuner, allowing you to access and watch over-the-air channels. Additionally, the TV/DVD combo has multiple connectivity options, including HDMI and USB ports, so you can easily connect external devices such as gaming consoles, Blu-ray players, and USB drives.
Ask a question and I''ll find the answer in the document
Finding information in a document is now easier with AI