Page is loading ...

15 Kingbrook Parkway, Suite 100 Simpsonville, KY 40067 p. 877.866.3331 f. 502.719.8888 oxfordgarden.com
Ver. 06.30.20
OXFORD BACKLESS 5’ BENCH
ASSEMBLY INSTRUCTIONS
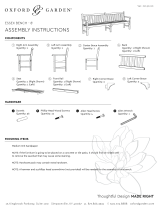
COMPONENTS
HARDWARE
FINISHING ITEMS
Medium Grit Sandpaper
NOTE: Hardware pack may contain more hardware than what is needed to assemble.
A hammer and phillips head screw driver (not provided) will be needed for the assembly of this bench.
If the furniture is going to be placed on a concrete or tile patio, it should first be rinsed well to remove
the sawdust that may cause some staining.
Right Leg Assembly
Quantity: 1
Left Leg Assembly
Quantity: 1
2
Seat
Quantity: 1
3
Back Seat Rail
Quantity: 1
4
Front Seat Rail
Quantity: 1
5
Bottom Rail
Quantity: 1
6
Dowel
Quantity: 10
A
Wood Screw
Quantity: 12
B

Ver. 06.30.20
STEP 4
Insert the left leg assembly into the rest of the
assembled parts. Secure the bottom rail by inserting a
wood screw through the under part of each leg as
shown in figure 1 below.
/


