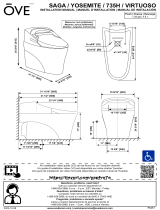
1. Install the Electrical Outlet
WARNING: Risk of electric shock, fire, or personal injury.
This product must be grounded and connected only to a
dedicated, nominal 120 VAC, 60 Hz circuit protected by a
minimum 15 A Ground-Fault Circuit-Interrupter (GFCI) or
Residual Current Device (RCD).
NOTICE: This product is factory equipped with a specific electrical
cord and plug to permit connection to a proper electric circuit. Make
sure that the product is connected to an outlet having the same
configuration as the plug. Do not modify the plug provided – if it
will not fit the outlet, have the proper outlet installed by a qualified
electrician. If the product must be reconnected for use on a different
type of electric circuit, the connection should be made by qualified
service personnel.
NOTICE: Consult your local electrical codes before determining the
connection type and the electrical outlet location. The temporary
connection may not be permitted by local electrical codes and the
electrical outlet location may be specified.
NOTICE: To avoid possible product malfunction, do not plug in the
seat until instructed to do so.
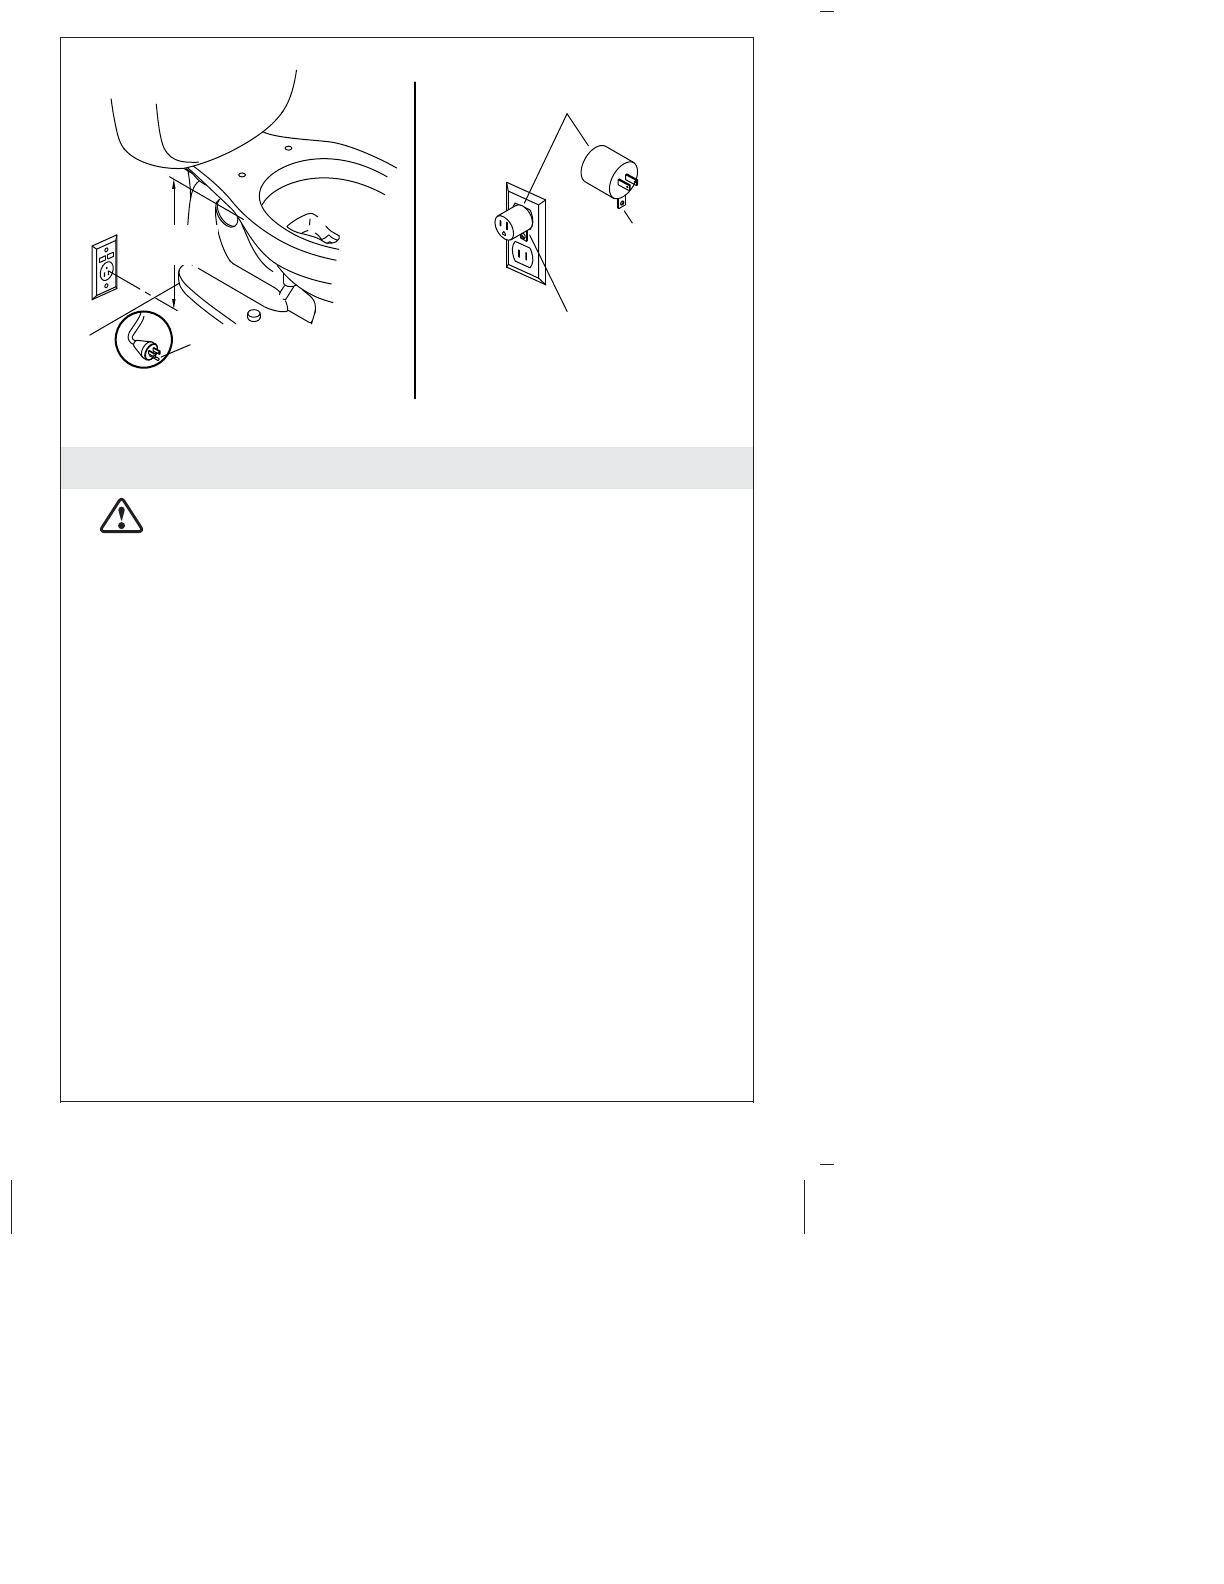
Preferred Connection
NOTE: Do not use an extension cord.
Cover Screw
Adapter
Temporary ConnectionPreferred Connection
Grounding
Screw Tab
12"
(305 mm)
Grounding Pin
1194356-2-A 4 Kohler Co.