2 _ Safety Instructions
WHILE SERVICING
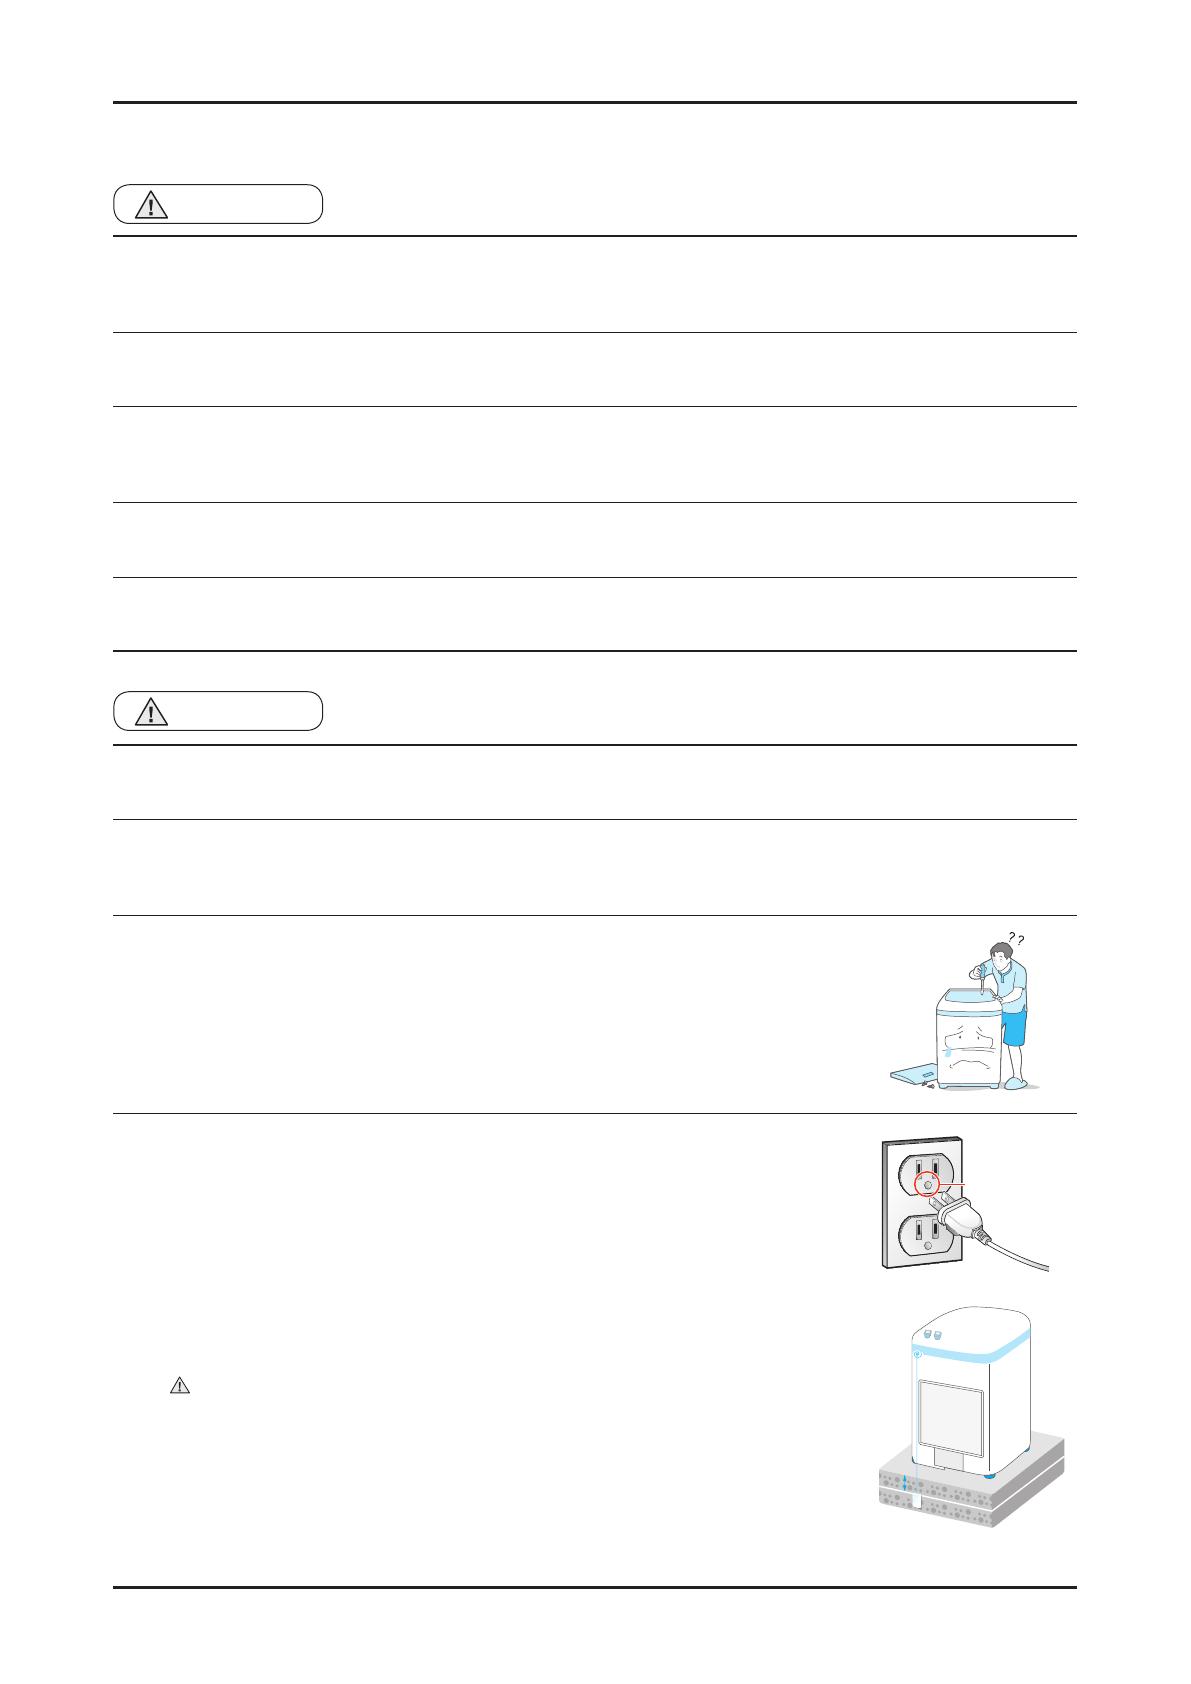
• Checkifthepowerplugandoutletaredamaged,attened,cutorotherwisedegraded.
4 If faulty, replace it immediately.
Failingtodosomayresultinelectricshockorre.
• Completelyremoveanydustorforeignmaterialfromthehousing,wiringandconnectionparts.
4 Thiswillpreventariskofreduetotrackingandelectricalhazard..
• Whenconnectingwires,makesuretoconnectthemusingtherelevantconnectorsandcheckthattheyare
completely properly.
4 Iftapeisusedinsteadoftheconnectors,itmaycausereduetotracking.
• MakesuretodischargethePBApowerterminalsbeforestartingtheservice.
4 Failingtodosomayresultinahighvoltageelectricshock.
• Whenreplacingtheheater,makesuretofastenthenutafterensuringthatitisinsertedintothebracket-heater.
4 Ifnotinsertedintothebracket-heater,ittouchesthedrumandcausesnoiseandelectricleakage.
AFTER SERVICING
• Checkthewiring.
4 Ensure that no wire touches a rotating part or a sharpened part of the electrical harness.
• Checkforanywaterleakage.
4 Performatestrunforthewashingmachineusingthestandardcourseandcheckwhetherthereisanywater
leakagethroughtheoorsectionorthepipes.
• Donotallowconsumerstorepairorserviceanypartofthewashingmachine
themselves.
4 This may result in personal injury and shorten the product lifetime.
• Ifitseemsthatgroundingisneededduetowaterormoisture,makesuretorun
grounding wires.
(Checkthegroundingofthepoweroutlet,andadditionallygroundittoametallicwater
pipe.)
4 Failingtodosomayresultinelectricshockduetoelectricleakage.
[Running a grounding wire]
- Twistagroundingwire(copperwire)twoorthreetimesaroundthetap.
- If you connect the grounding wire to a copperplate, bury it 75 cm under the earth in a
place with a lot of moisture.
Do not connect the grounding wire to a gas pipe, plastic water pipe or telephone
wire.Thereisariskofelectricshockorexplosion.
Grounding
terminal
75 cm
Copperplate
WARNING
WARNING


