15
Merchant prompts: Advices/Force Posts
This table lists in order of appearance the prompts
(and the actions to take for each) that you might see
on the terminal during an Advice or Force Post.
Note: Only some of the prompts listed below will
appear for any one transaction.
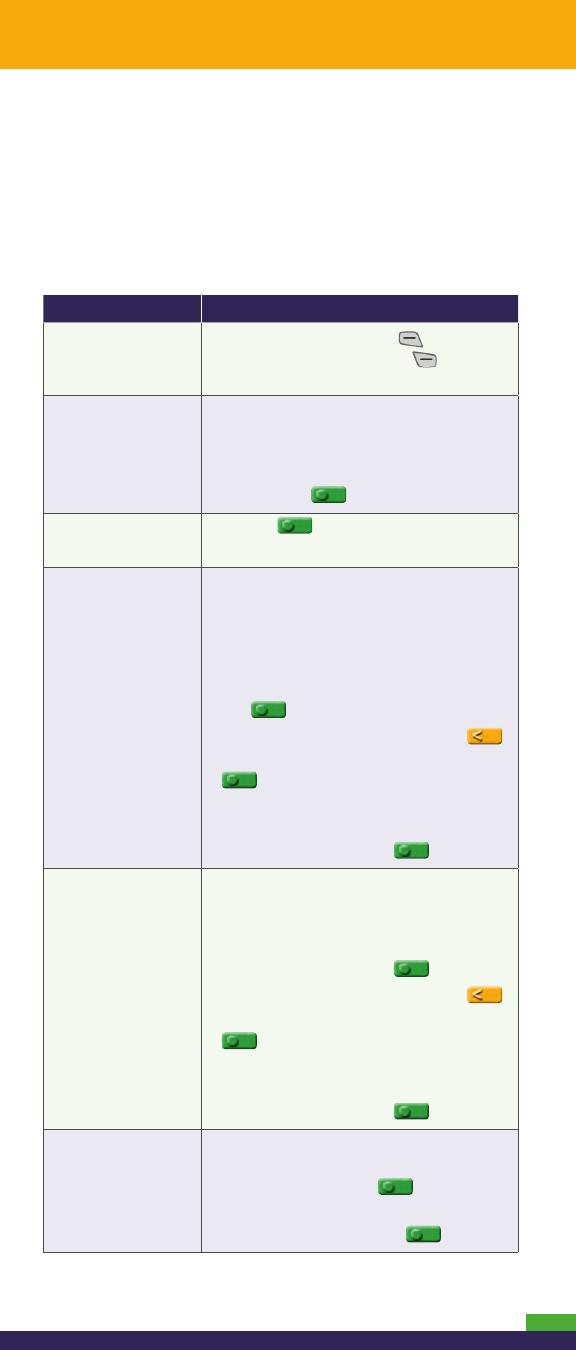
Merchant prompt Merchant action(s)
FIND ORIGINAL
TRANSACTION?
YES NO
To do an Advice: Press the key (YES).
To do a Force Post: Press the key (NO).
ENTER ORIGINAL
SEQUENCE NUMBER
Key in the required 6-digit portion of
the RECEIPT NUMBER found on the
Pre-Auth receipt (to locate the required
6 digits, see Pre-Auth Receipt on page 21),
and press the key.
1234567890123456
PRESS [OK]
Press the key to confirm the
displayed card number.
EN TE R AMO UNT
$#.##
Advice:
• To complete the Pre-Auth: Key in the
amount written on the Total line
(sum of the printed Pre-Auth amount
plus written Tip amount if any, see
Pre-Auth Receipt on page 21), and press
the key.
• To cancel the Pre-Auth: Press the
key (this enters $0.00), and press the
key.
Voice Auth:
• Key in the authorized transaction
amount, and press the key.
ENTER ORIGINAL
AMOUNT
$#.##
Advice:
• To complete the Pre-Auth: Key in the
printed Pre-Auth amount found on
the receipt (see Pre-Auth Receipt on
page 21), and press the key.
• To cancel the Pre-Auth: Press the
key (this enters $0.00), and press the
key.
Voice Auth:
• Key in the authorized transaction
amount, and press the key.
E N T E R T I P A M O U N T
$0.00
For Advice: Key in the amount written
on the Tip line (see Pre-Auth Receipt on
page 21), and press the key.
For Voice Auth: Key in the authorized
Tip amount, and press the key.
This table continues on the next page...


