Netgear RNDP6630-200 User manual

Category
Networking
Type
User manual

This manual is also suitable for

Netgear RNDP6630-200NAS is a high-performance desktop storage system designed for small businesses and home offices. With its powerful processor, ample memory, and large storage capacity, it offers fast data transfer speeds, robust data protection, and a wide range of features to meet your data storage and management needs.

Netgear RNDP6630-200NAS is a high-performance desktop storage system designed for small businesses and home offices. With its powerful processor, ample memory, and large storage capacity, it offers fast data transfer speeds, robust data protection, and a wide range of features to meet your data storage and management needs.

Installation Guide
ReadyNAS RAIDiator 4.2 Desktop Storage Systems
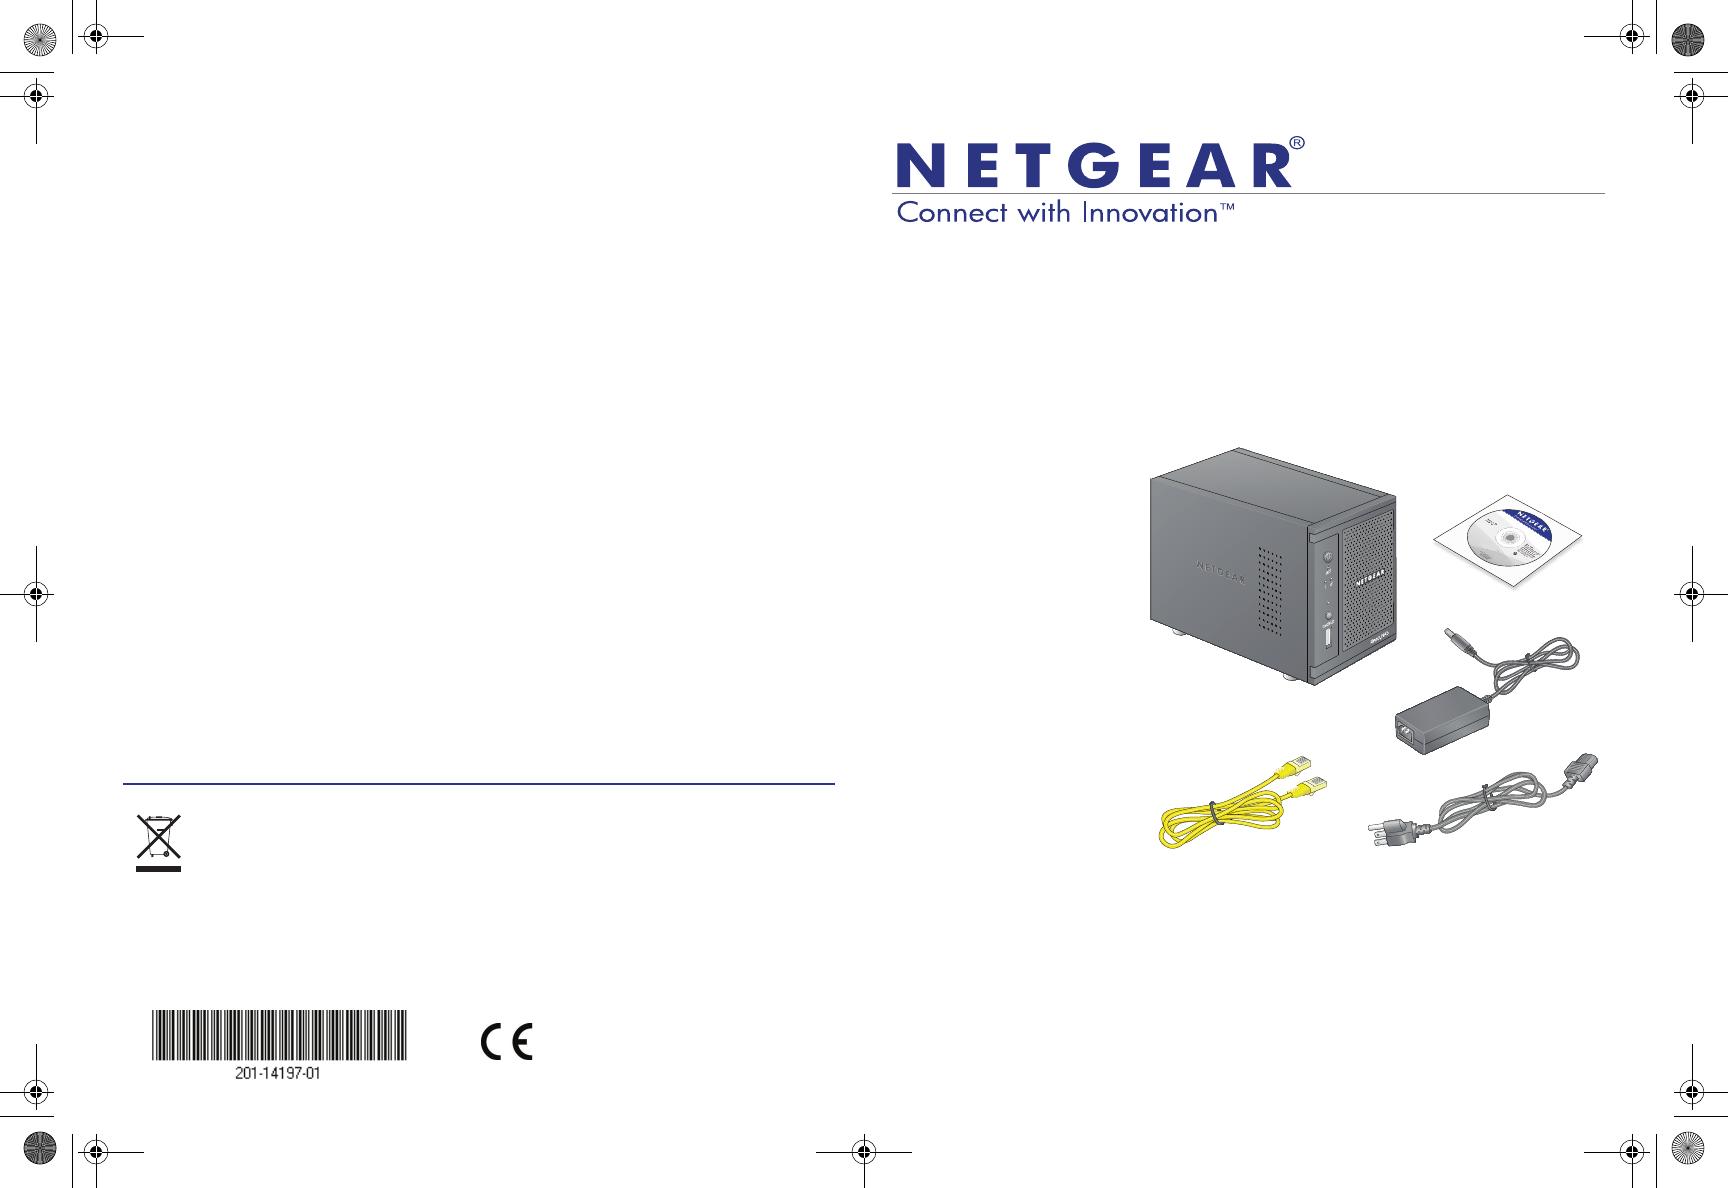
Package Contents
Thank you for purchasing this NETGEAR product.
You need the following
items from your package
to set up your ReadyNAS
®
unit.
1. ReadyNAS unit
2. Resource CD
3. Power adapter
4. Ethernet cable
For more information
about setting up,
configuring, and using
your system, see the
appropriate software and
hardware manuals for
your unit. Links to these
manuals are included on
the Resource CD that
came with your unit and
are also available at http://readynas.com/documentation.
Basic Setup
Follow these instructions to begin using your ReadyNAS unit. These instructions
assume that the unit is using the factory default X-RAID2
TM
disk configuration
and that at least one disk is installed.
1
2
3
4
9. Follow the wizard’s prompts to configure your unit.
For more information about configuring and managing your ReadyNAS unit, see
the software manual for your storage system. A link to this manual is included on
the Resource CD that came with your unit and is also available at
http://readynas.com/documentation.
Technical Support
After installing your device, locate the serial number on the label of your product
and use it to register your product at http://www.NETGEAR.com/register.
Registration is required before you can use the telephone support service.
NETGEAR strongly recommends using this website to register your product.
For product updates and web support, visit http://readynas.com.
For complete DoC, visit the NETGEAR EU Declarations of Conformity website at
http://support.netgear.com/app/answers/detail/a_id/11621/.
For GNU General Public License (GPL) related information, visit
http://support.netgear.com/app/answers/detail/a_id/2649.
This symbol was placed in accordance with the European Union Directive 2002/96 on the
Waste Electrical and Electronic Equipment (the WEEE Directive). If disposed of within the
European Union, this product should be treated and recycled in accordance with the laws of
your jurisdiction implementing the WEEE Directive.
©2011 by NETGEAR, Inc. All rights reserved. NETGEAR and the NETGEAR logo are registered
trademarks of NETGEAR, Inc. in the United States and/or other countries. Other brand and product names
are trademarks or registered trademarks of their respective holders. Information is subject to change
without notice.
July 2011
ReadyNAS RAIDiator 4.2 Desktop IG.fm Page 1 Monday, July 25, 2011 12:17 PM
Note: If you have a diskless unit, you must install at least one disk before
following these instructions. For a list of supported disks, see the Hardware
Compatibility List at http://readynas.com/hard_disk_hcl. For information about
installing disks, see the hardware manual for your unit.
To set up your unit:
1. Place the unit in a location that provides adequate ventilation.
High-capacity disks can produce considerable heat. It is important to ensure
that the fan exhausts are unobstructed.
2. Connect the power adapter to the back of the unit and plug the other end
into a wall outlet or power strip.
3. Use an Ethernet cable to connect an Ethernet port on the ReadyNAS to
your network.
4. If necessary, press the Power button to turn the unit on.
It takes about a minute to start up. The IP address is retrieved using DHCP.
5. Install and run the RAIDar utility on a computer that is connected to the
same local area network (LAN) as your ReadyNAS unit.
RAIDar is located on the Resource CD that came with your unit. It includes
versions for the Windows, Mac, and Linux operating systems. It is also
available at http://readynas.com/start.
RAIDar automatically detects your ReadyNAS unit on the network.
6. Click the Setup button.
An SSL certificate security warning displays. This is used to ensure an
encrypted authentication and management session to the ReadyNAS and
will not display again from the same browser.
7. Accept the certificate.
A login prompt displays.
8. Enter admin for the user name and netgear1 for the password and click
the OK button.
You can change these credentials when you configure your unit. NETGEAR
recommends that you change your password as soon as possible.
The ReadyNAS FrontView management interface displays in your browser.
It automatically launches a Setup Wizard to guide you through the
configuration process.
ReadyNAS RAIDiator 4.2 Desktop IG.fm Page 2 Monday, July 25, 2011 12:17 PM
  • Page 1 1
  • Page 2 2

Netgear RNDP6630-200 User manual

Category
Networking
Type
User manual
This manual is also suitable for

Netgear RNDP6630-200NAS is a high-performance desktop storage system designed for small businesses and home offices. With its powerful processor, ample memory, and large storage capacity, it offers fast data transfer speeds, robust data protection, and a wide range of features to meet your data storage and management needs.

Ask a question and I''ll find the answer in the document

Finding information in a document is now easier with AI