La Crosse Technology WS-7168U User manual
- Category
- Weather stations
- Type
- User manual
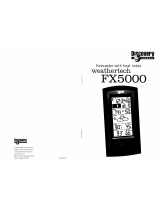
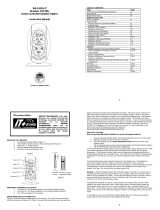
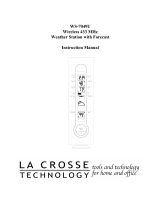
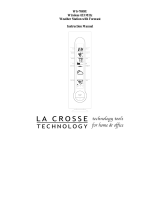
La Crosse Technology WS-7168U is a wireless weather station that provides accurate weather forecasts and a range of other useful information for your home. With its ability to receive WWVB radio-controlled time signals, you can be sure that the time and date displayed on the station are always precise. The station also features indoor and outdoor temperature and humidity readings, allowing you to monitor the climate both inside and outside your home. Additionally, it offers minimum and maximum temperature records, so you can track temperature trends over time.
La Crosse Technology WS-7168U is a wireless weather station that provides accurate weather forecasts and a range of other useful information for your home. With its ability to receive WWVB radio-controlled time signals, you can be sure that the time and date displayed on the station are always precise. The station also features indoor and outdoor temperature and humidity readings, allowing you to monitor the climate both inside and outside your home. Additionally, it offers minimum and maximum temperature records, so you can track temperature trends over time.


-
 1
1
-
 2
2
-
 3
3
-
 4
4
-
 5
5
-
 6
6
-
 7
7
-
 8
8
-
 9
9
-
 10
10
-
 11
11
-
 12
12
-
 13
13
-
 14
14
-
 15
15
-
 16
16
-
 17
17
-
 18
18
-
 19
19
-
 20
20
-
 21
21
-
 22
22
-
 23
23
-
 24
24
-
 25
25
-
 26
26


La Crosse Technology WS-7168U User manual
- Category
- Weather stations
- Type
- User manual
La Crosse Technology WS-7168U is a wireless weather station that provides accurate weather forecasts and a range of other useful information for your home. With its ability to receive WWVB radio-controlled time signals, you can be sure that the time and date displayed on the station are always precise. The station also features indoor and outdoor temperature and humidity readings, allowing you to monitor the climate both inside and outside your home. Additionally, it offers minimum and maximum temperature records, so you can track temperature trends over time.
Ask a question and I''ll find the answer in the document
Finding information in a document is now easier with AI
Related papers
-
 La Crosse Technology WS-9228U-IT User manual
-
La Crosse WS-7014U-IT User manual
-
La Crosse WS-7042TWC User manual
-
 La Crosse Technology WS-7049-Mah User manual
-
-
 La Crosse Technology WS-7049U User manual
-
La Crosse WS-9013U User manual
-
La Crosse Technology WS-7215U-IT User manual
-
 La Crosse Technology WS-7136U User manual
-
La Crosse Technology WS-9002U User manual