Solving Print-Quality Problems (continued)
Problem Solution
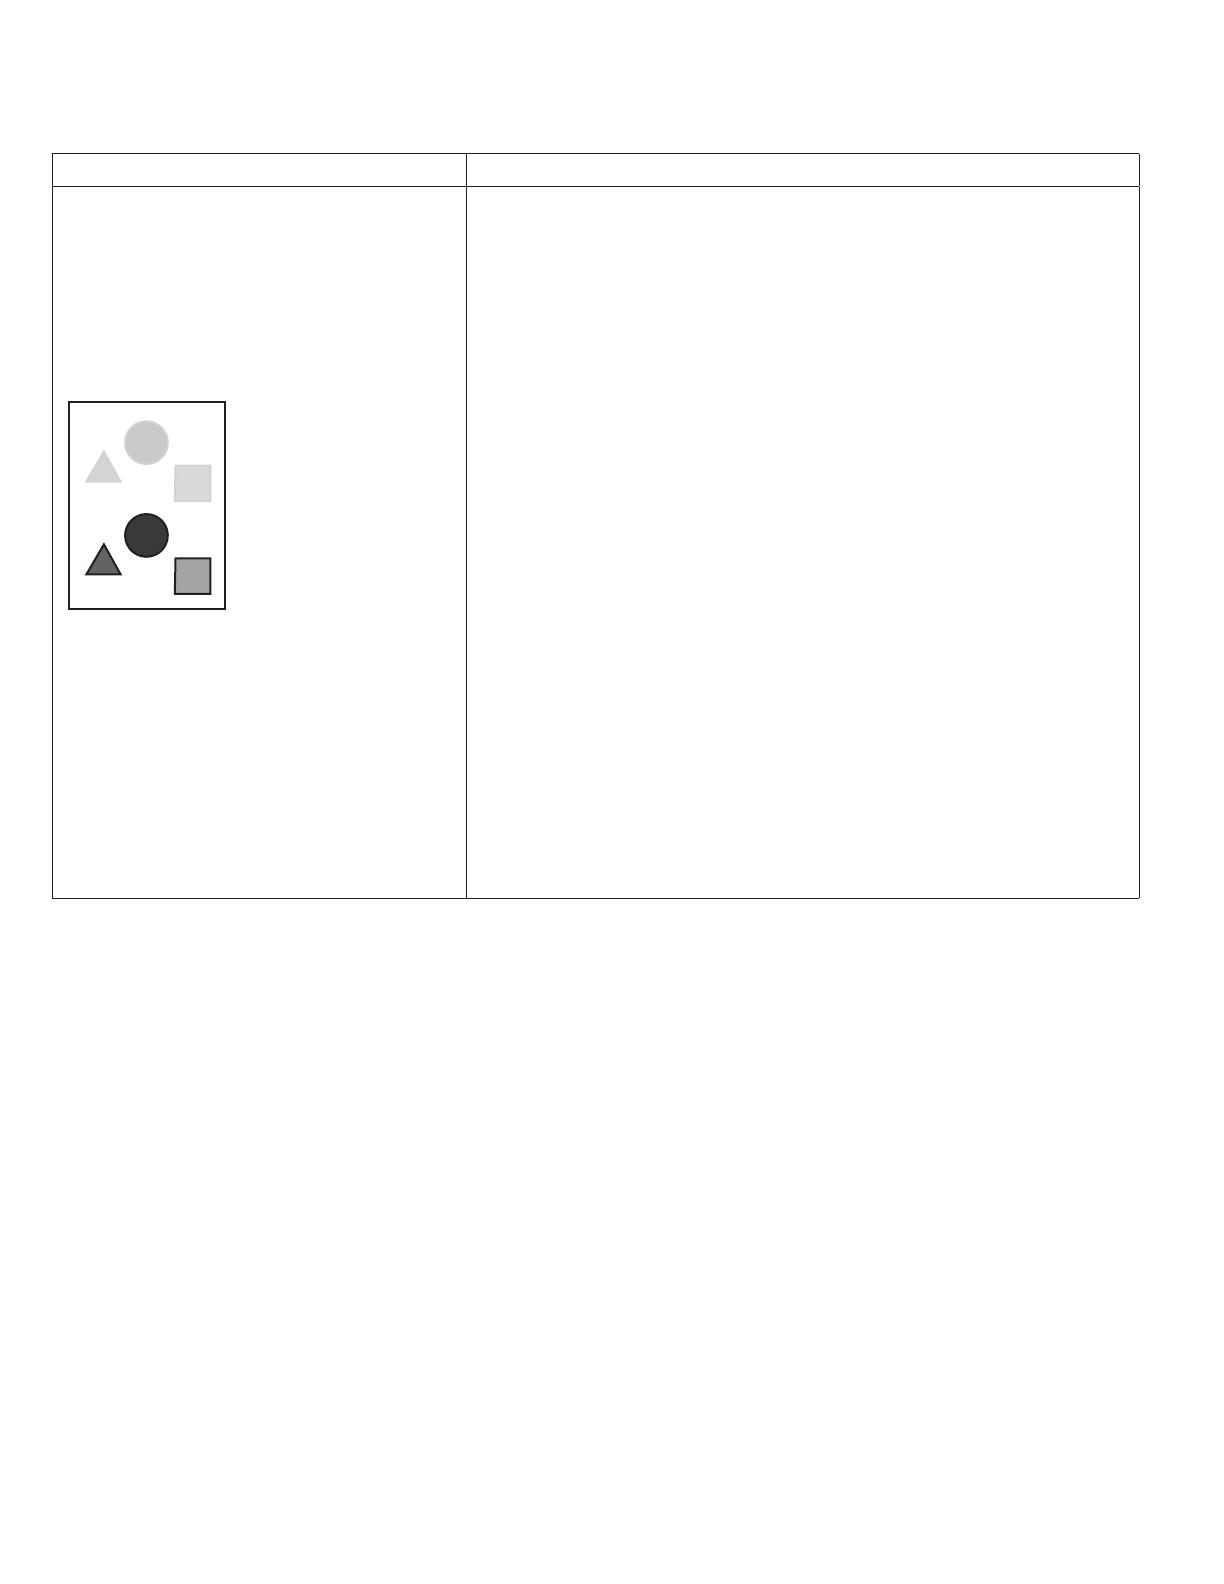
Offset Image
The most common offset is when toner
appears to be reprinted on the page and
placed about 95 mm (3.75 in.) across the
page in the direction the paper moves
through the printer.
Note: For a different distance, use the
Repeating Defects Page to identify the cause.
1. Verify that the paper you are using is the correct type for the printer
and is properly loaded.
For a complete list of recommended paper for your printer, go to:
• North America: www.xerox.com/printer-supplies/recommended-
paper
• Europe: www.xerox.com/europaper
2. Verify that the paper type is selected on the control panel and in the
print driver.
3. If the problem continues:
a. Do one of the following:
• Trays 1–4: Open and close the selected paper tray.
• Bypass Tray: Remove and reinsert all of the paper.
The control panel prompts you to confirm or change the paper type.
Note: To change the size, type, and color of paper in a dedicated tray
when the control panel is locked, log in as the system administrator.
b. At the touch screen, touch Type, and then do one of the
following:
• Select the correct paper type, then touch Confirm.
• Select the next lighter type of paper, then touch Confirm.
Note: Paper types from lightest to heaviest are:
• For uncoated paper: Plain, Lightweight Cardstock, and
Cardstock.
c. Identify the cause using the Repeating Defects Page. For details,
go to www.xerox.com/office/WC3655docs.
Page 4 of 7


