7
Assembly
AFTER SALES SUPPORT
0800 222 246NZ
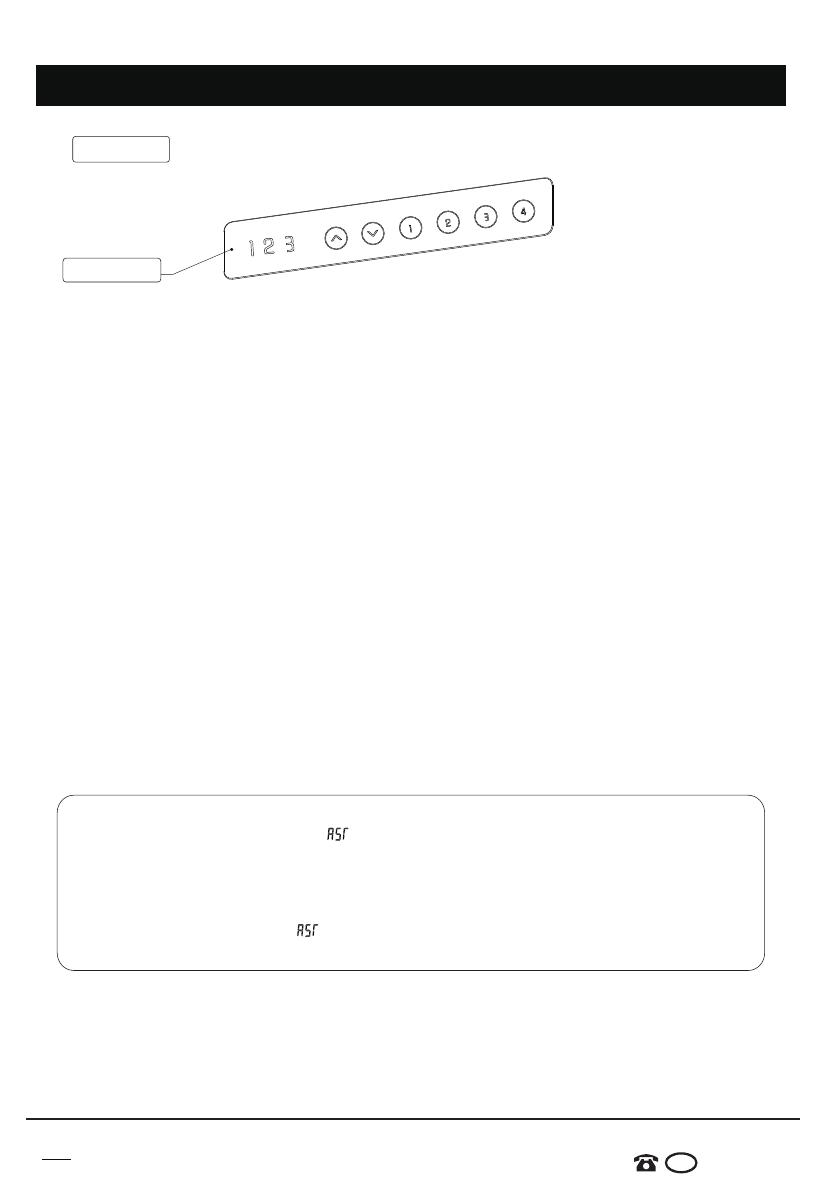
Key button
LED Screen
1. Long press the up/down buttons to adjust the height of the desk; The screen will show “bot”
when the desktop runs to its lowest point; and it will show “top” when the desktop runs to its
highest point.
2. key button: 1,2,3,4 are the four height memory buttons, long press the button about 3s can
record the current height;
3. Press the 3 and 4 buttons at the same time, long press 5 seconds, the RST reset indication
will appear. Continue to press the "▼" down button until the lifting table lowers to the lowest
position and rebounds to rise to a stop. The display shows the lowest height "bot", release "▼"
down button, the reset is over and the table can be used normally.
4. The desk has two USB ports and one type-C port, they can supply power to other electronics
and support charging protocol. Type-C Output: 5V3A/9V2A/12V1.5A; Type-A Output: 3.6-
6.5V2.4A/6.5-9V2A/12V1.5A; Total output power of single port: 18W Max. When the desk is
lifting, the output will be stopped; when lifting stops, the output will be restarted.
5. Short press the “LOCK” button to achieve the child lock function, so as to avoid accidentally
touch and guarantee the safety of children; The child lock button is switchable, screen will show
“Loc” when the desk is locked.
6. Long press the up and down button to switch the sensitivity level. When the screen shows
“A-0”, it means the anti-collision function is off, “A-1” means the anti-collision sensitivity is in level
1, “A-2” means the anti-collision sensitivity is in level 2, “A-3” means the anti-collision sensitivity
is in level 3, level 3 means the highest sensitivity.
●Troubleshooting:
a. Reset: When the LED shows" " , press “▼” button until the desk reaches its lowest
height and rebounds to stop, it means the reset has been finished.
b. When it does't work and the LED shows "E01" or "E02", please retry 18 mins later.
c. If the “▼” button does't work, please check the cable connection and then cut off thepower
for at least 10 seconds. Reconnect to the power and press “▼” button to start the reset
process when it shows the " ".
d. If all these above process are inefficient, plz contact our customer service.


