©Copyright2017TRENDnet.AllRightsReserved.
15
TRENDnetUser’sGuide
LimitedWarranty
Security:
Select "Disable", then the username and password are not required when
accessingthecameraviaONVIF.Select"Enable",thenusernameandpassword
arenecessary.
RTSPKeepalive:
Whenthefunctionisenabled,thecamerachecksonceinawhileiftheuserwho
linkstothecameraviaONVIFstillkeepsconnecting.Iftheconnectionhadbeen
broken,thecamerastopstransmittingvideotouser.
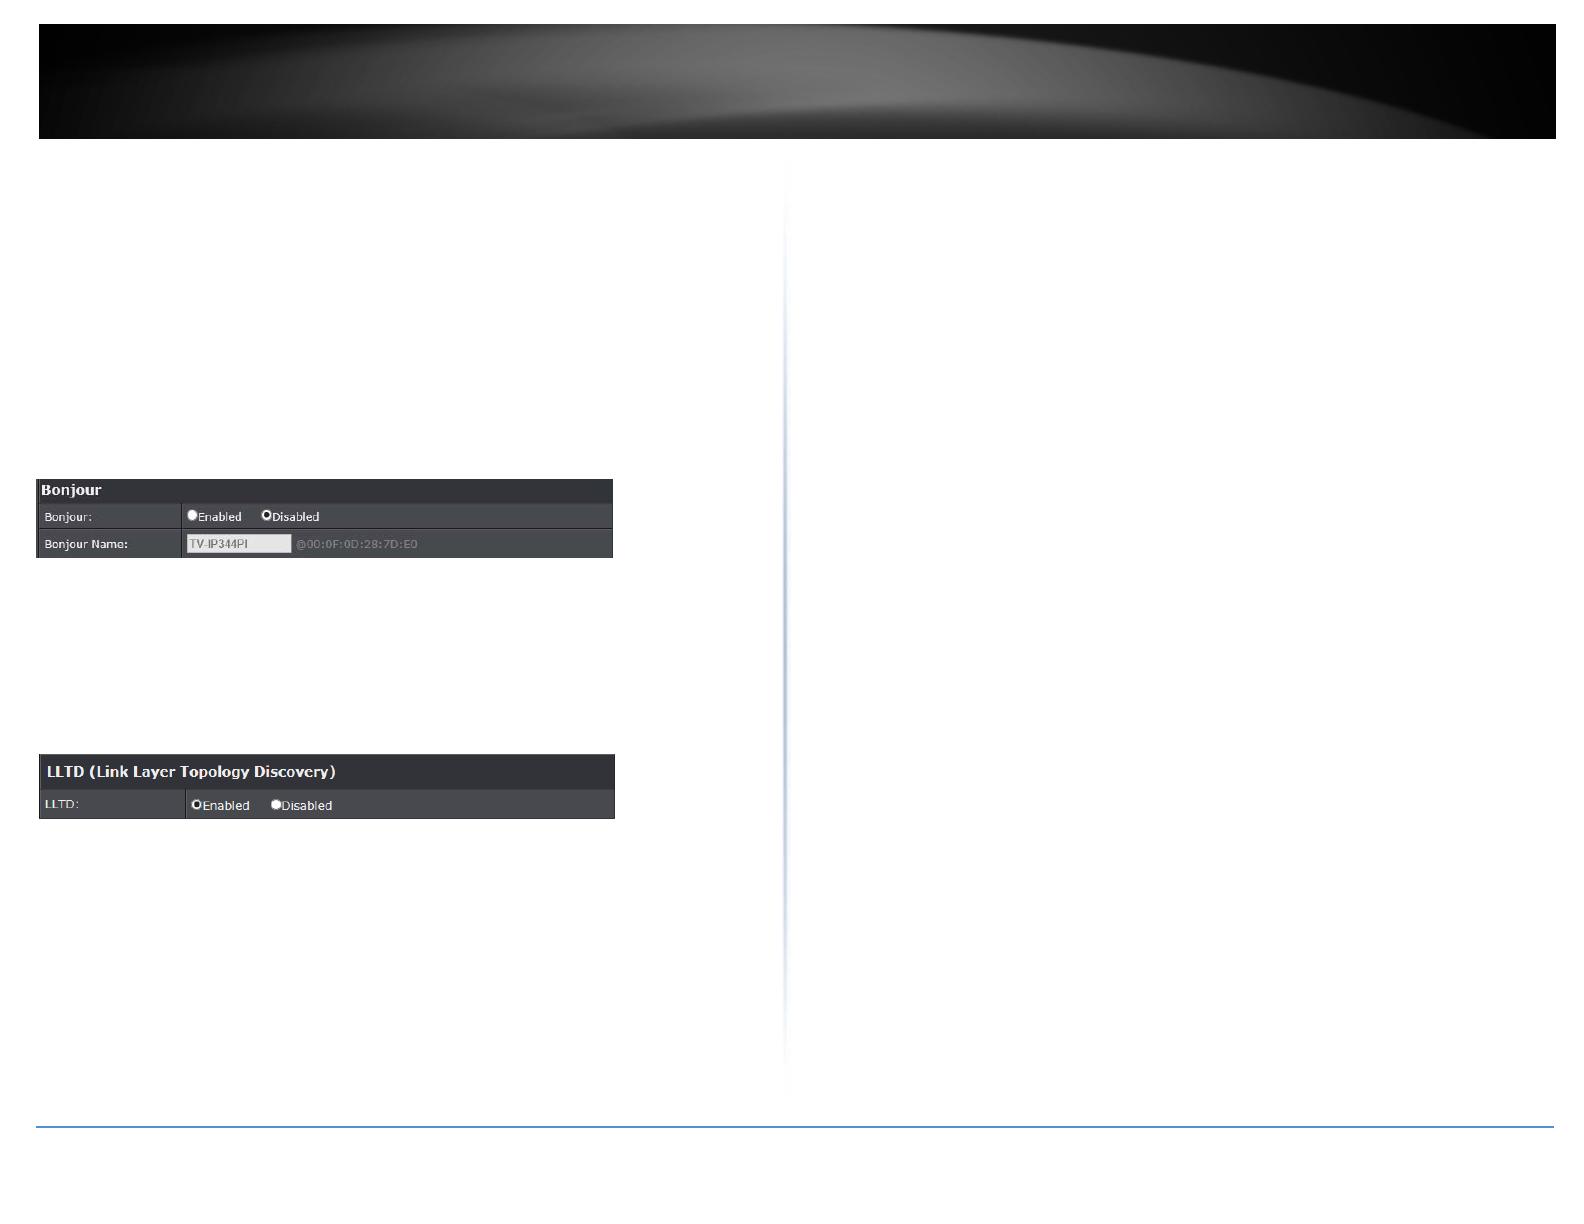
Network>>NetworkSetting>>Bonjour
This function enableSafaribrowser'sbookmarktolinktothis IPcamera.The Bonjour
nameisthenamethatdisplayinthebookmark.PleasenotetheBonjourfunctiononSafari
browserdoesnotsupporthttpsprotocol.Ifyouselected“https”mode,youwillseethe
cameraappearsonSafari’sbookmarksbutwillnotbeabletoaccessthecamera.
Network>>NetworkSetting>>LLTD
IfyourPCsupportsLLTD,enablethisfunctionthenyoucanchecktheconnectionstatus,
properties,anddeviceposition(likeIPaddress)ofthisIPCamerainthenetworkmap.In
WindowsVistaorWindows7,youcanfindLLTDthroughthepath:CallouttheControl
Panel→NetworkandInternet→NetworkandSharingCenter→Click"Seefullmap".
Network>>Advanced>>HTTPS
WhentheusersaccesscamerasviaHttpsprotocol,thetransmittedinformationwillbe
encryptedsothatthesecuritylevelisarisen.
Youcanselecttheconnectiontype.
Http:usercanaccessthecameraviaHttppath.
Https:usercanaccessthecameraviaHttpspathbutcannotviaHttppath.
Http&Https:BoththeHttpandHttpspathcanbeusedtoaccessthecamera.When
you change the setting of connection type, it may cause connection error or
disconnectionerrorifyouswitchtheprotocoldirectly.Therefore,Http&Httpsmode
isnecessary.IfyouwanttochangefromHttptoHttps,pleaseswitch to “Http &
Https”modefirst,andthenswitchto“Https”mode.Samemethodwhenyouchange
fromHttpstoHttp.
TheHttpsprotocolhascertificateverifyingmechanism.Whentheuseraccessawebsite
viaHttps,thebrowserwillcheckthecertificateofthatdomainandverifyitstrustiness
andsecure.
Certificategenerationprocess:
1. Remove the existing certificate: Before you generate a new certificate, please
removeexistingone.Select"Http"connectiontypeandclick"Remove".Ifadialog
boxpopsuptoaskyoutoconfirm,click“Yes”.


