CONTENTS
...
BEFORE
USE
2
BASICS
3
GETTING
STARTED
4
USB/iPod
5
-.
RADIO
7
AUX
8
-
Pandora®
9
iHeartRadio®
10
AUDIO
SETTINGS
,,.
DISPLAY
SETTINGS
12
MORE
INFORMATION
12
-
TROUBLESHOOTING
13
.
SPECIFICATIONS
15
INSTALLATION
I
CONNECTION
16
How
to
read
this
manual
•
Operations
are
e~plained
mainly
using buttons on the faceplate.
•
[XX]
indicates the selected items.
•
(•
XX)
indicates references
are
available on the stated page.
2
BEFORE
USE
A
Warning
·
Do
not
operate
any
function
that
takes
your
attention
away
from
safe
driving.
A
Caution
·
Volume
setting:
•
Adjust the volume
so
that
you
can
hear sounds outside the car
to
prevent accidents.
• Lower the volume before playing digital sources
to
avoid damaging the speakers by the sudden increase
of
the
output
level.
General:
•
Avoid using the
USB
device or iPod/iPhone
if it
might
hinder
saf~
driving.
•
Make sure
all important data
has
been backed up.
We
shall
bear no responsibility
for
any
loss
of
recorded
data.
'
• Never
put
or
leave any metallic
objects (such
as
coins or metal tools) inside the unit,
to
prevent a short
circuit.
Remote
control
(RM-RK52):
•
Do
not
leave the remote control in
hot
places such
as
on the dashboard.
•
The
Lithium
battery
is
in danger
of
explosion
if
replaced incorrectly. Replace
it
only
wjth
the
same
or
equivalent 'type. .
•
The battery pack or batteries
shall
not
be exposed
to
excessive heat such
as
sunshine, fire or
the like.
• Keep
the
battery
out
of
reach
of
children and in its original packaging when
not
in used. Dispose
of
used
batteries promptly.
If
swallowe~,
c~ntact
a physician immediately .
Maintenance
Cleaning
the
unit:
Wipe
off
dirt
on
the
faceplate
with
a dry silicone or soft
cloth.
·
·
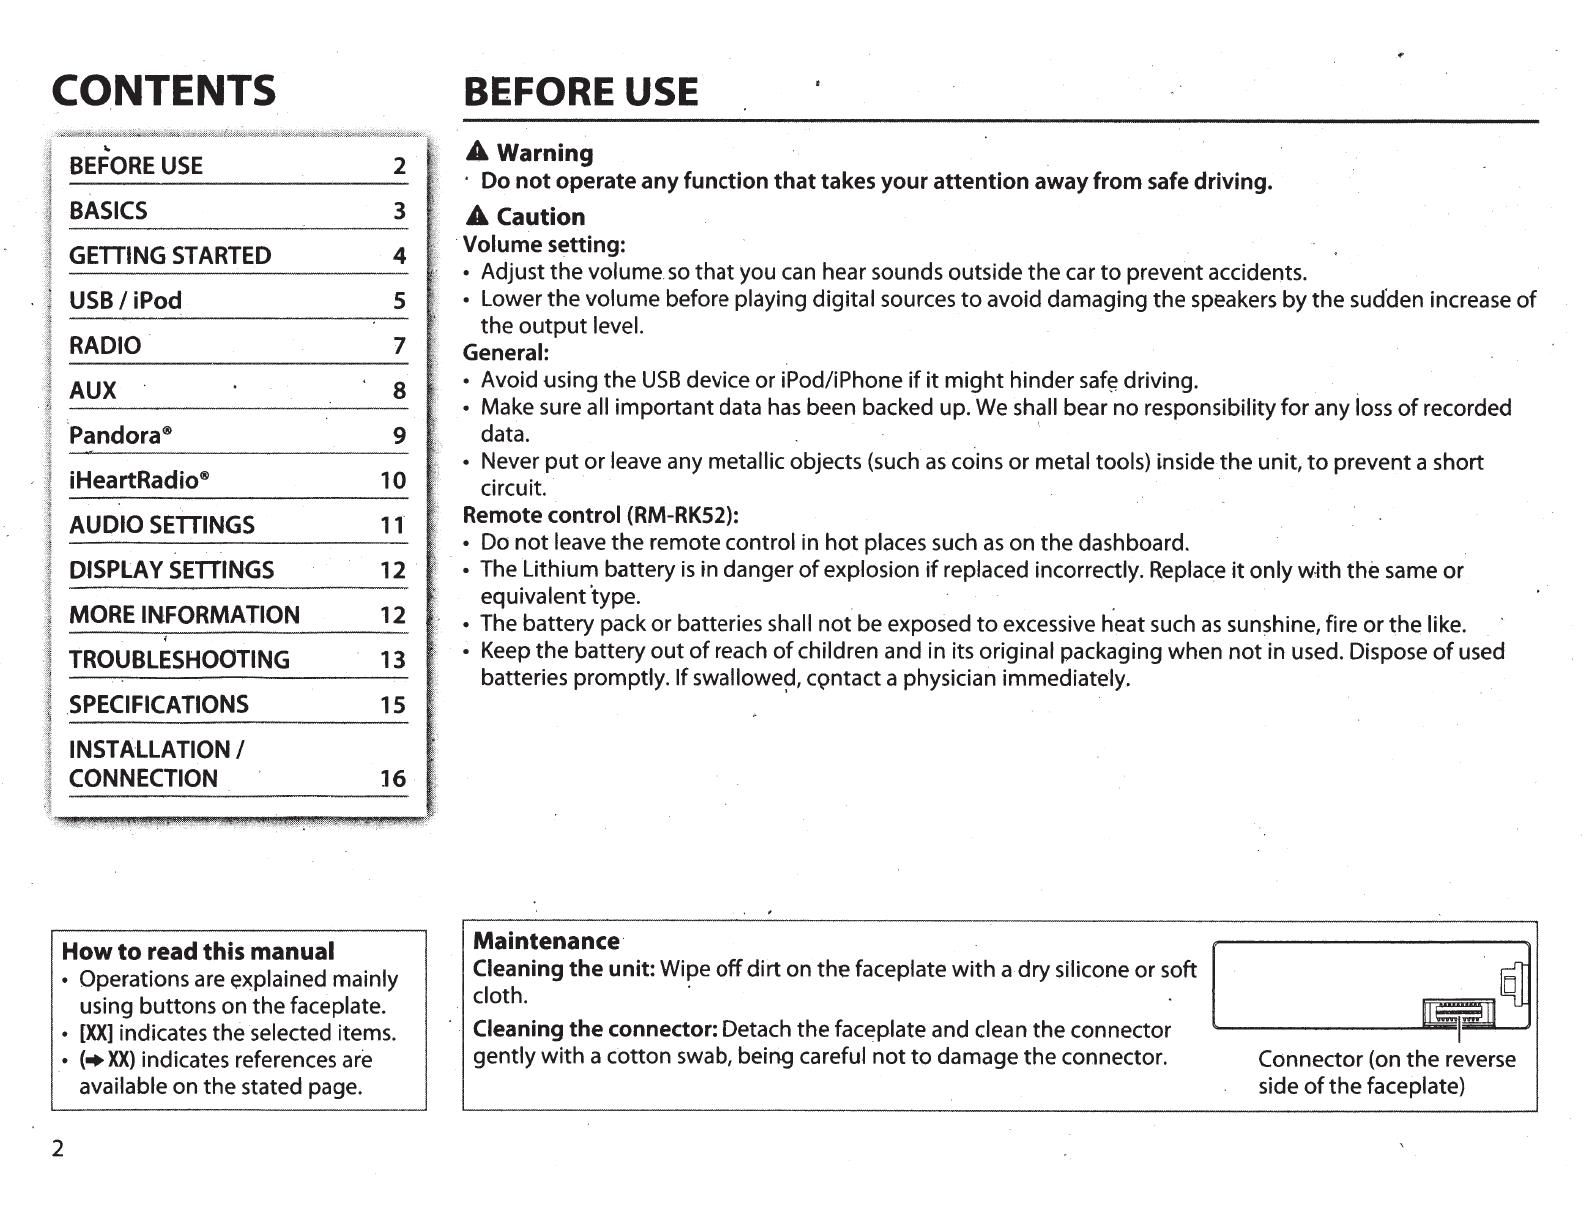
Cleaning
the
connector: Detach the faceplate and clean the connector
gently
with
a cotton swab, being careful
not
to
damage the connector.
Connector
(on
the
reverse
side
of
the faceplate)