AXISP14andAXISQ19CameraSeries
Repainttheproduct
Repainttheproduct
Preparations
•Ifapplicable,disassemblethedeviceaccordingtotheinstructionsinthisdocument.
•Cleanallpartstoberepaintedthoroughlytoremovegrease,dust,oroil.
•Toensurereassemblyandfunctionalityoftheproduct,maskanyopenings(forexampleforscrews,LEDindicators,
ormicrophones)beforeyoupaint.
Pretreatmentofparts
Dependingonthepartmaterialandtypeofpaintappliedatfactory,differentpretreatmentshouldbedoneforthenewpaintto
adhereaswellaspossible.Cleanthepartsproperlytoremoveoil,greaseanddust.
Formoreinformationonthematerialsusedintheproduct,seeitsdatasheetataxis.com.
Powdercoatedparts-Useaprimer.Alternatively,removetheoriginalpowdercoatingdowntothebasematerial,usingne
sandpaper,andcleanthepartsbeforepainting.
Anodisedandchromatedparts-Useaprimer.
Uncoatedstainlesssteel-Nospecialpretreatmentisneeded,butmakesurethatthesurfaceiscleanbeforepainting.
Plastic-Useaprimer.
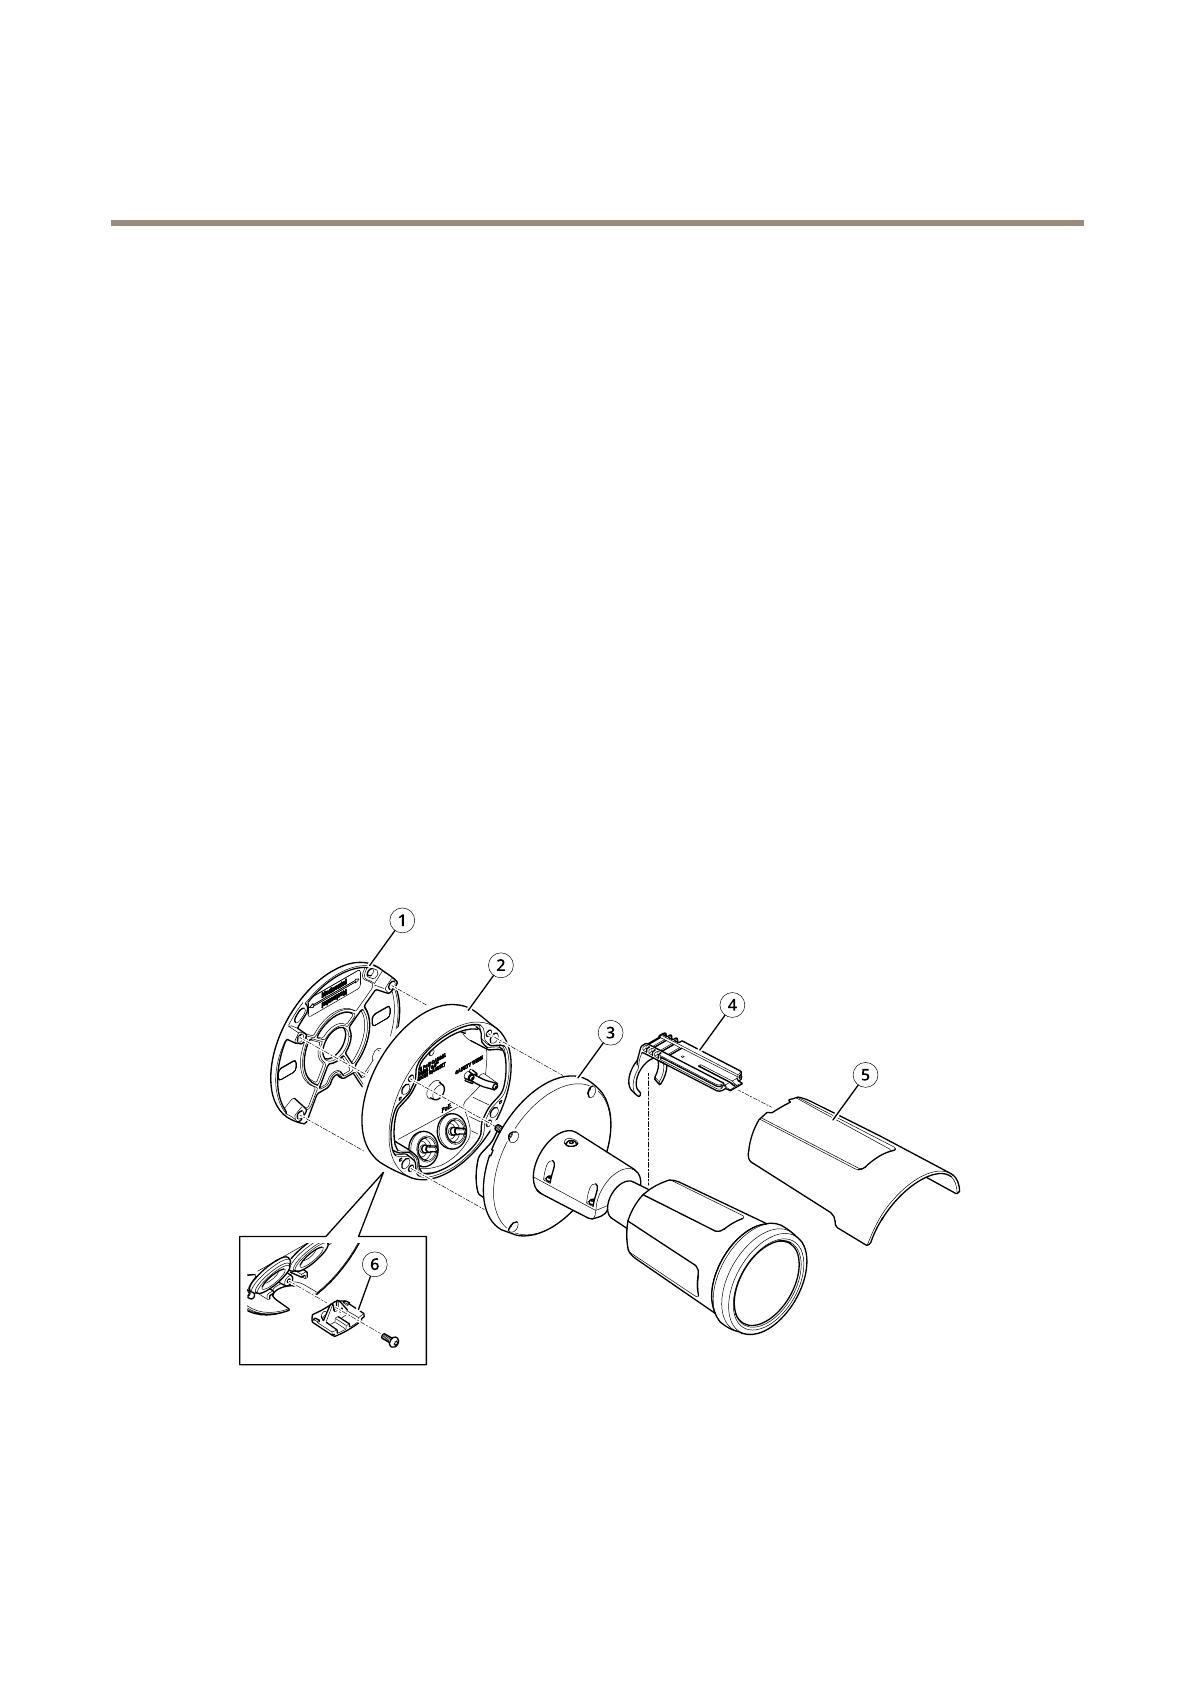
Disassembly
1Backplate
2Bottombasecover
3Cameraunit
4Holder
5Weathershield
6Lid
3


